Notes on using a uv virtual environment with VS Code’s Jupyter notebooks — from ipykernel install to picking the kernel in the UI. Based on official docs; a memo for myself.
What you’ll learn
- Flow for using a uv venv in Jupyter
- What ipykernel does and how to register a kernel
- How to select the kernel in VS Code
- What to check if the kernel doesn’t appear
Prerequisites
- Python installed
- uv installed (installation)
Environment
- macOS Sequoia 15.5
- VS Code
- zsh 5.9 (arm64-apple-darwin24.0)
1. Create a project
uv init projectname
cd projectname
2. Add Jupyter (ipykernel) and register a kernel
uv add --dev ipykernel
uv run ipython kernel install --user --env VIRTUAL_ENV $(pwd)/.venv --name=KERNEL_NAME
KERNEL_NAME can be anything (e.g. my-uv-env).
To run Jupyter Lab locally:
uv run --with jupyter jupyter lab3. Create an .ipynb
In VS Code, run Create: New Jupyter Notebook from the command palette.

4. Select the kernel
With the notebook open, use the kernel picker (top right) and choose the kernel you registered in step 2.
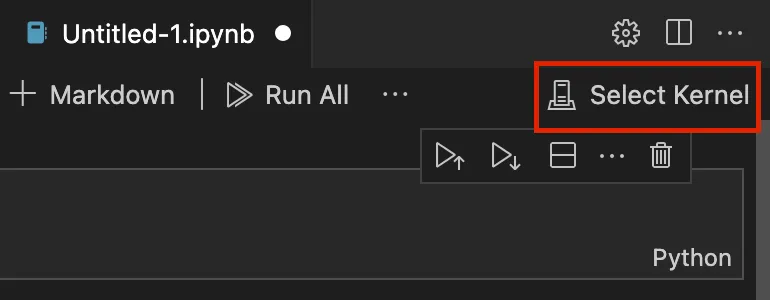
- If it’s missing: Select Another Kernel… → Jupyter Kernel → your kernel name.

If the kernel still doesn’t show
Select Another Kernel… → Jupyter Kernel → pick the kernel you created.

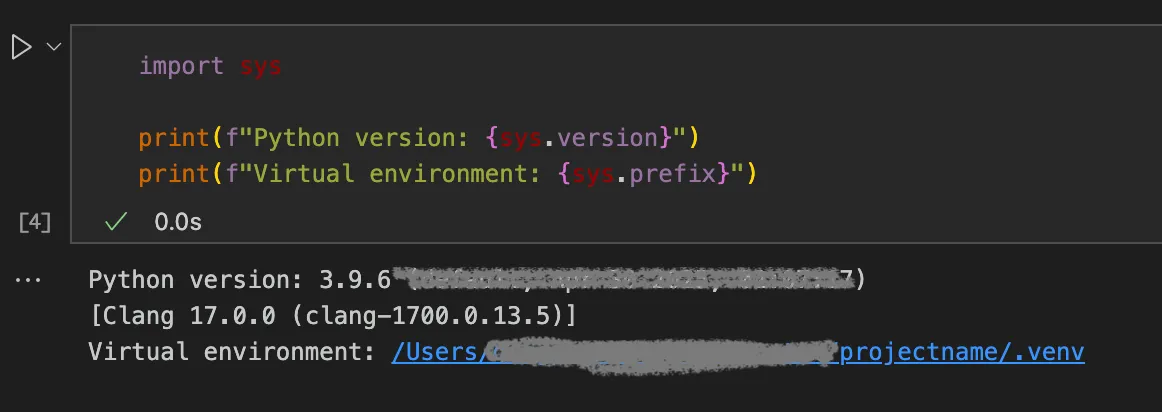
5. Sanity check
Run:
import sys

print(f"Python version: {sys.version}")
print(f"Virtual environment: {sys.prefix}")
If you see your .venv path, the notebook is using the uv environment.
Troubleshooting
Kernel not in the list
List registered kernels:
uv run jupyter kernelspec listPick the matching KERNEL_NAME in VS Code under Select Another Kernel….
Remove a kernel
uv run jupyter kernelspec uninstall KERNEL_NAMESummary
- Add ipykernel with uv, run
ipython kernel install, then pick that kernel in VS Code’s Jupyter UI. - If it’s missing, run
jupyter kernelspec listand reconnect via Jupyter Kernel.