React + Three.js — how I use post-processing and custom shaders.
I’ve written shaders before, but the web stack was mostly new, so I wrote this down.
Covers @react-three/postprocessing built-ins and extending postprocessing’s Effect class for a world-space normal debug view.
There’s a demo repo and a live tester — feel free to play with it.
What you’ll learn
- Using @react-three/postprocessing built-in effects
- Custom shaders in four steps: extend
Effect→ wrap in React → GLSL →EffectComposer - NormalPass and EffectComposerContext
- Gotchas: view → world normals, some built-ins broken on React 19
Repo & demo
- Repo: react-postprocess-tester
- Live page: testkun.net/react-postprocess-tester
Stack
- macOS Sequoia 15.5 / VS Code / Node.js 20+ / npm
- React 19.1.1, Vite 7.1.2, Three.js 0.179.1
- @react-three/fiber, @react-three/drei, @react-three/postprocessing, postprocessing
- TailwindCSS 4, Leva
Setup
git clone https://github.com/testkun08080/react-postprocess-tester.git
cd react-postprocess-tester
npm install
npm run dev
Open http://localhost:5173 — Leva lets you tweak effects live.
Built-in effects
@react-three/postprocessing ships 20+ built-in effects.
Basic usage
import { EffectComposer, Bloom, Vignette } from "@react-three/postprocessing";

function PostEffects() {
  return (
    <EffectComposer>
      <Bloom intensity={1.0} luminanceThreshold={0.9} />
      <Vignette offset={0.5} darkness={0.5} />
    </EffectComposer>
  );
}
Examples: Bloom, DepthOfField, ChromaticAberration, Glitch, Vignette, SSAO / N8AO, ToneMapping, etc. Binding params to Leva helps.
Custom shader: world-normal visualization
I wanted world-space normals.
Extend postprocessing’s Effect, sample the normal buffer, and visualize normals in GLSL.
1. Subclass Effect
// SimpleCheckNormalEffect.jsx
import { Effect } from "postprocessing";
import { Uniform, Matrix4 } from "three";
import { EffectComposerContext } from "@react-three/postprocessing";
import { checkNormalShader } from "./shaders/index.js";

class SimpleCheckNormalEffectImpl extends Effect {
  constructor({ normalBuffer, mode = 0, useWorldSpace = true }) {
    super("SimpleCheckNormalEffect", checkNormalShader, {
      uniforms: new Map([
        ["normalBuffer", new Uniform(normalBuffer)],
        ["uMode", new Uniform(mode)],
        ["uUseWorldSpace", new Uniform(useWorldSpace)],
        ["cameraMatrixWorld", new Uniform(new Matrix4())],
        ["viewMatrix", new Uniform(new Matrix4())],
        // ...
      ]),
    });
  }
  set mode(value) {
    this.uniforms.get("uMode").value = value;
  }
  set useWorldSpace(value) {
    this.uniforms.get("uUseWorldSpace").value = value;
  }
  // camera matrix setters similarly
}
2. Wrap in React
Use forwardRef + useContext(EffectComposerContext) for normalPass and camera, useMemo for the effect instance, useEffect to push camera matrices.
export const SimpleCheckNormalEffect = forwardRef((props, ref) => {
  const { normalPass, camera } = useContext(EffectComposerContext);
  const effect = useMemo(
    () =>
      new SimpleCheckNormalEffectImpl({
        normalBuffer: normalPass?.texture,
        ...props,
      }),
    [normalPass, props],
  );
  useEffect(() => {
    if (camera) {
      effect.cameraMatrixWorld = camera.matrixWorld;
      effect.viewMatrix = camera.matrixWorldInverse;
      effect.projectionMatrix = camera.projectionMatrix;
      effect.inverseProjectionMatrix = camera.projectionMatrixInverse;
    }
  }, [effect, camera]);
  return <primitive ref={ref} object={effect} dispose={null} />;
});
3. GLSL mainImage
postprocessing calls mainImage(inputColor, uv, outputColor) per pixel. Sample the normal buffer, convert view → world, colorize.
void mainImage(const in vec4 inputColor, const in vec2 uv, out vec4 outputColor) {
  vec3 viewSpaceNormal = texture2D(normalBuffer, uv).xyz * 2.0 - 1.0;
  vec3 normal = uUseWorldSpace ? viewToWorldNormal(viewSpaceNormal) : viewSpaceNormal;
  vec3 normalColor = visualizeNormal(normal, uMode);
  outputColor = vec4(normalColor, inputColor.a);
}
4. Plug into EffectComposer
<EffectComposer>
  <NormalPass />
  {worldNormalControls.enabled && (
    <SimpleCheckNormalEffect
      mode={worldNormalControls.mode}
      useWorldSpace={worldNormalControls.useWorldSpace}
    />
  )}
</EffectComposer>
Don’t forget NormalPass when you need normals.
Custom effect notes
Effectisnew Effect(name, fragmentShader, { uniforms, blendFunction, attributes }).mainImagesignature:(inputColor, uv, outputColor).- Add NormalPass, pass
normalPassfrom EffectComposerContext into your effect.
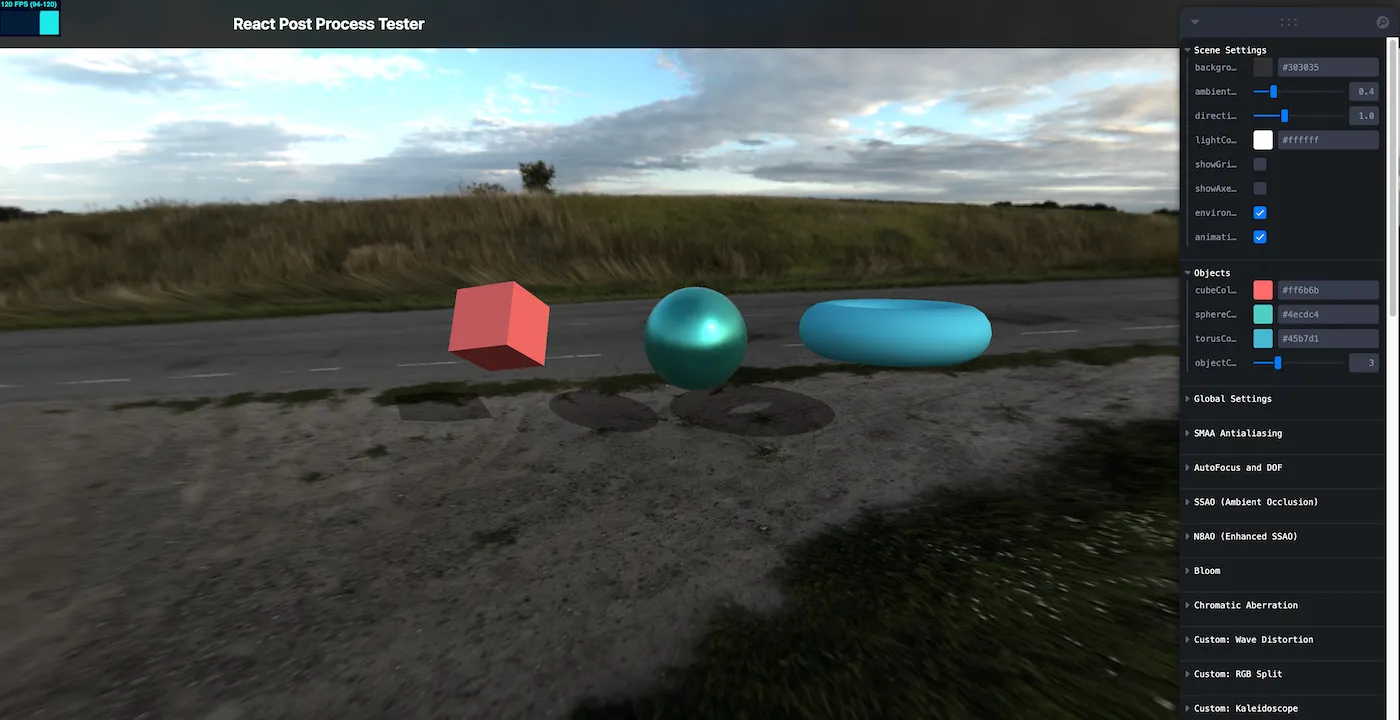
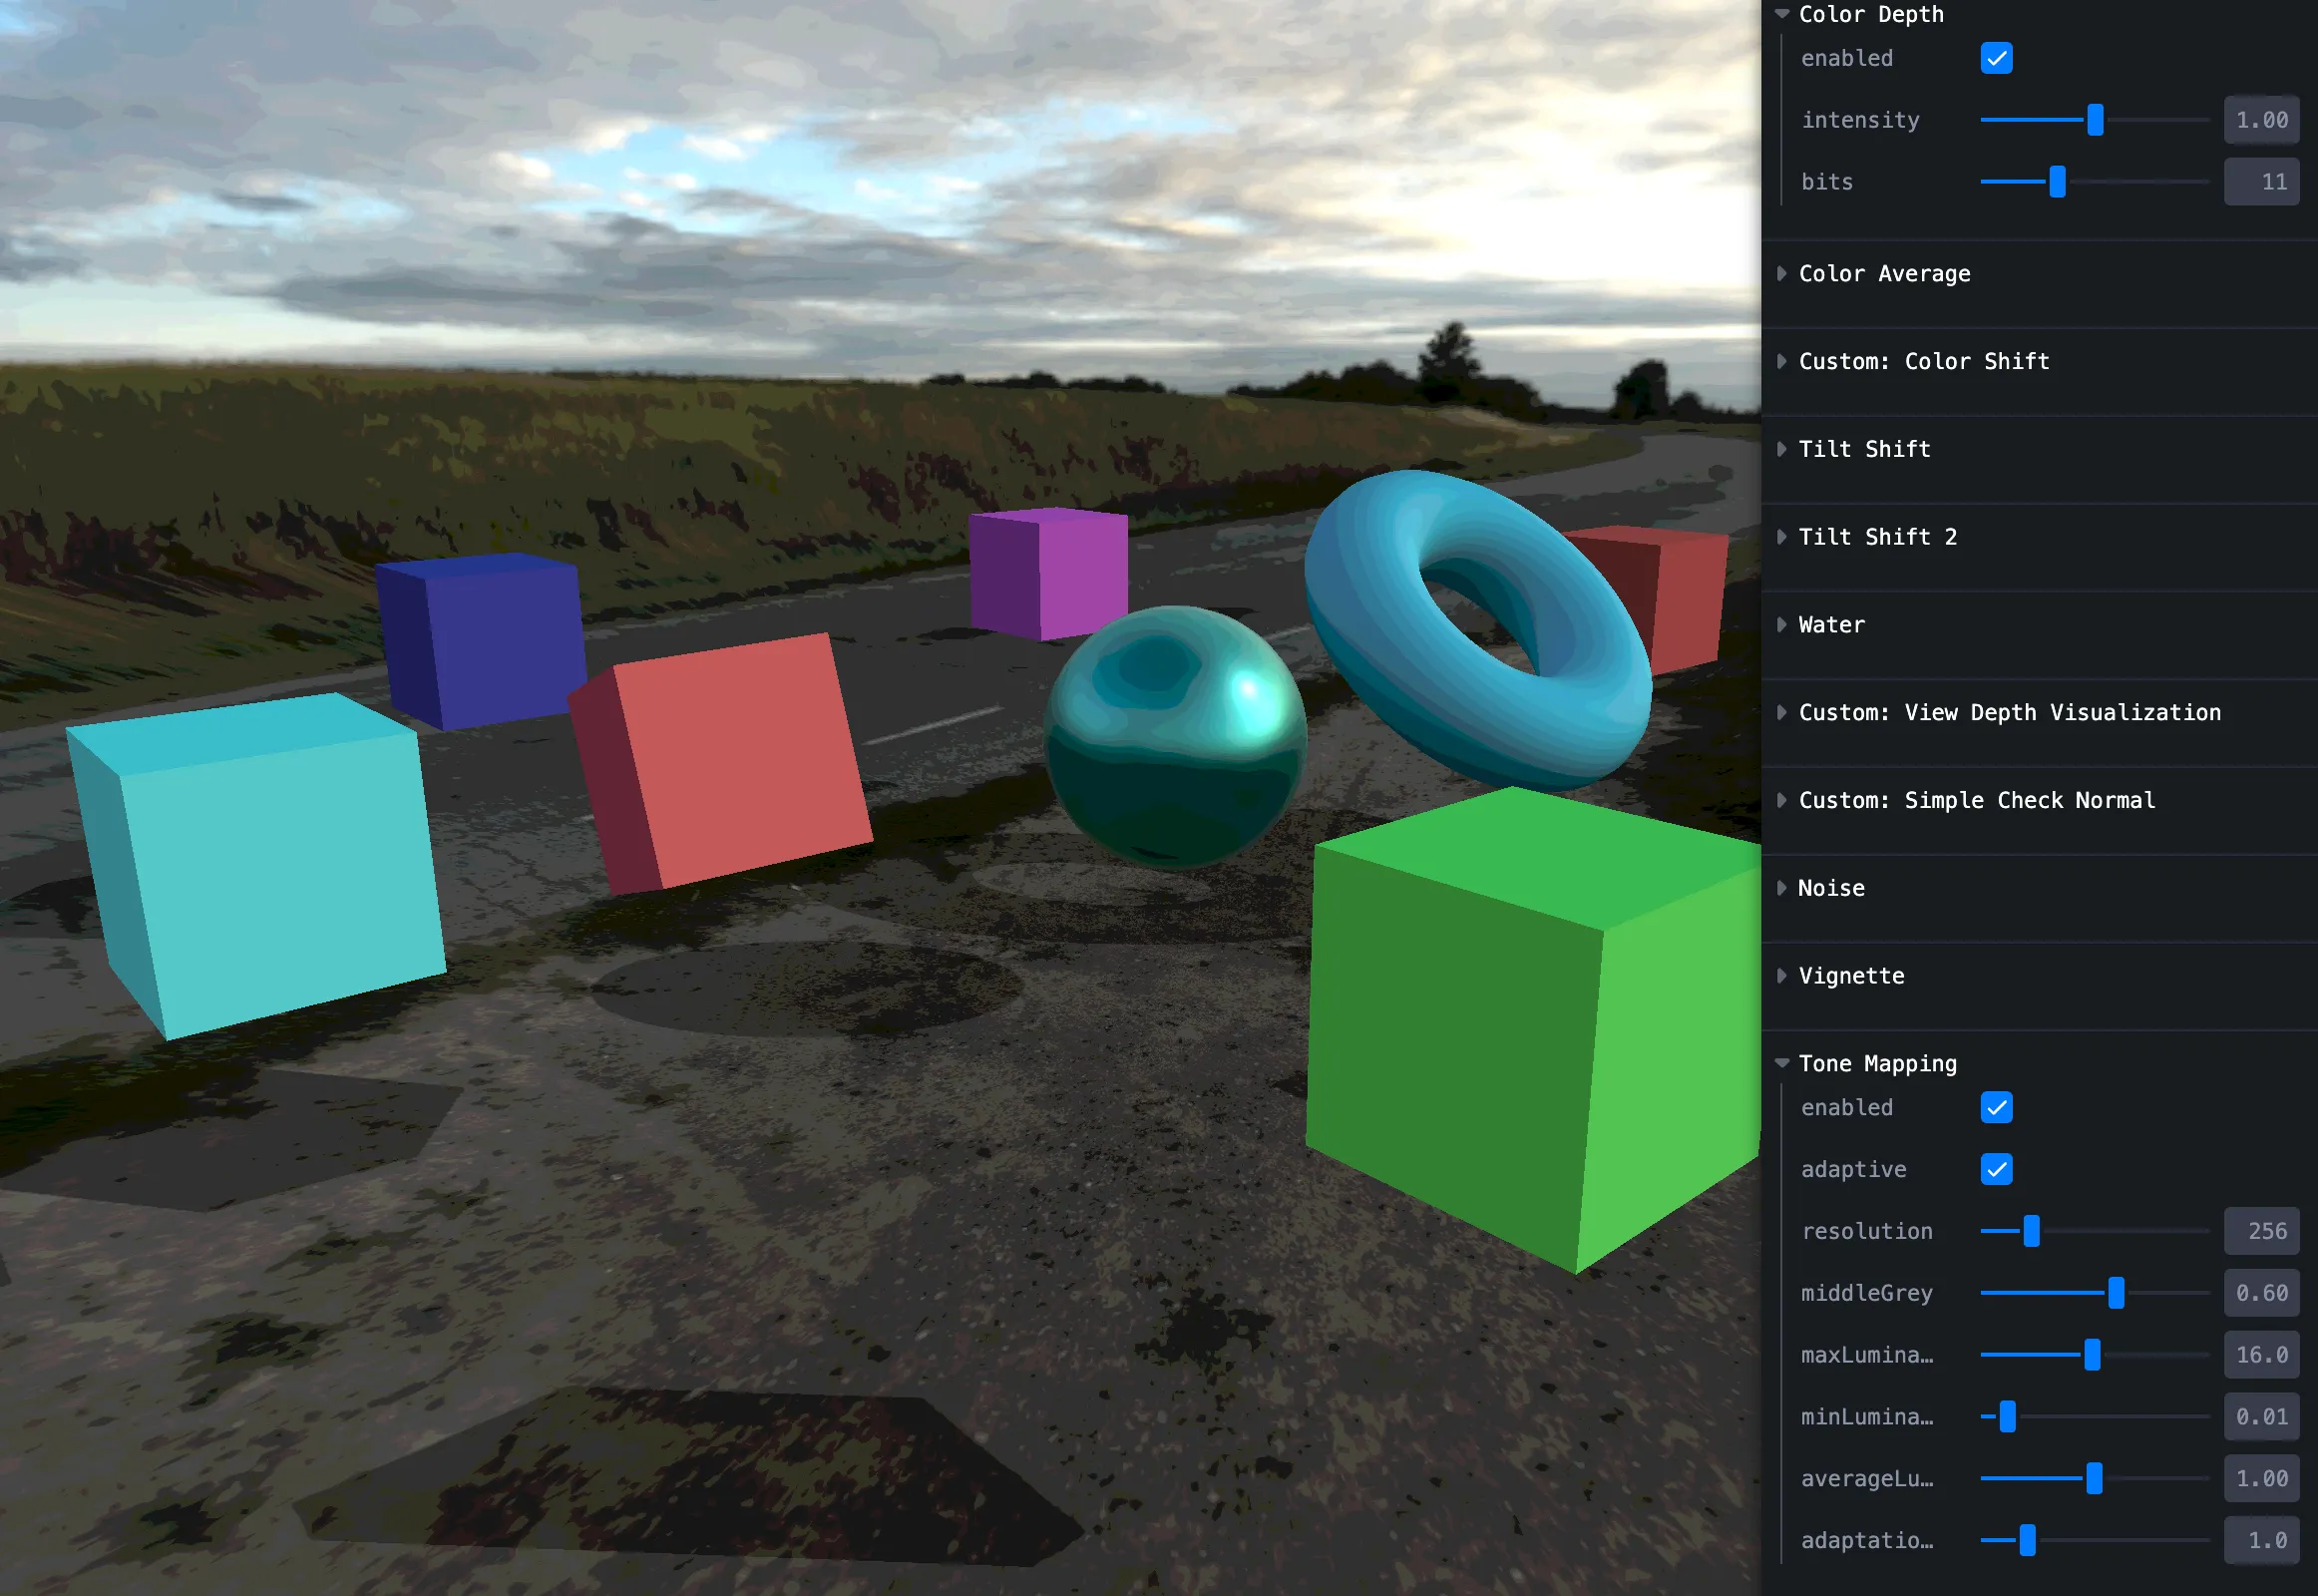
Effect gallery (sample project)
Try the built-ins and the custom one on the tester page. Same breakdown as the original Zenn article; images below are from src/assets/react-postshader/.
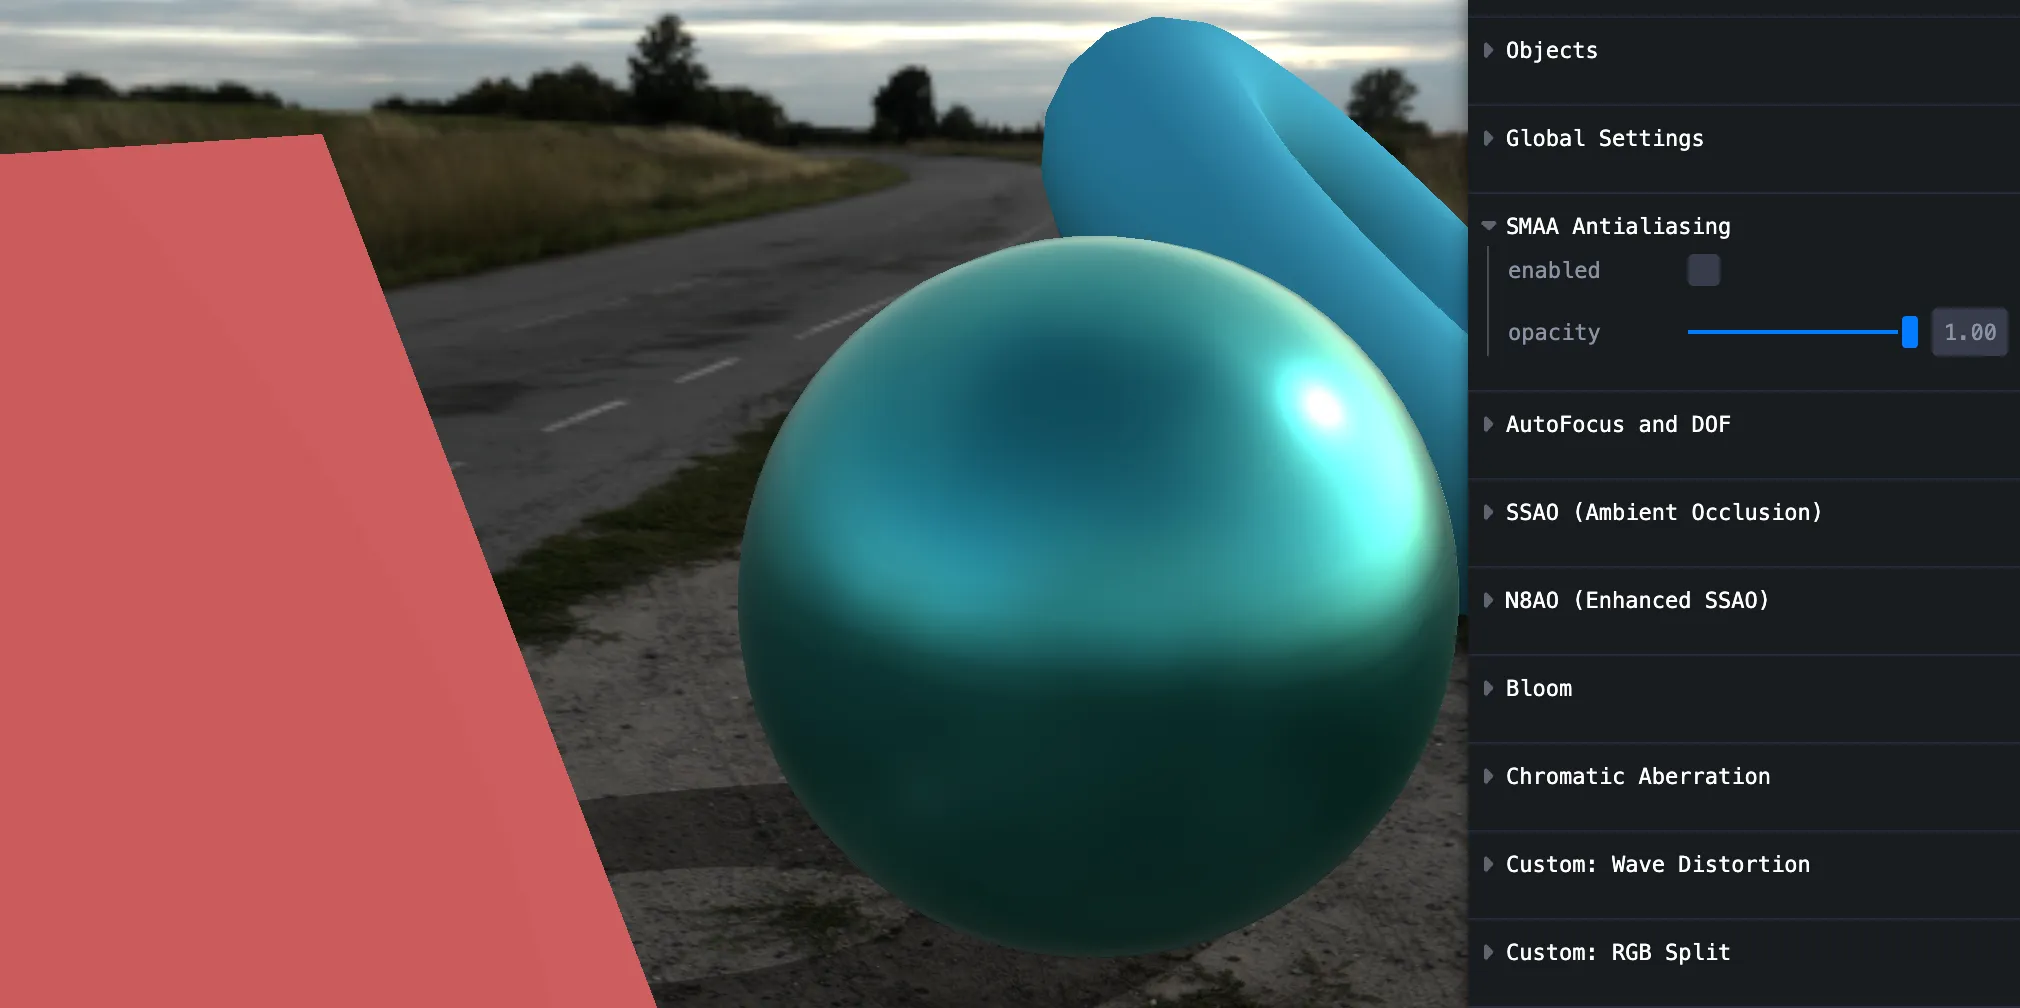
SMAA
Subtle, but on/off matters.

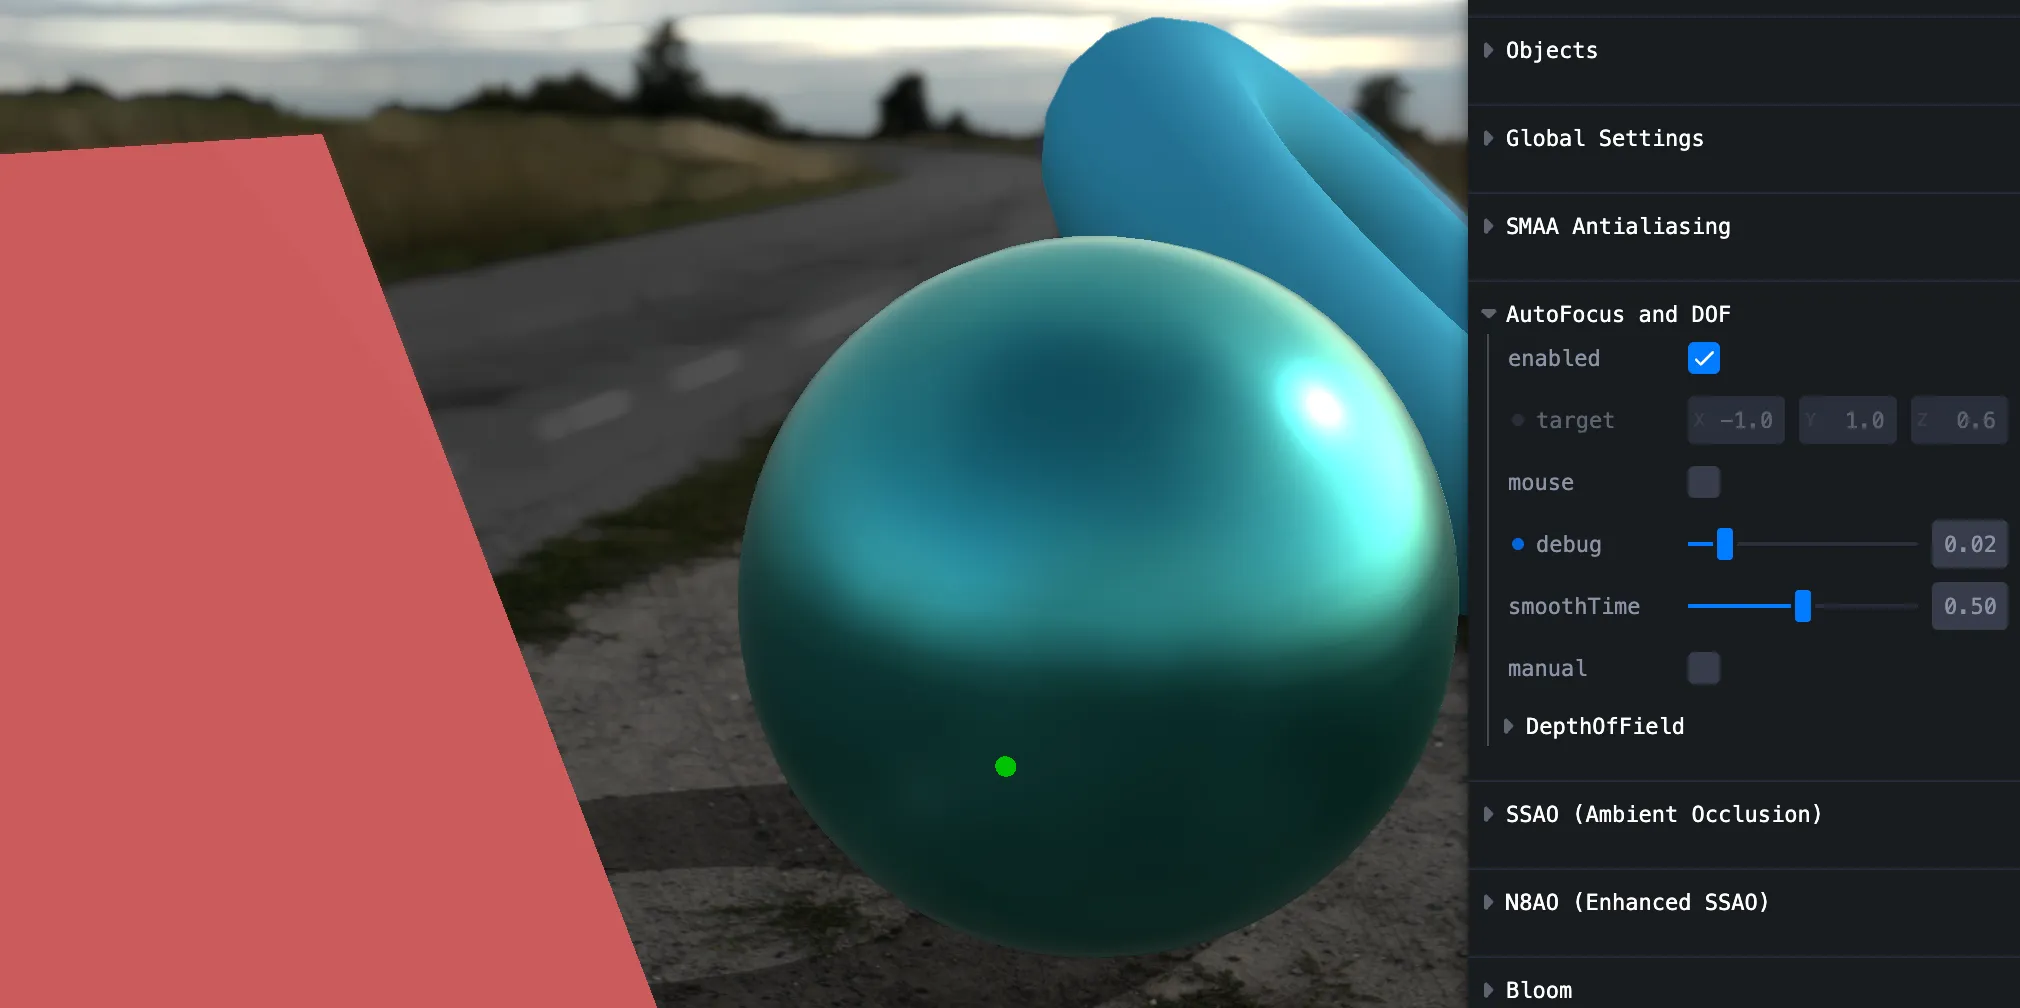
Auto Focus
Manual or mouse-driven.
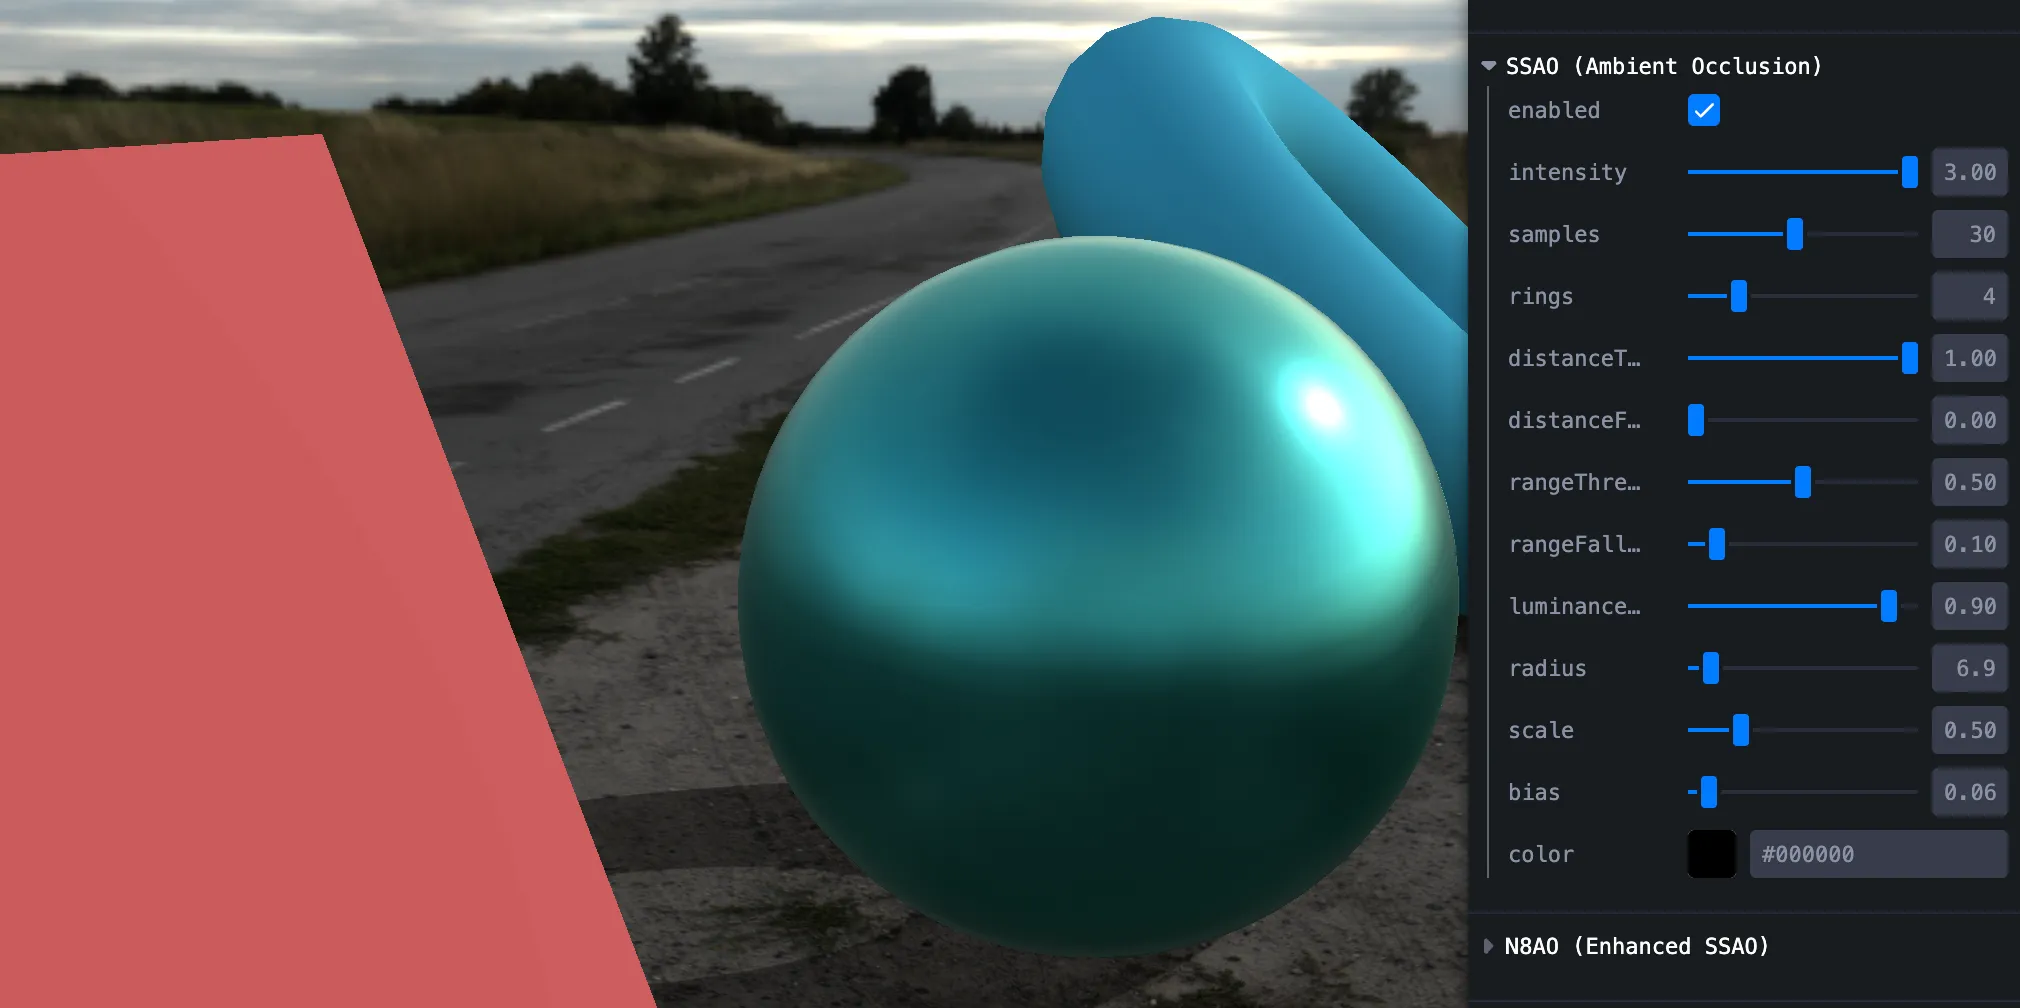
SSAO
Updating params didn’t always refresh live — and it’s heavy.
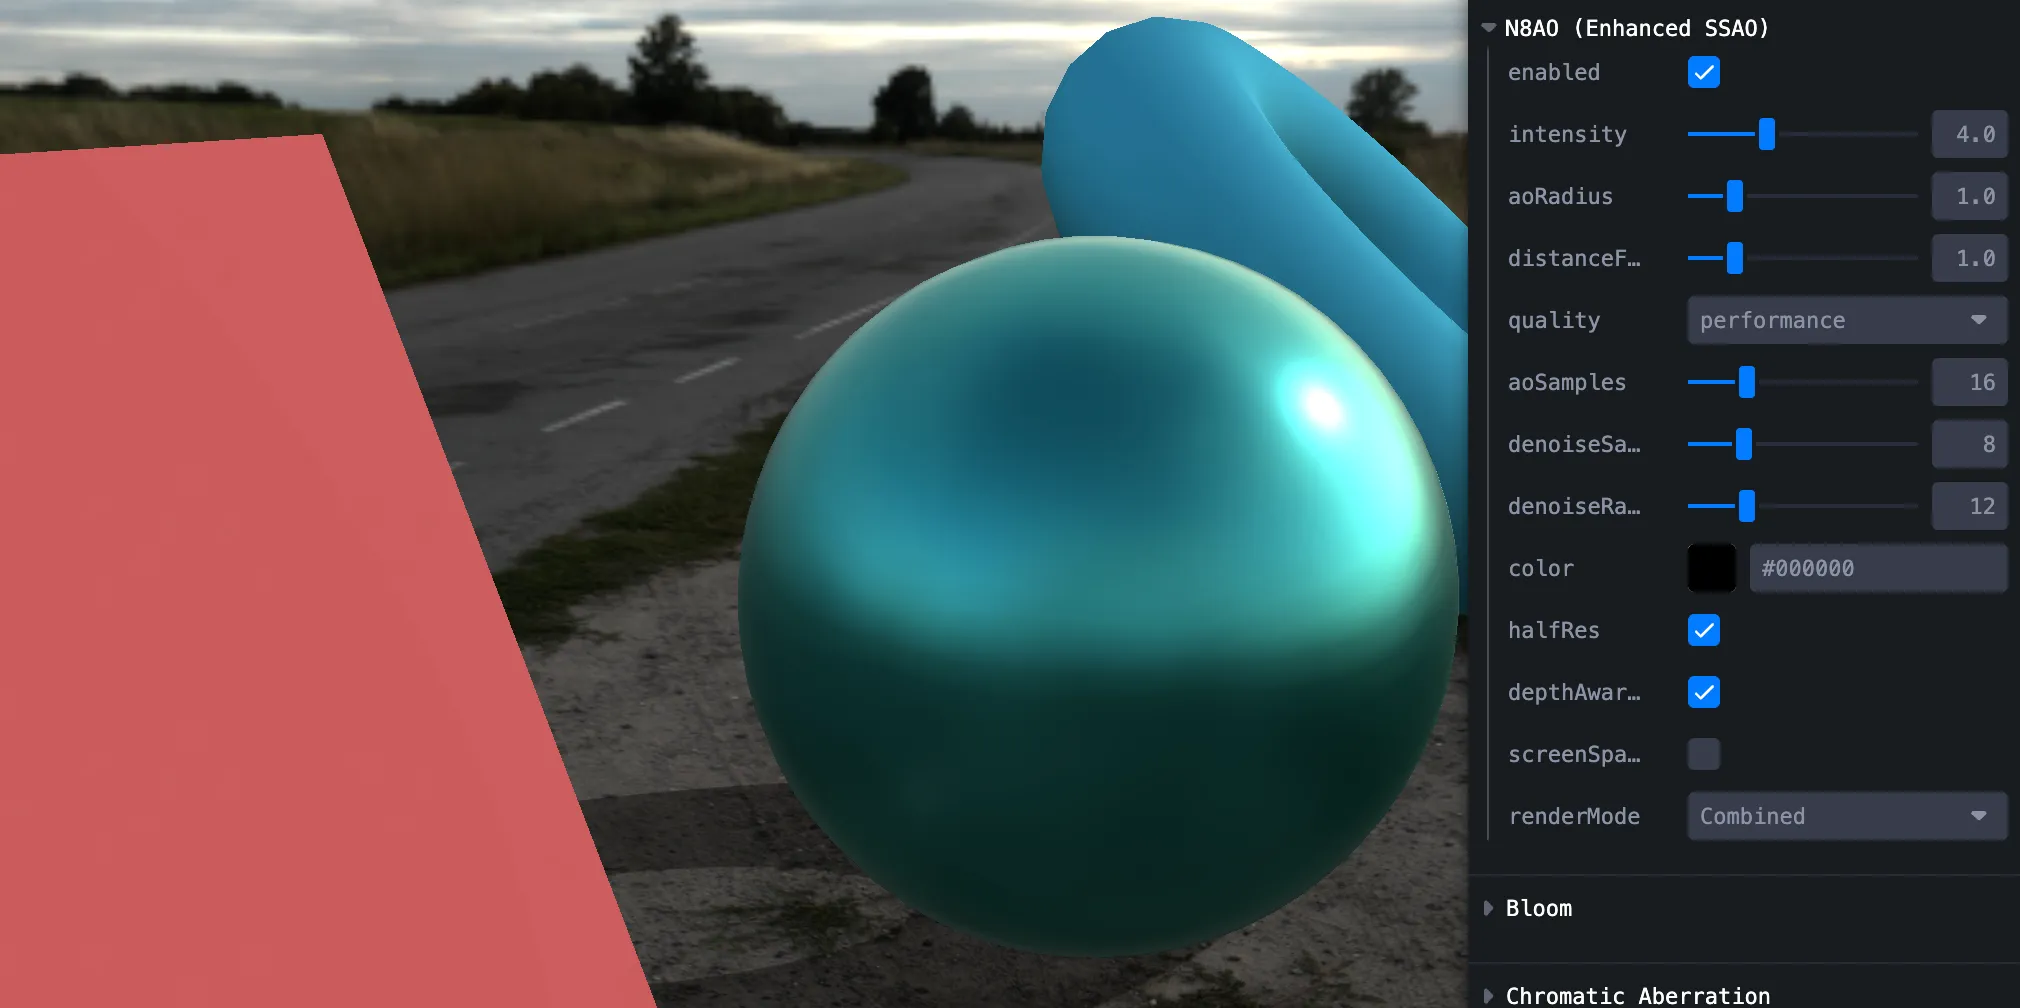
N8AO (SSAO)
Prefer this over stock SSAO — easier and stable. Source
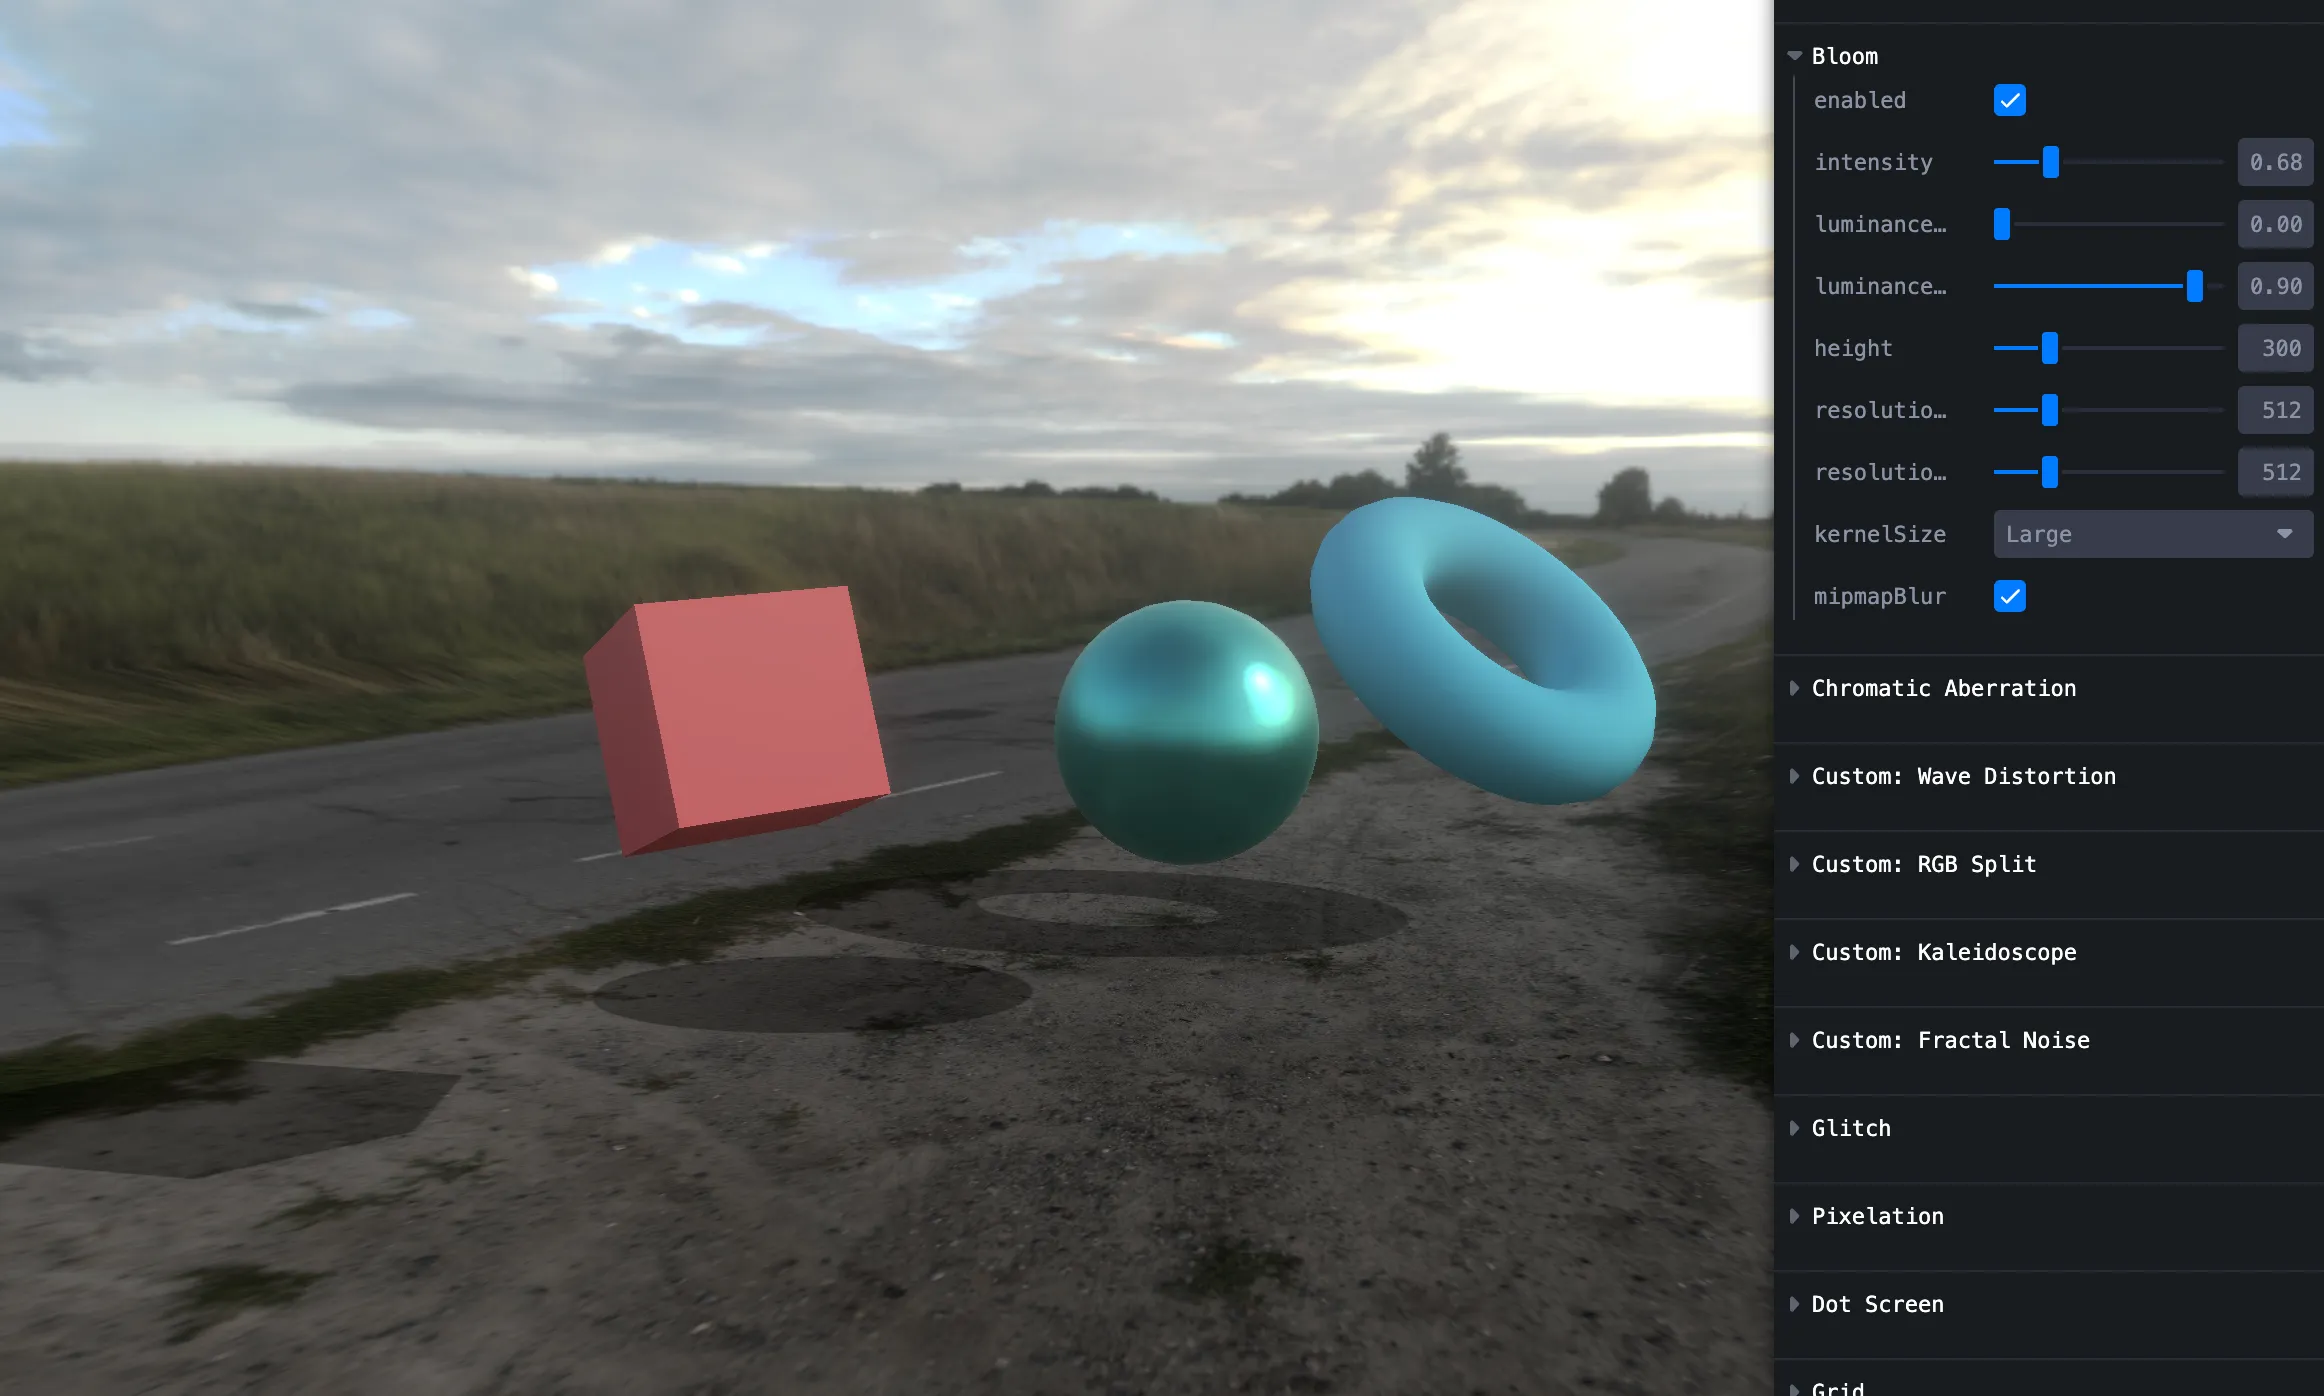
Bloom
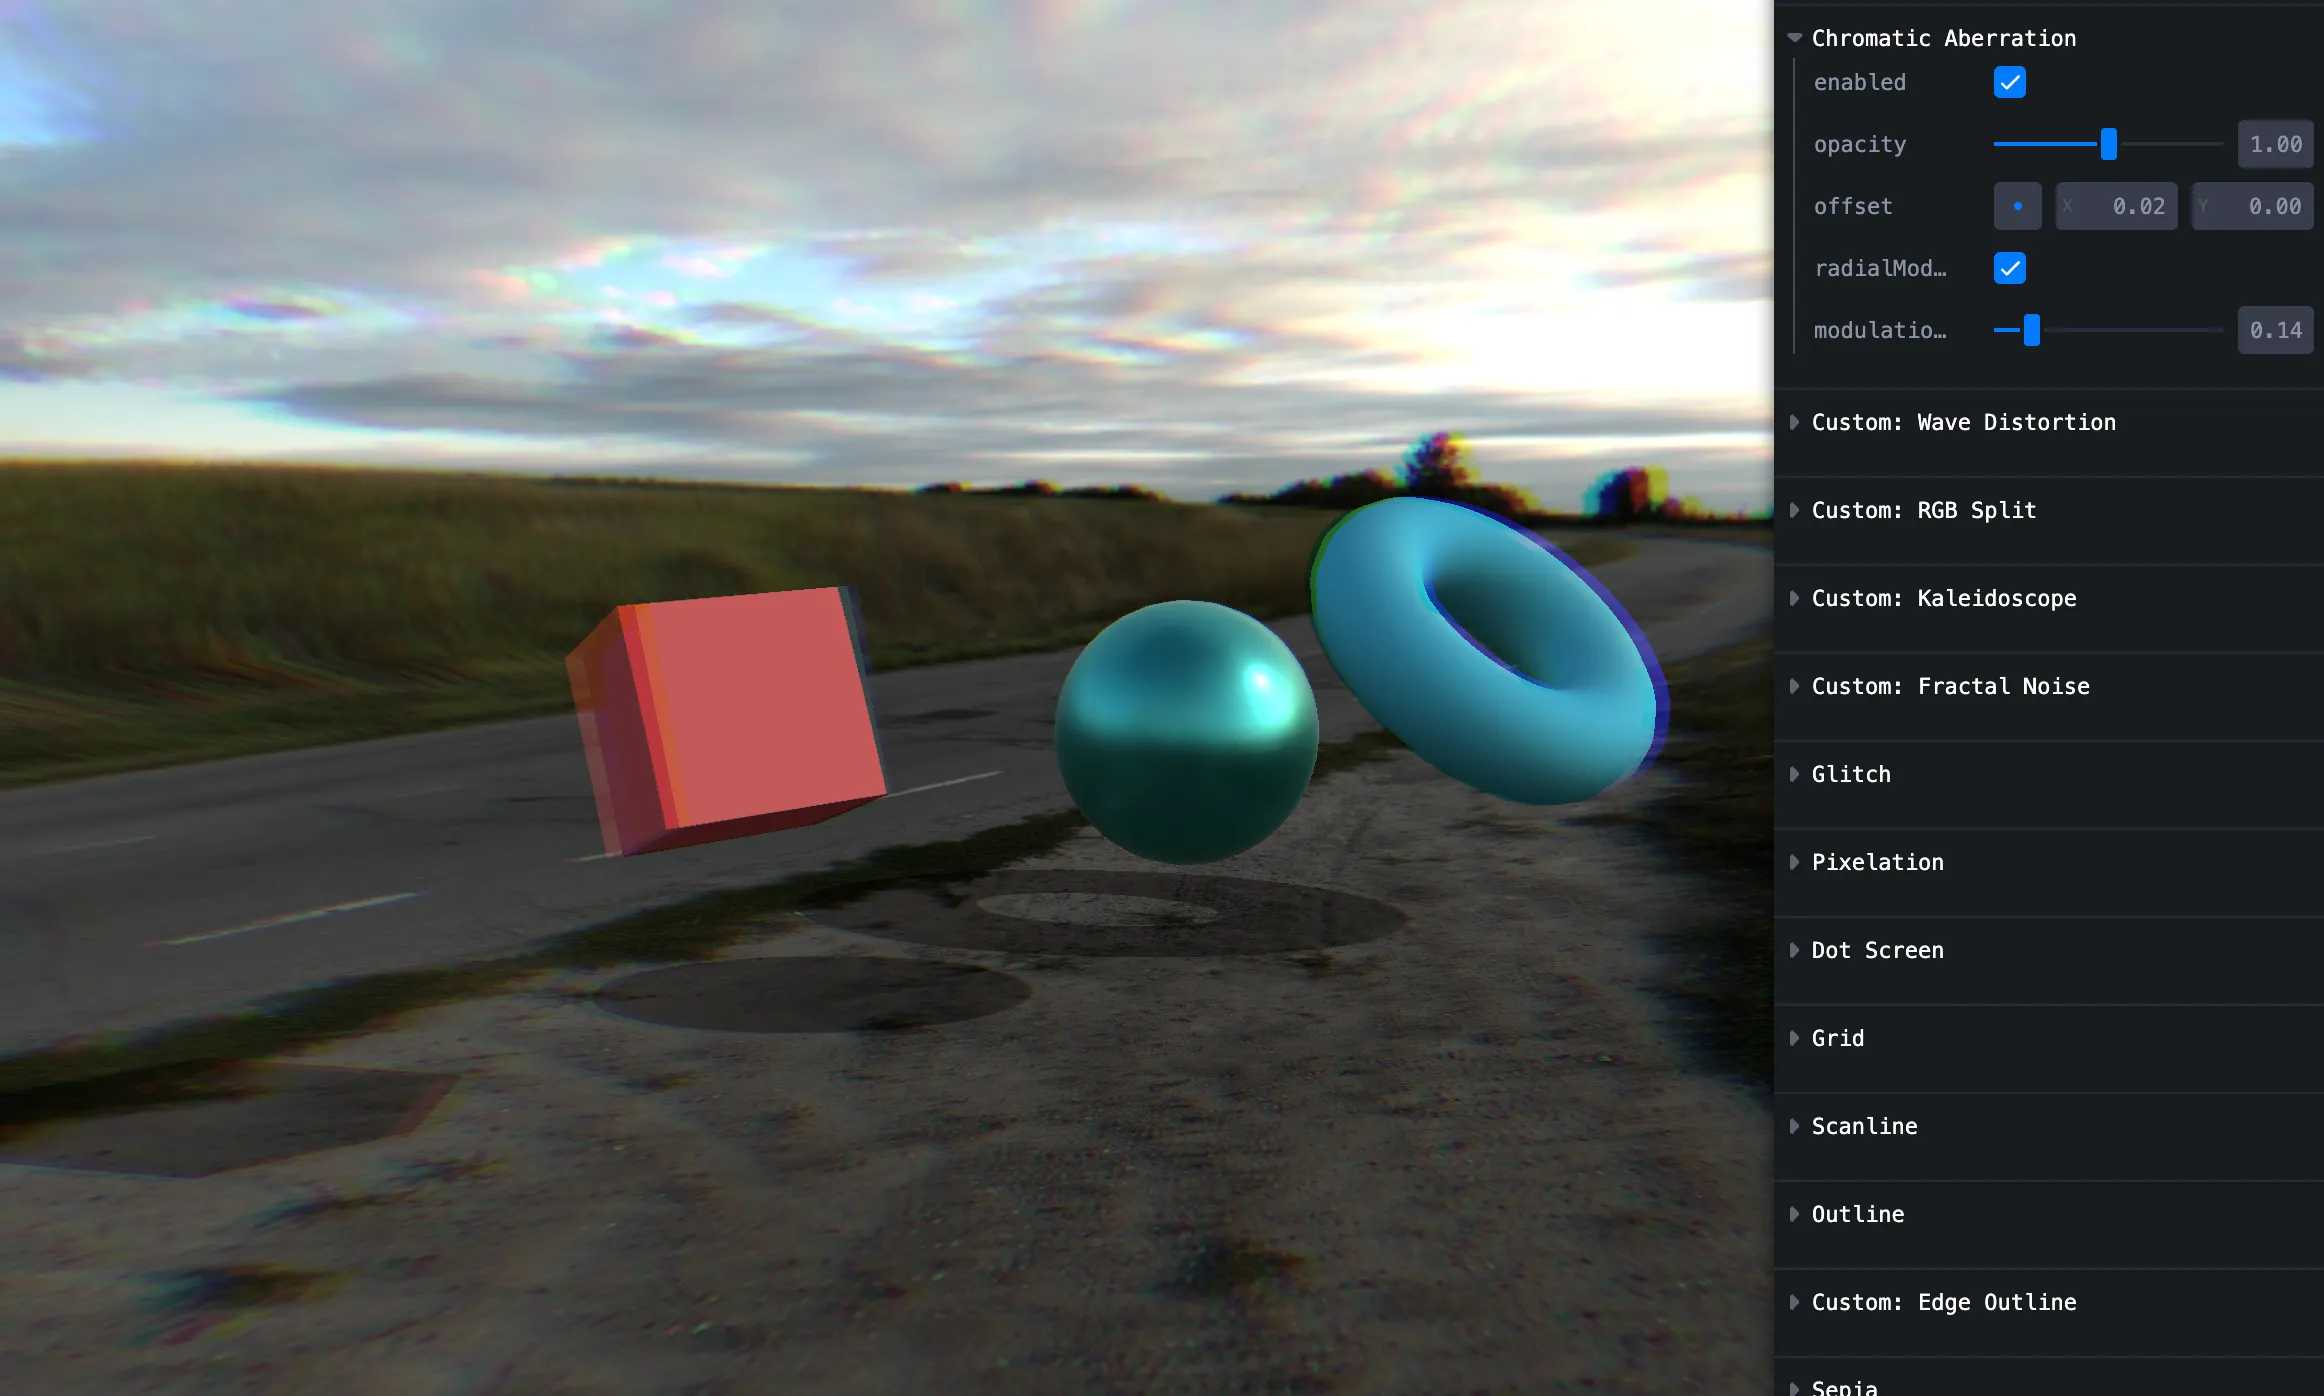
Chromatic aberration
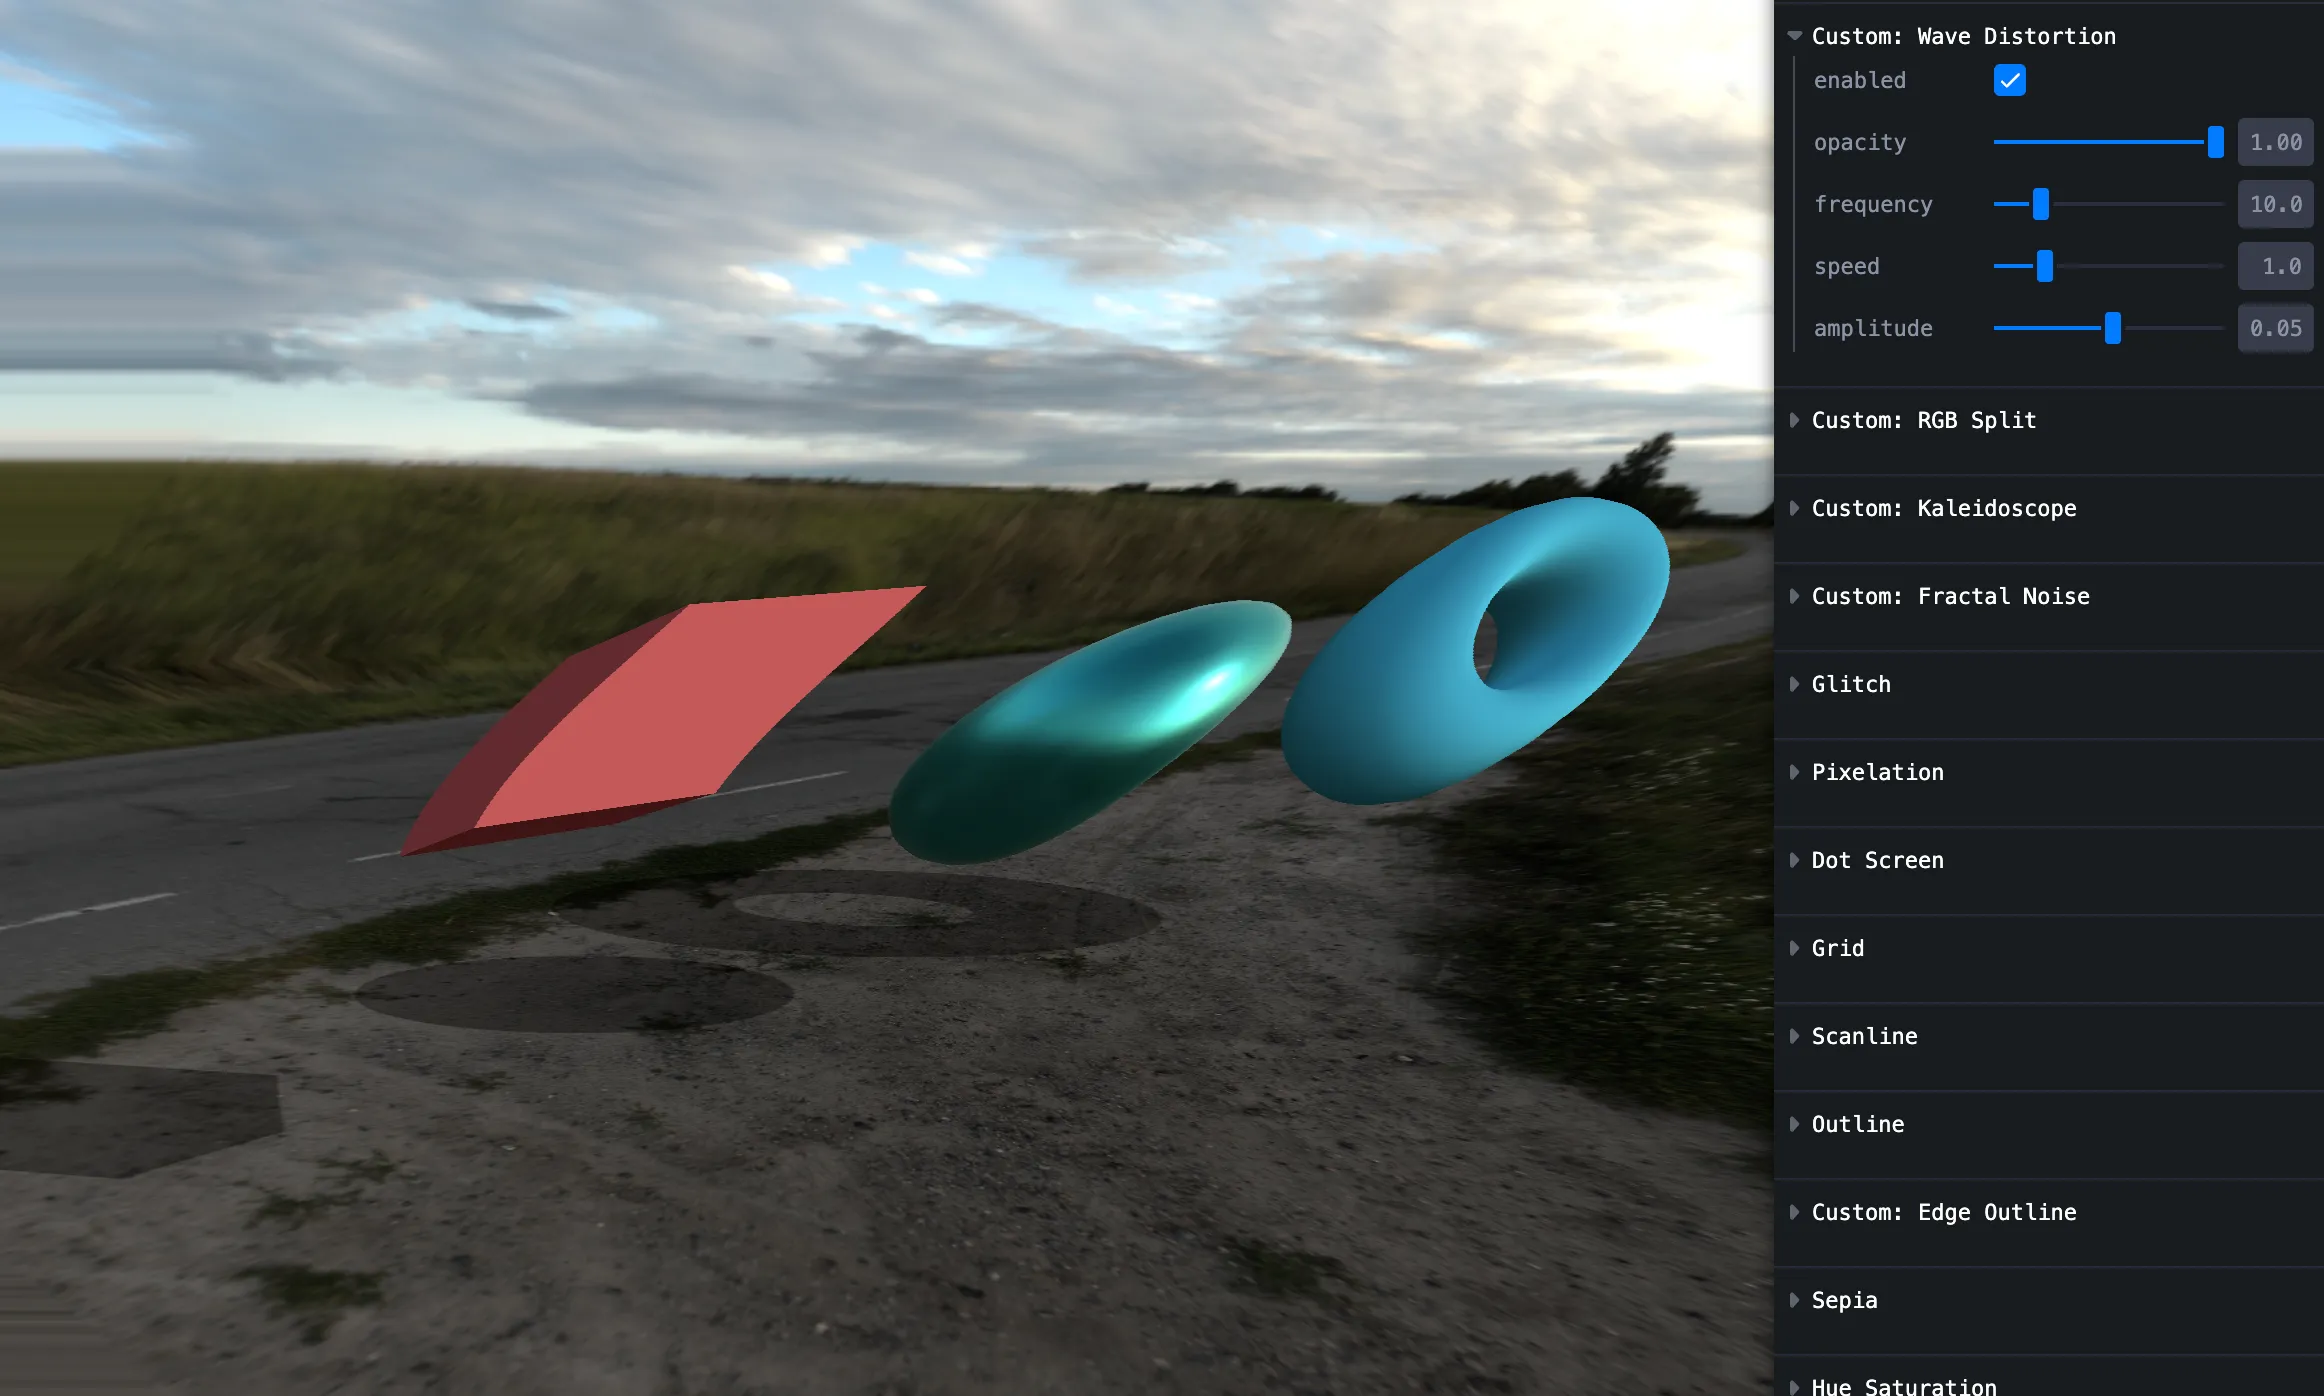
Wave distortion
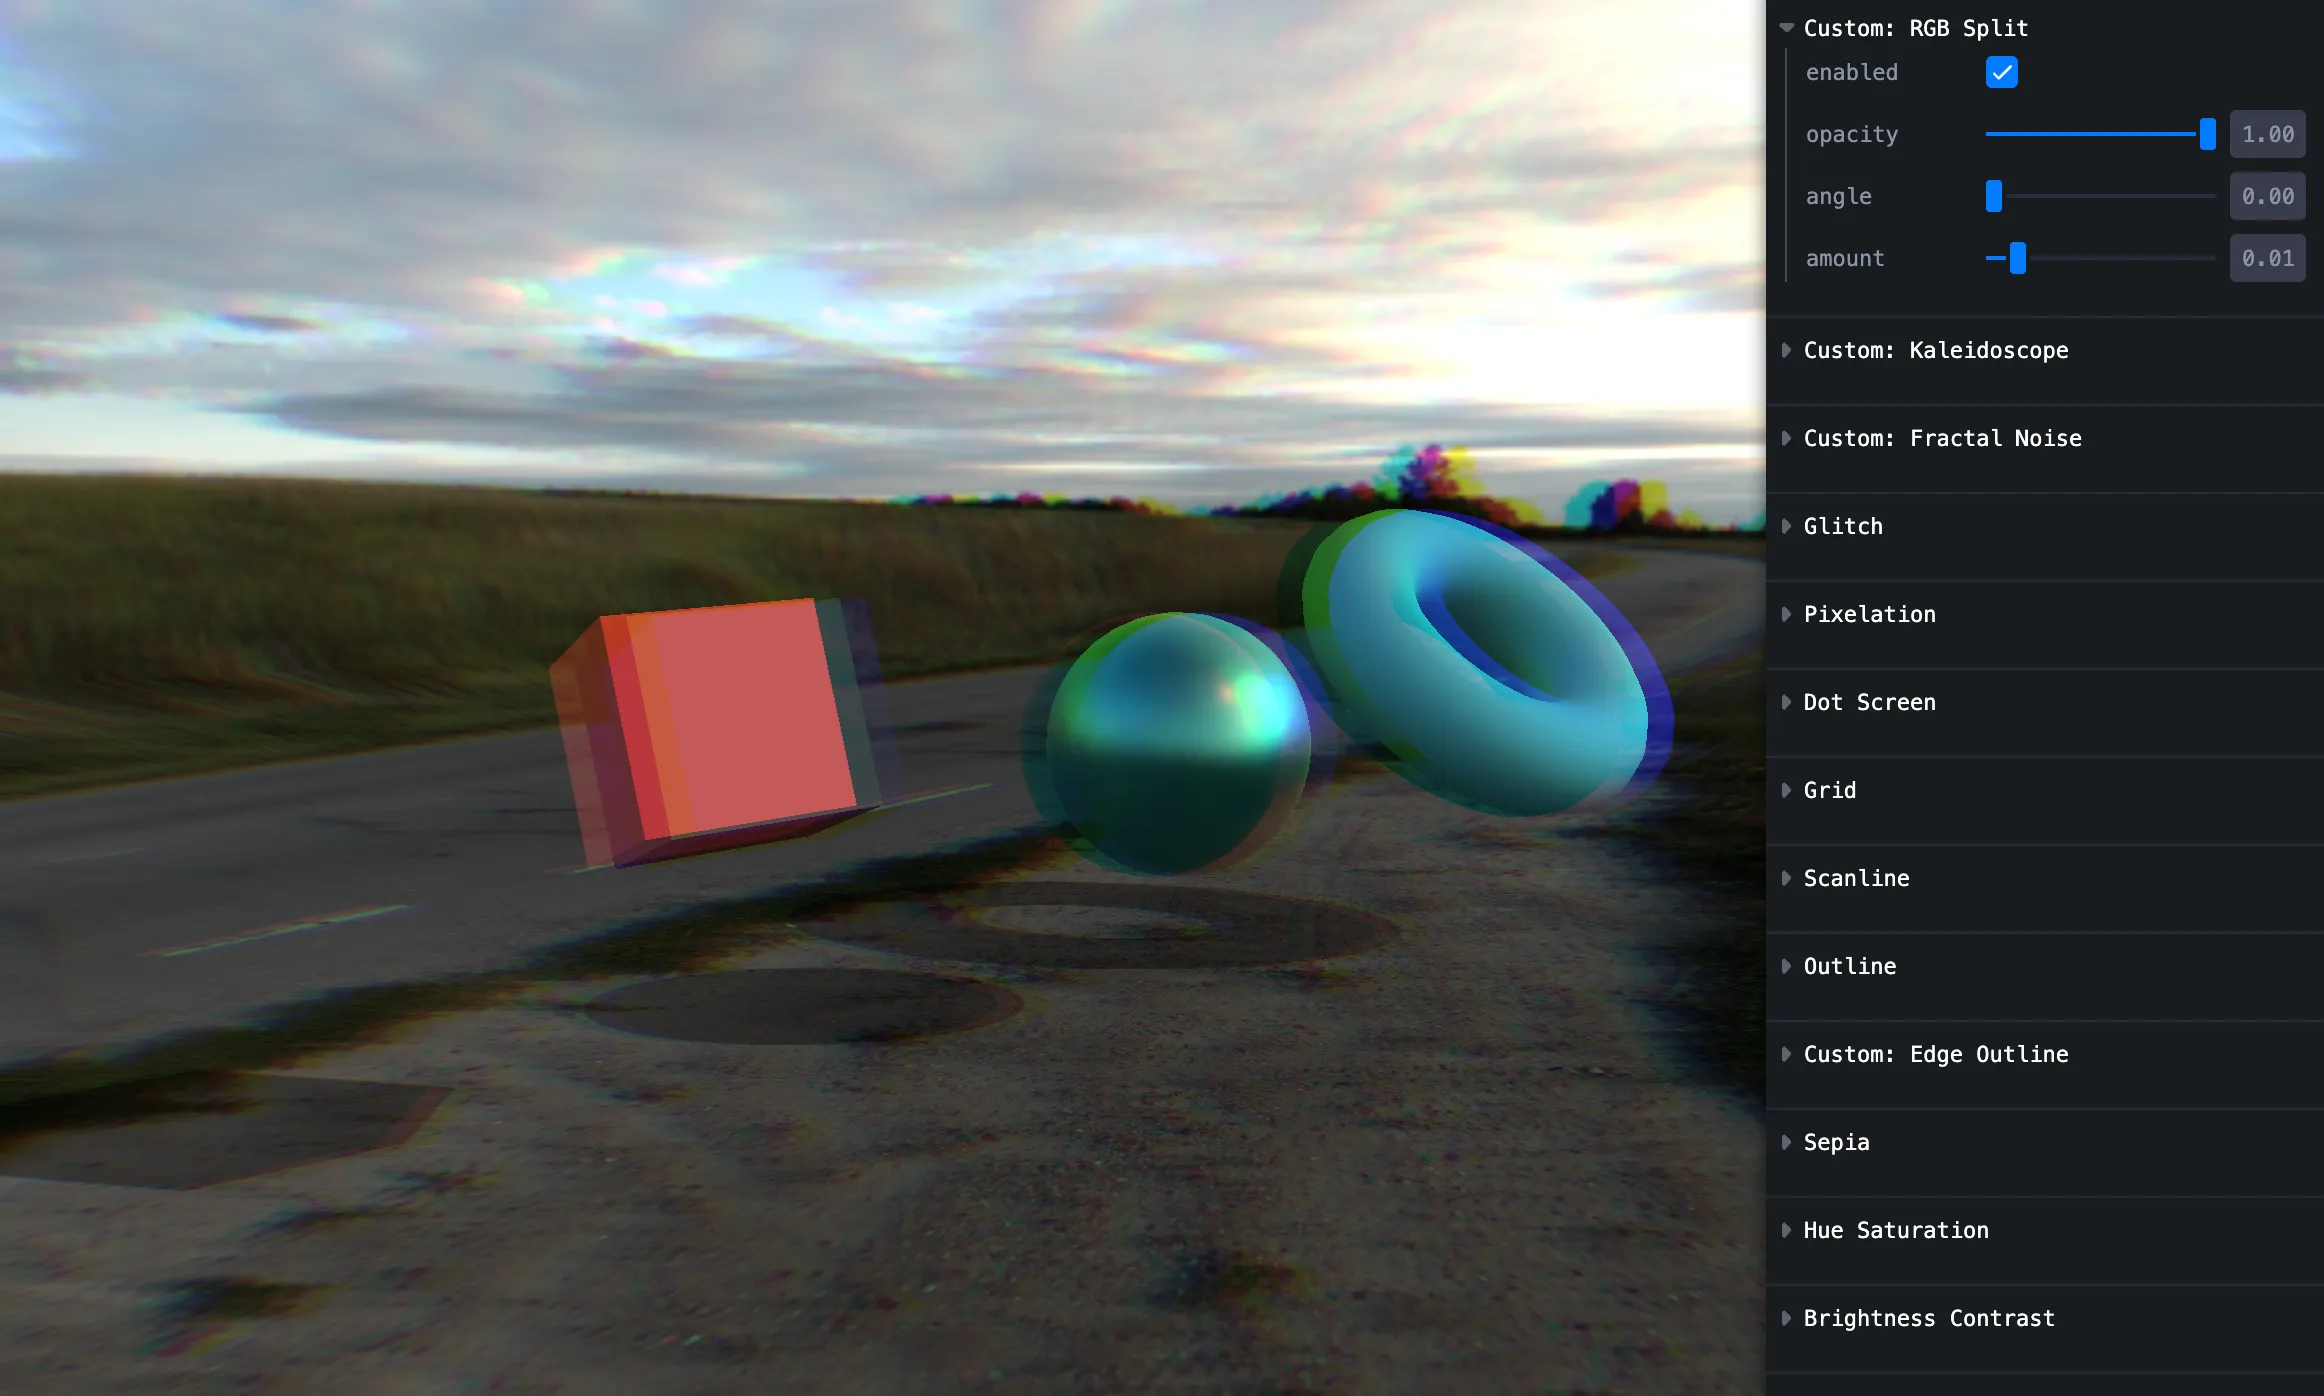
RGB split
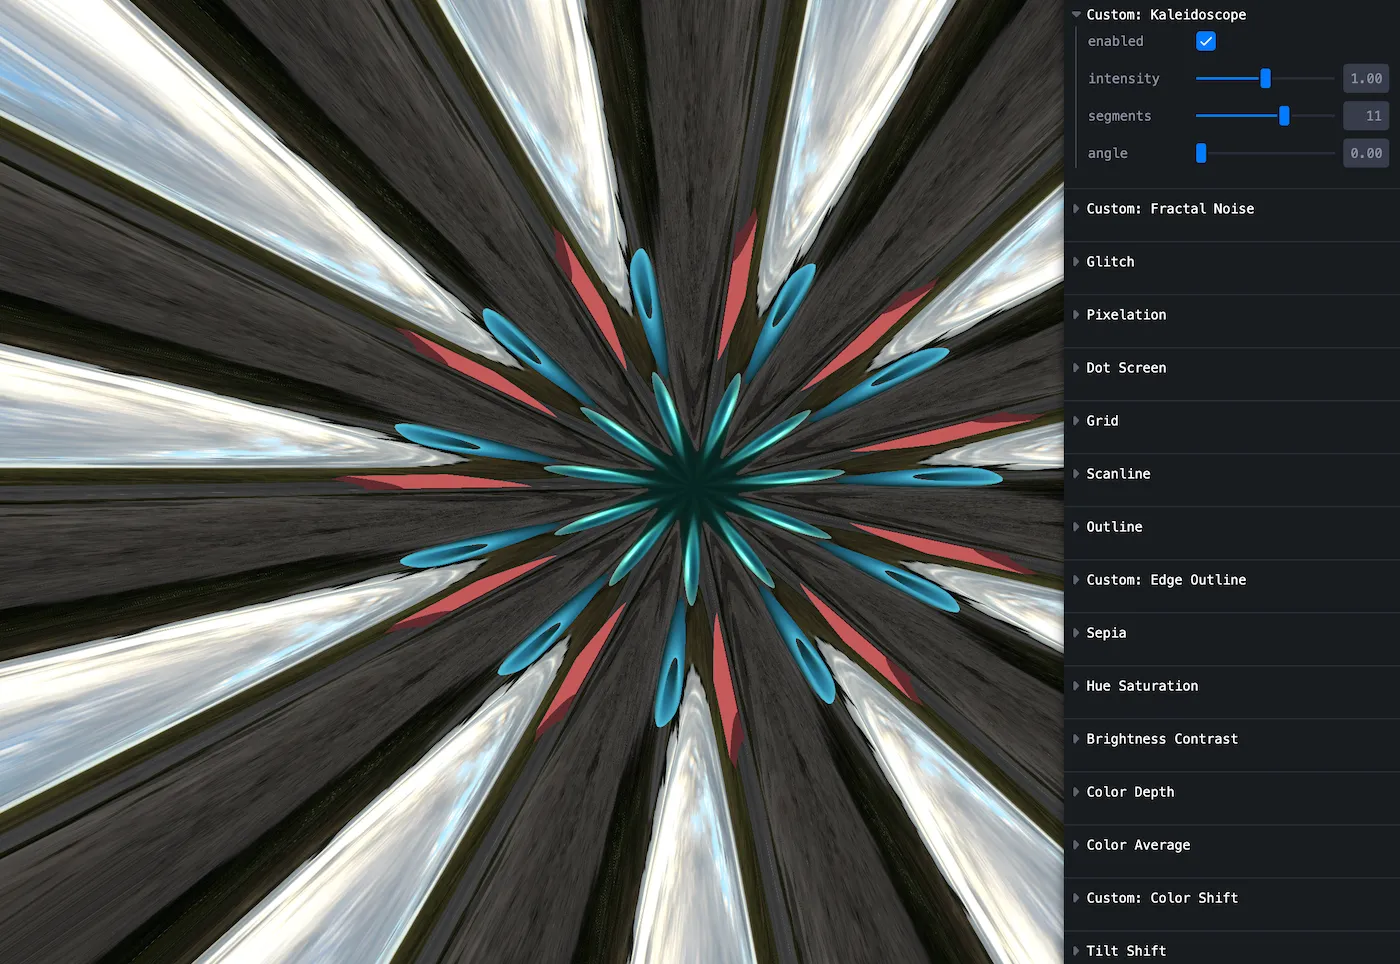
Kaleidoscope
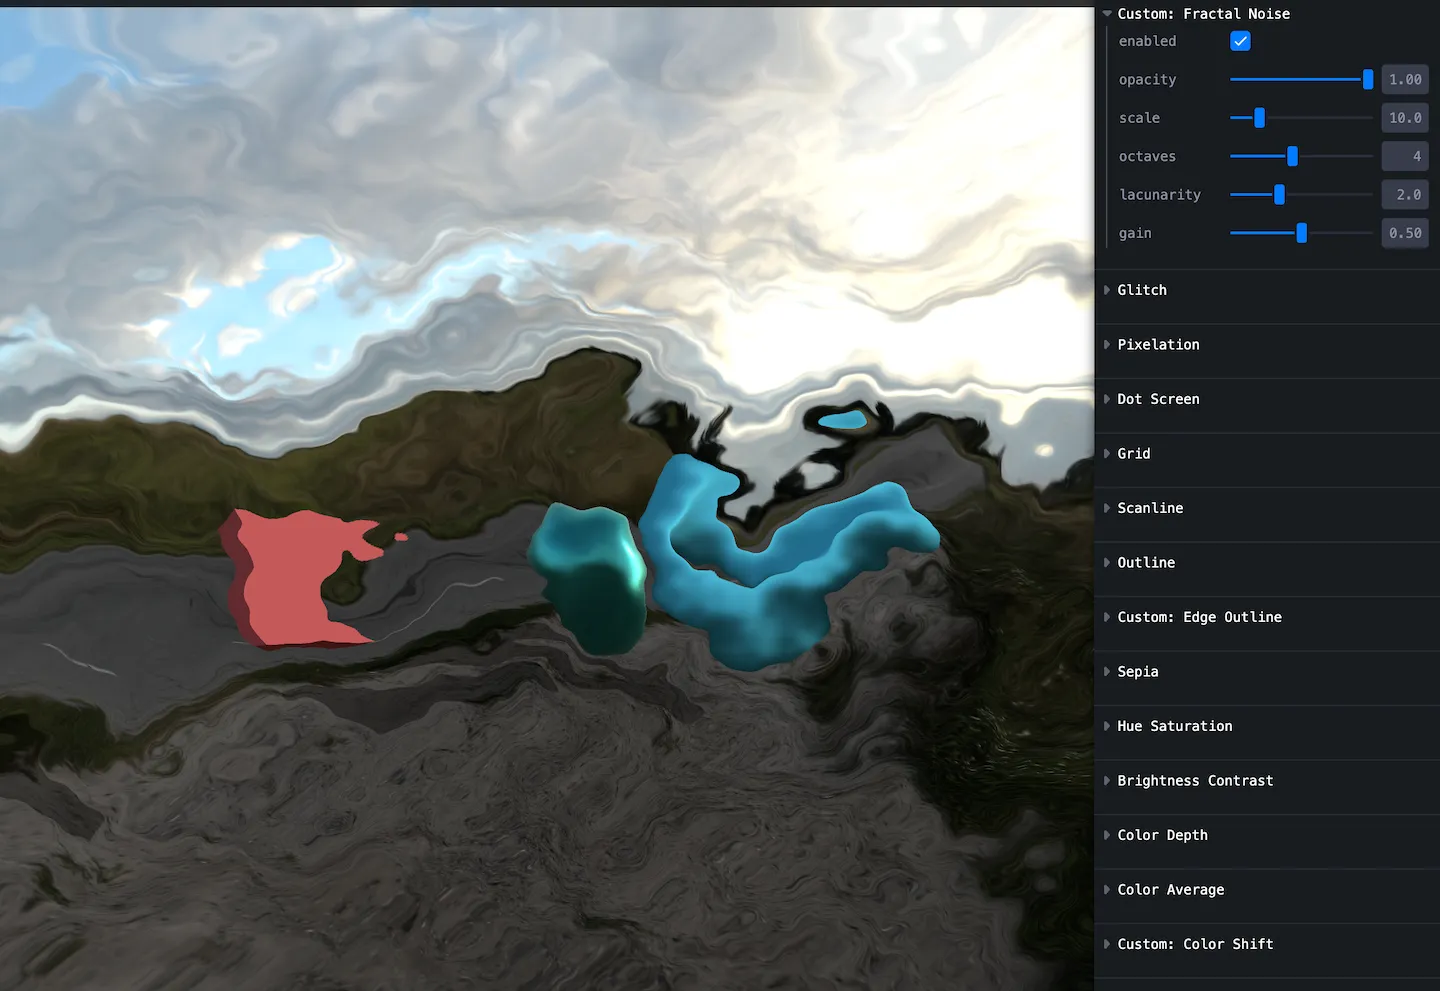
Fractal noise
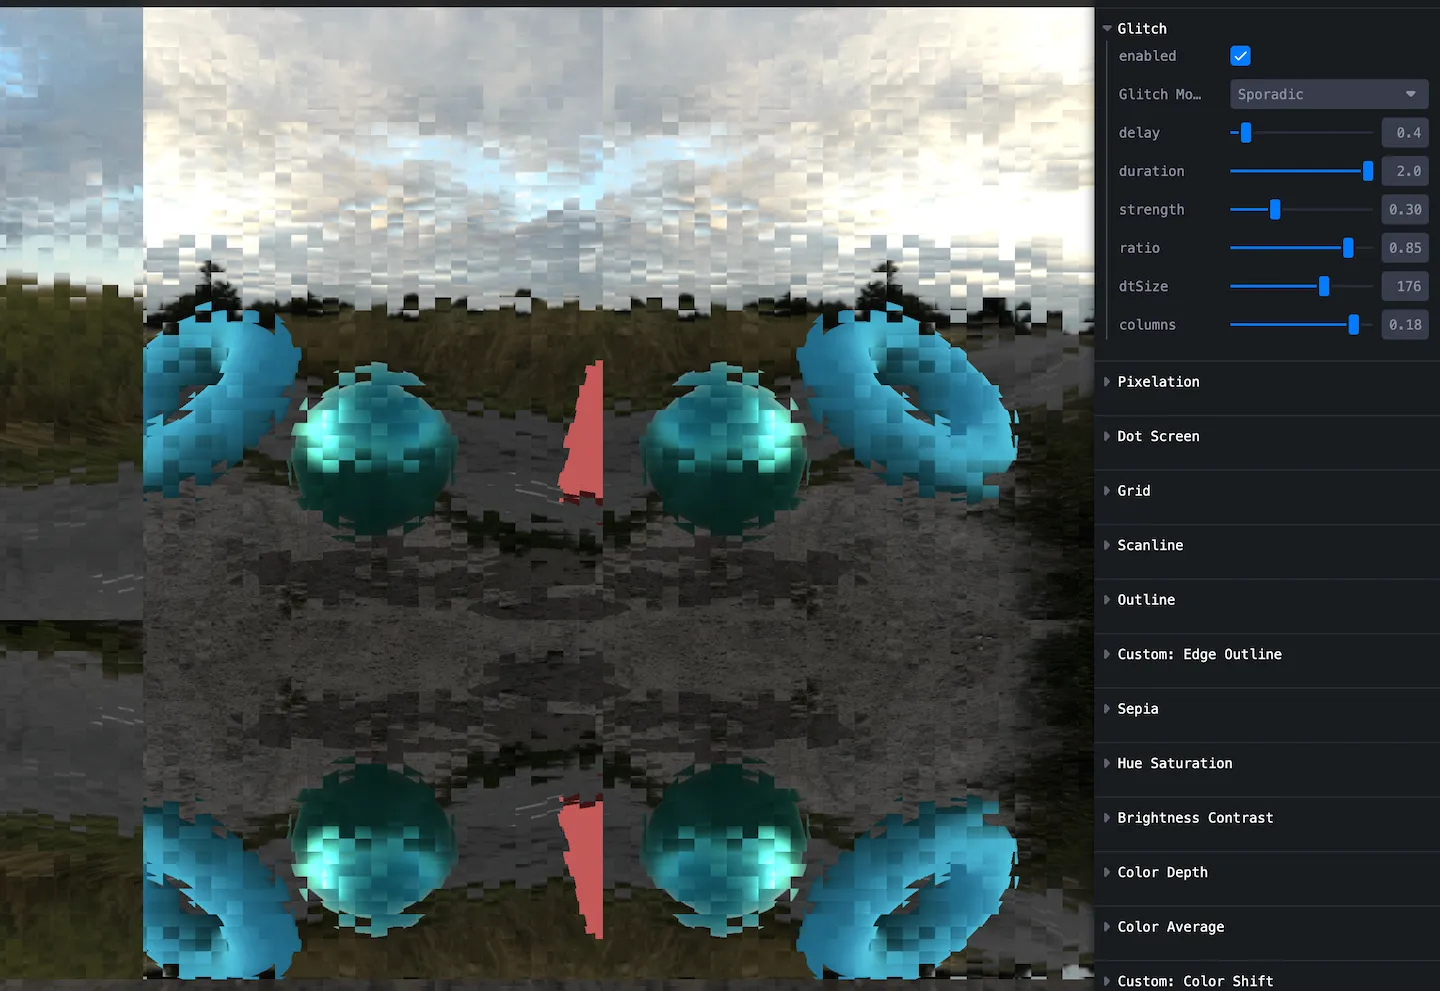
Glitch
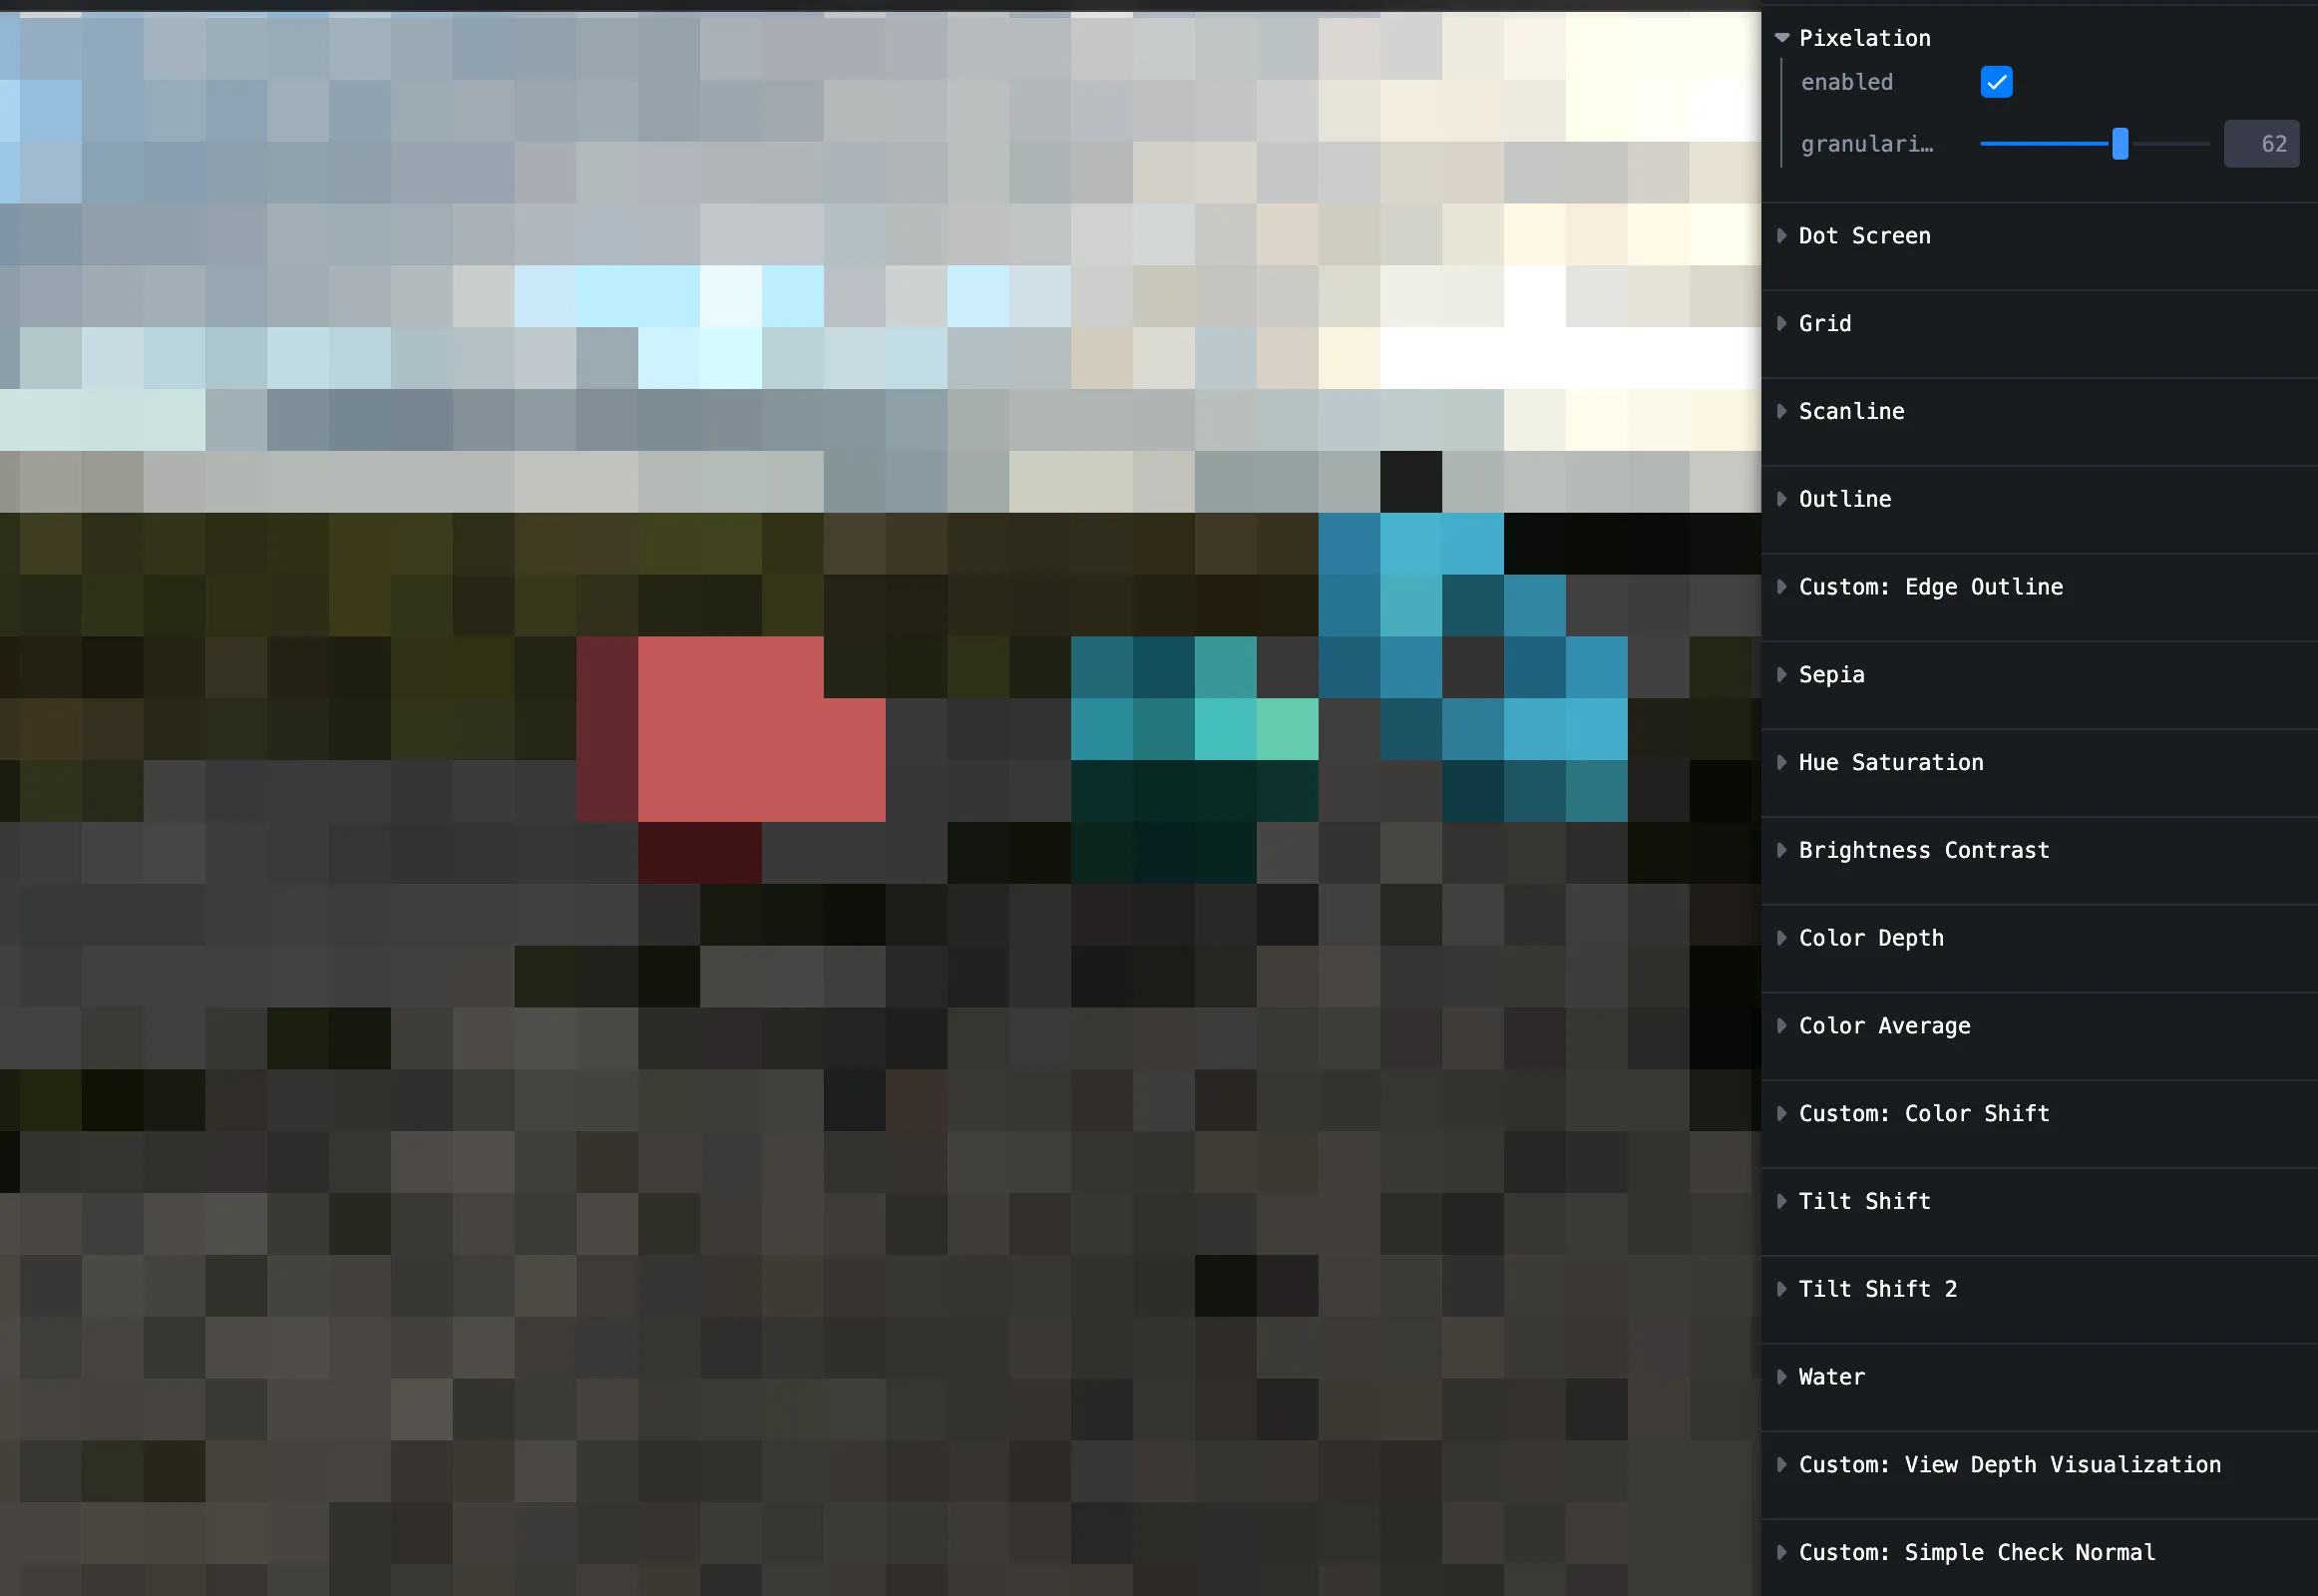
Pixelation
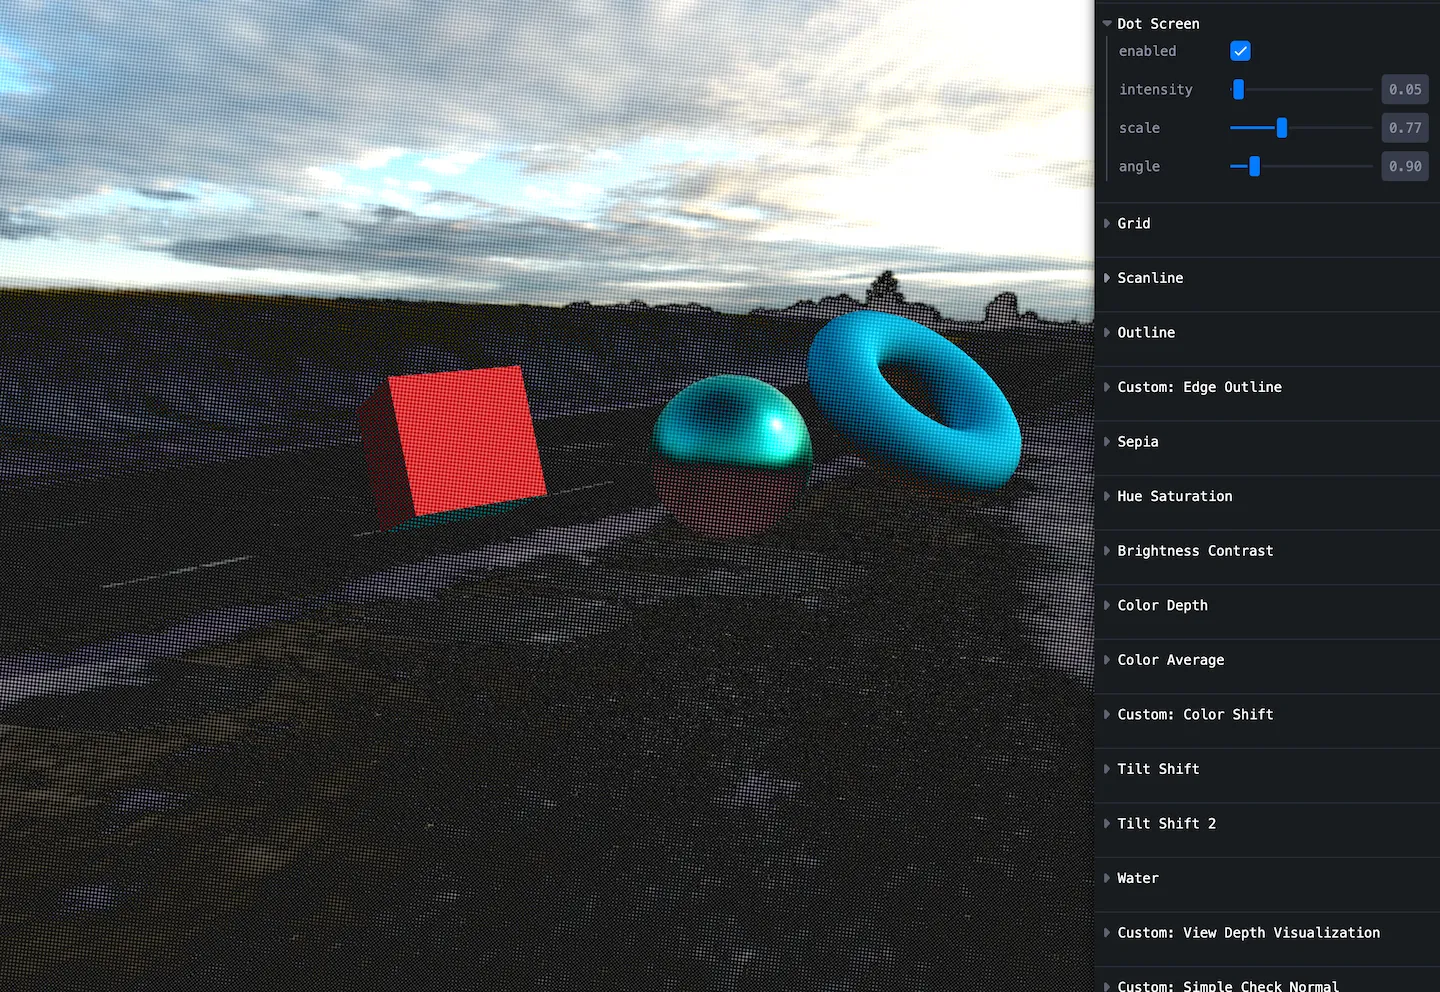
Dot screen
Comic halftone vibe.
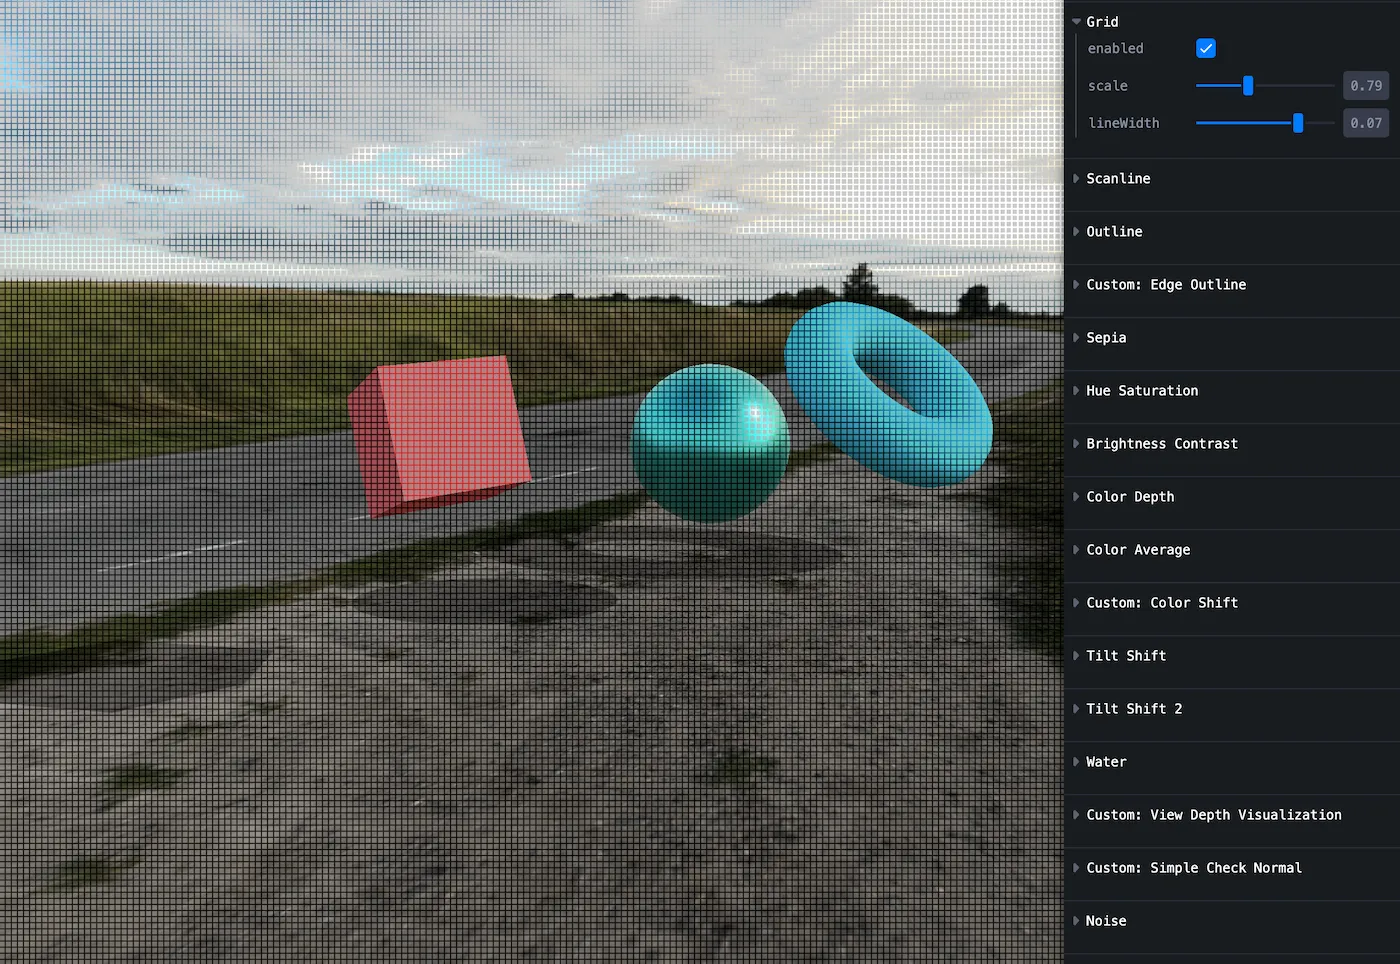
Grid
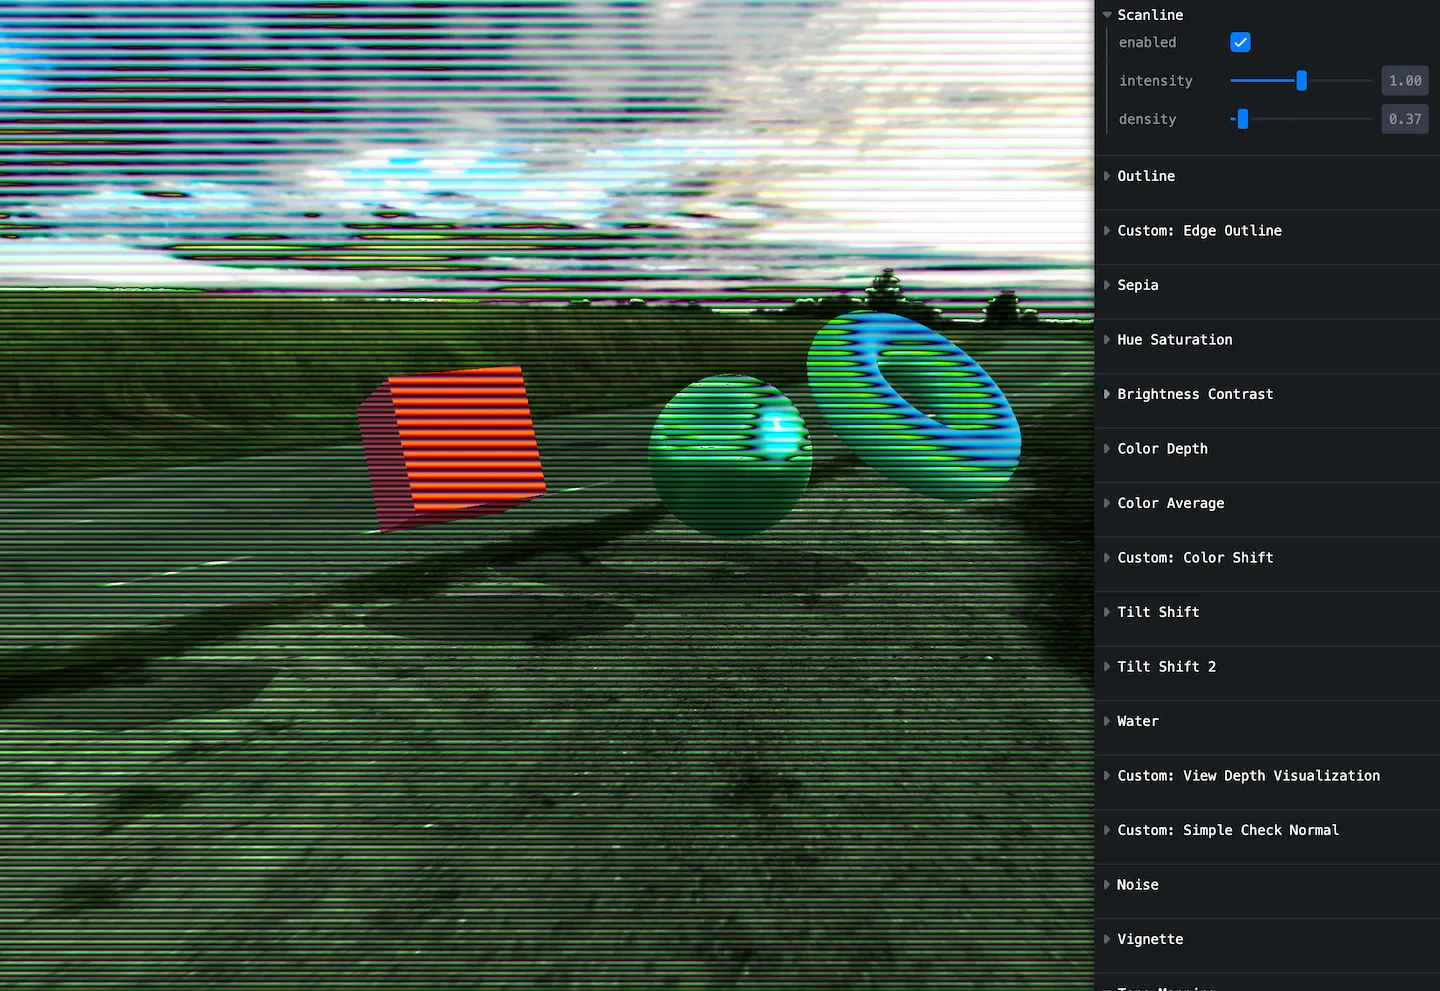
Scanline
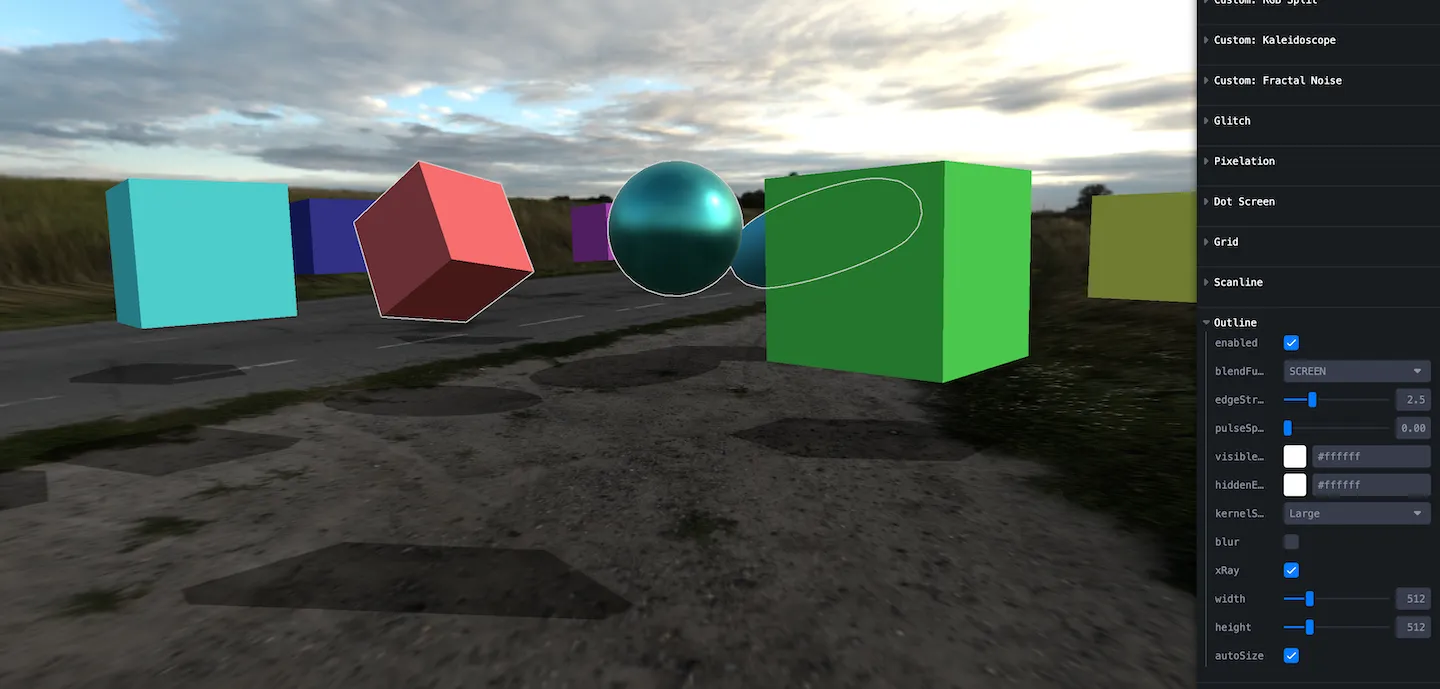
Outline
Outline selected objects, including hidden ones — handy for UI affordances.
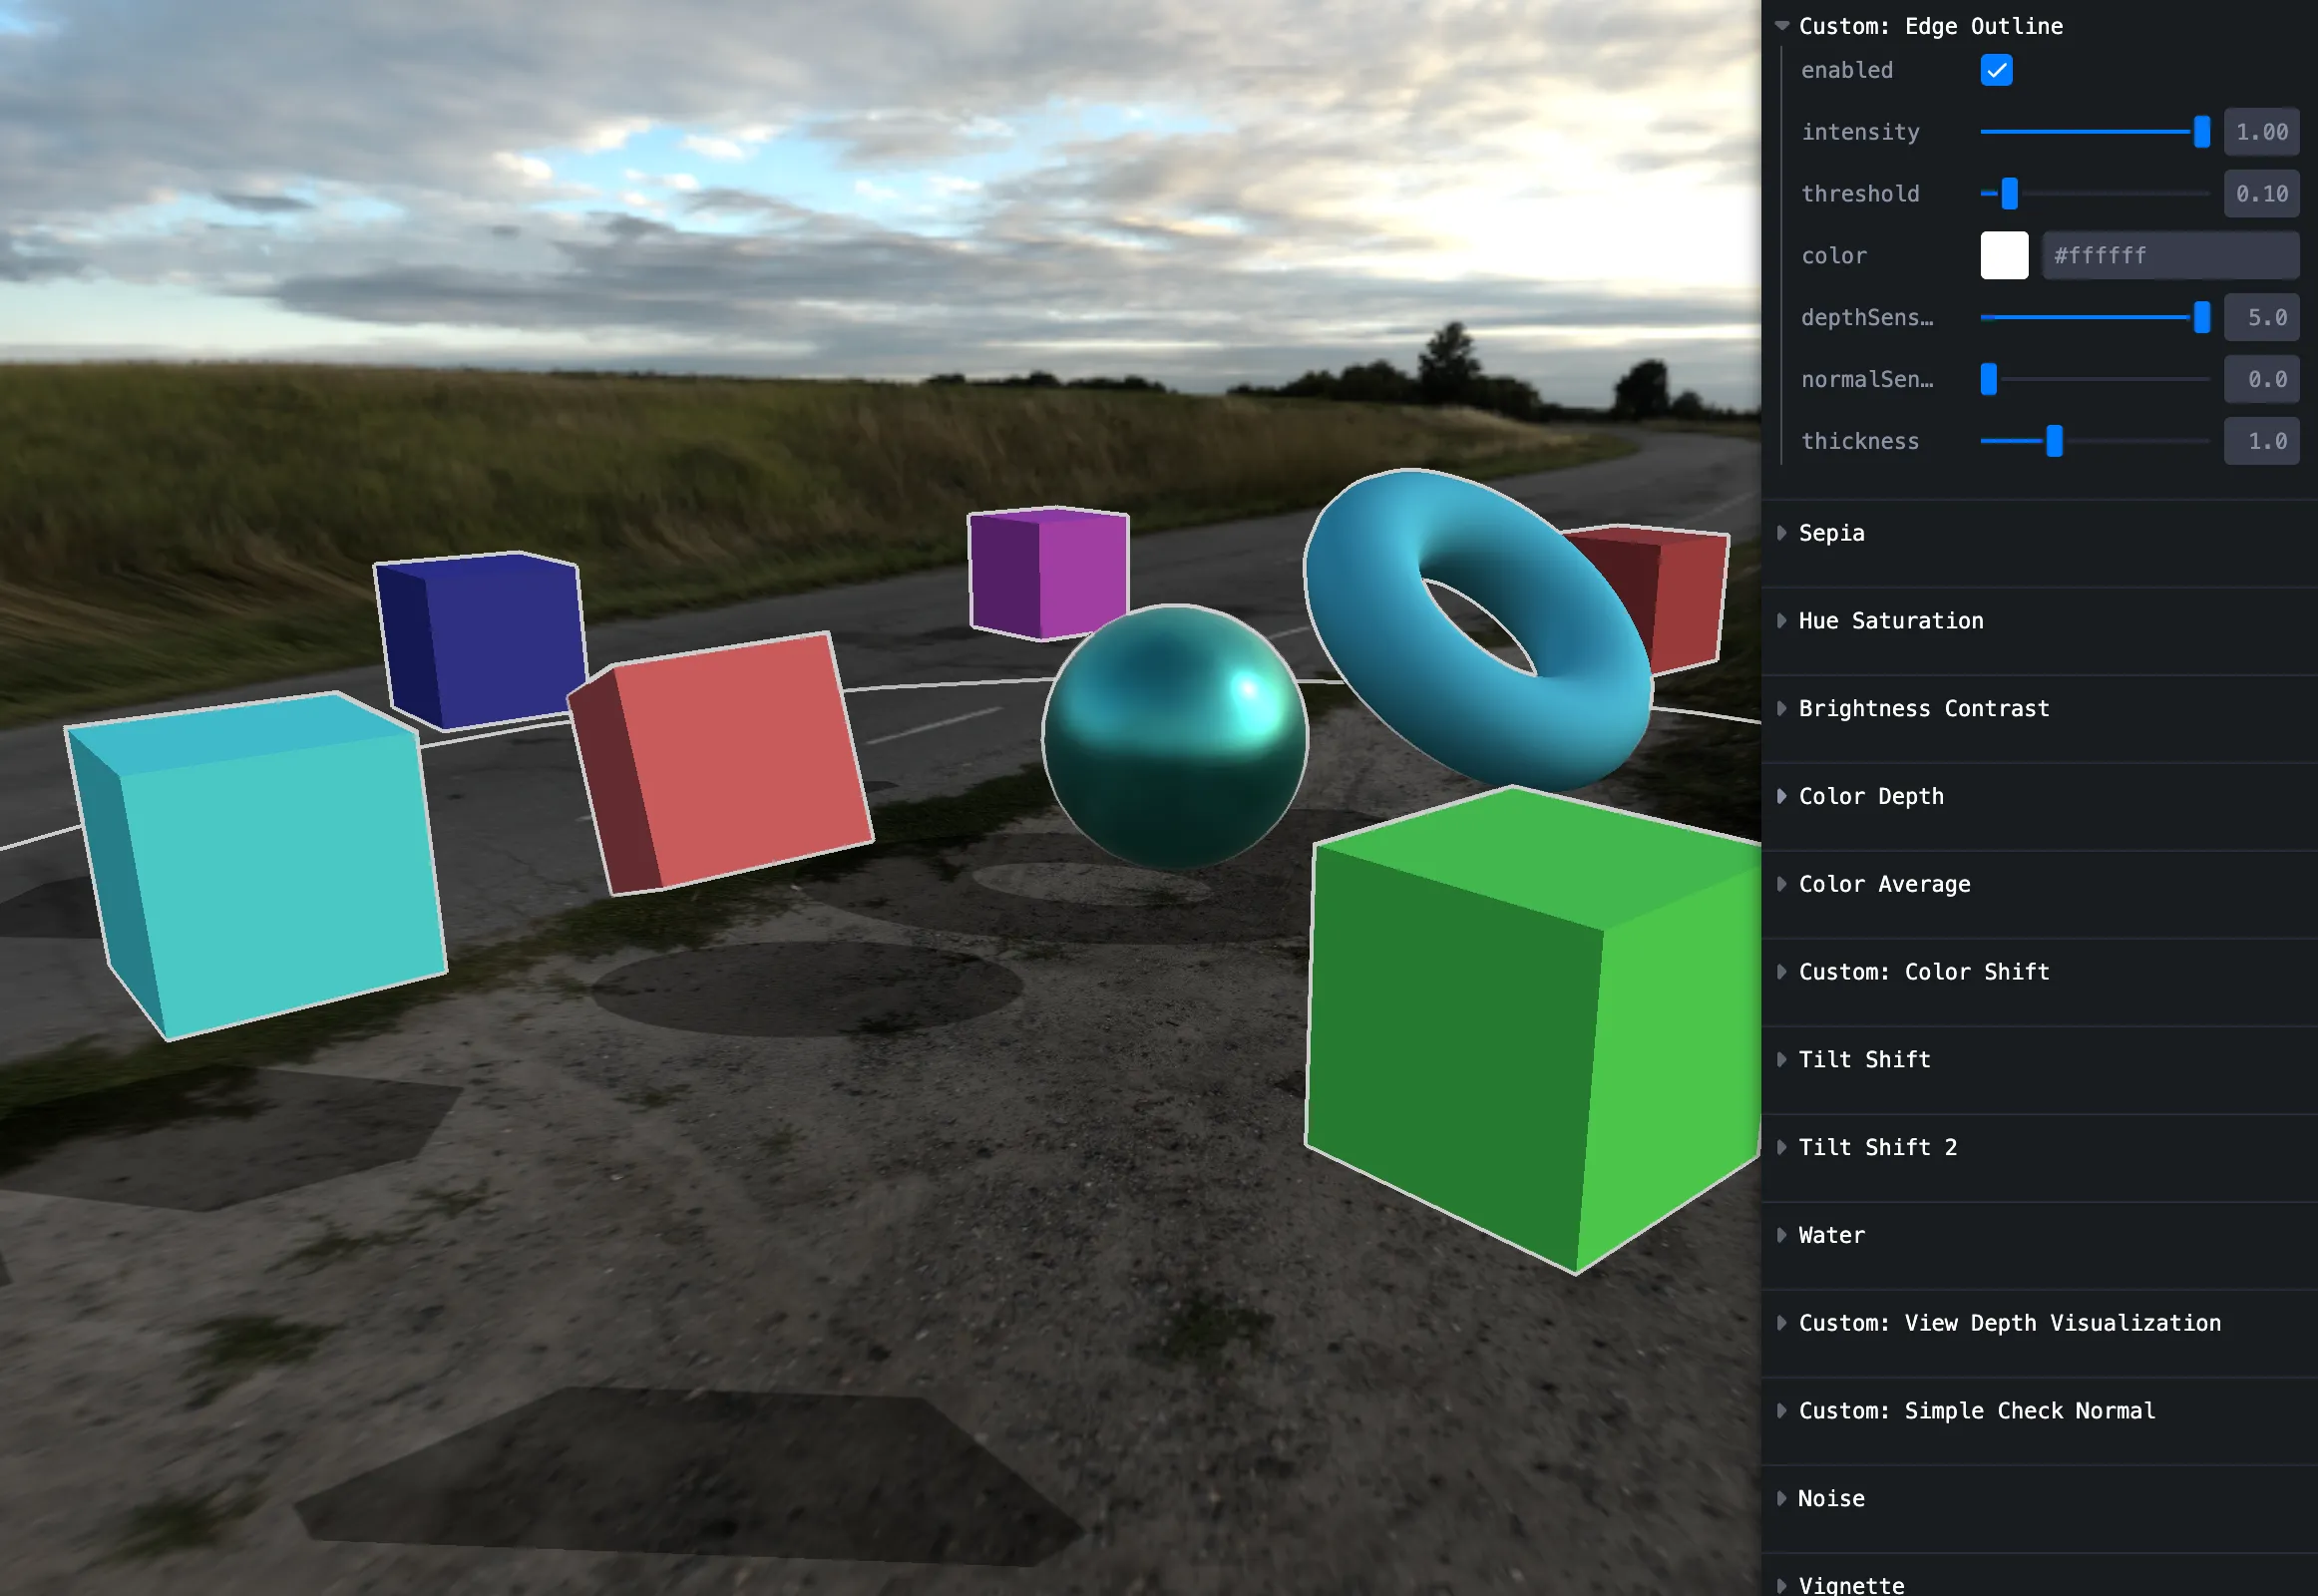
Edge outline
Depth + normals edge detection — toon / cel looks.
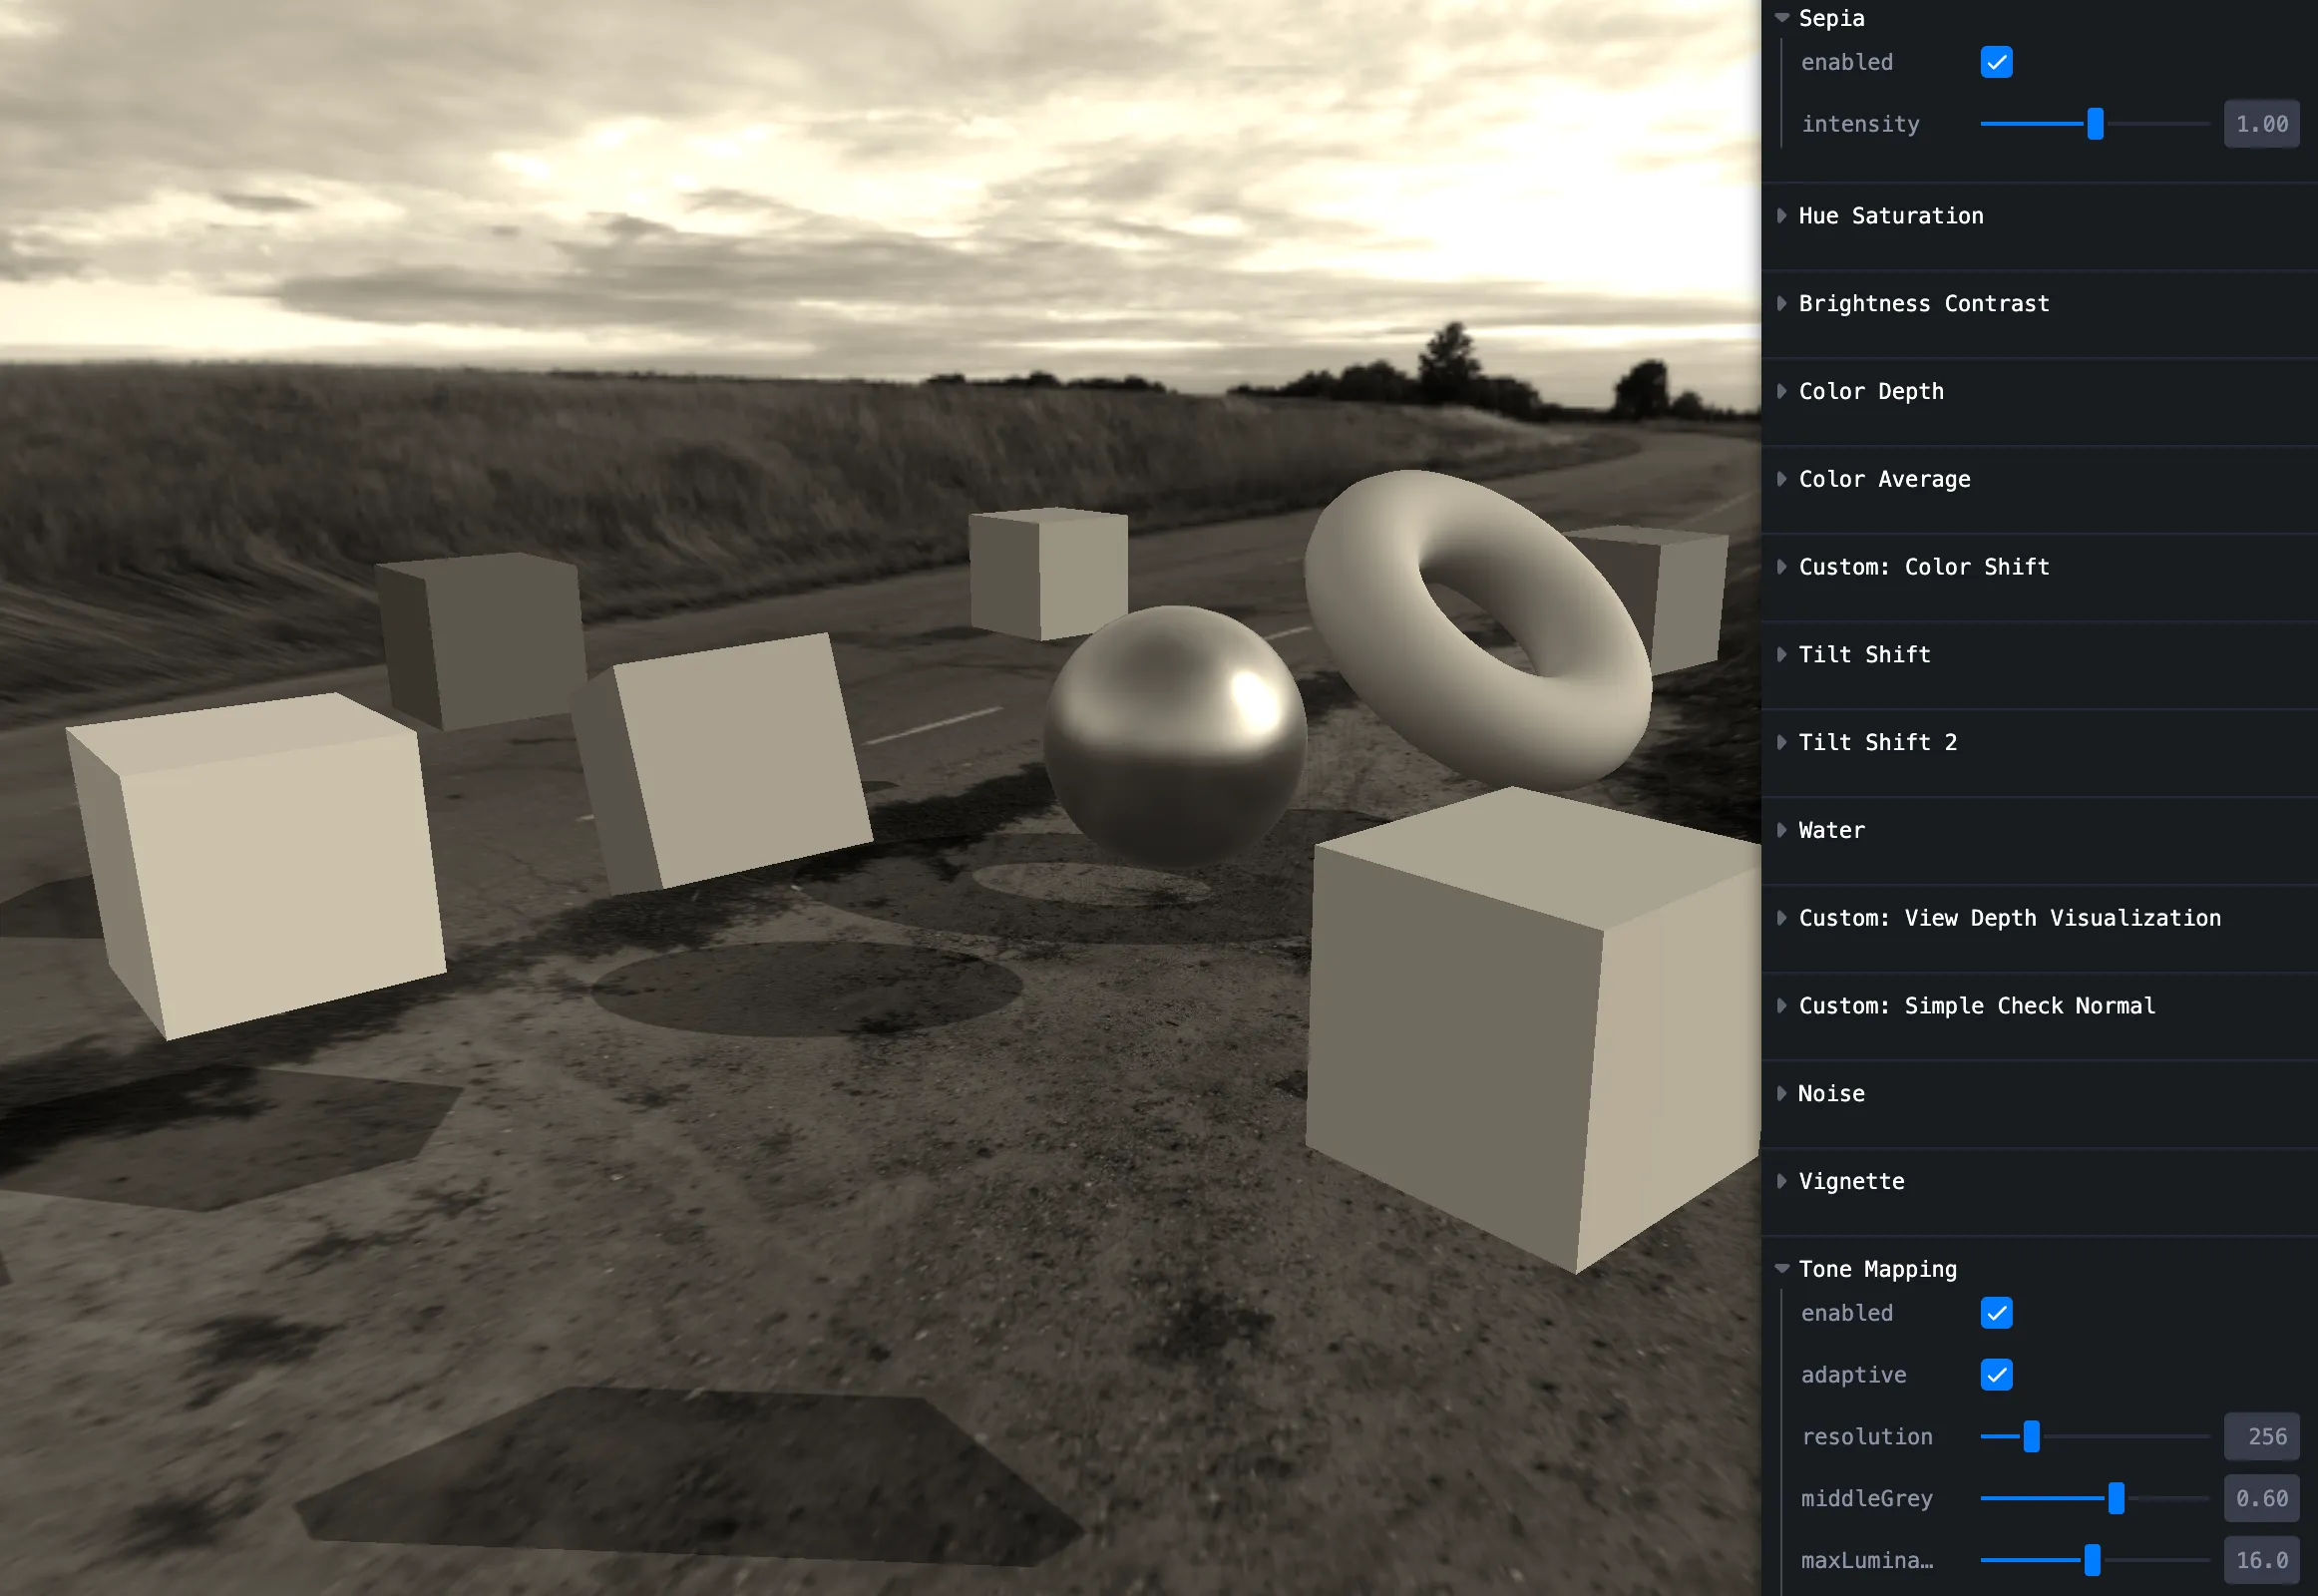
Sepia
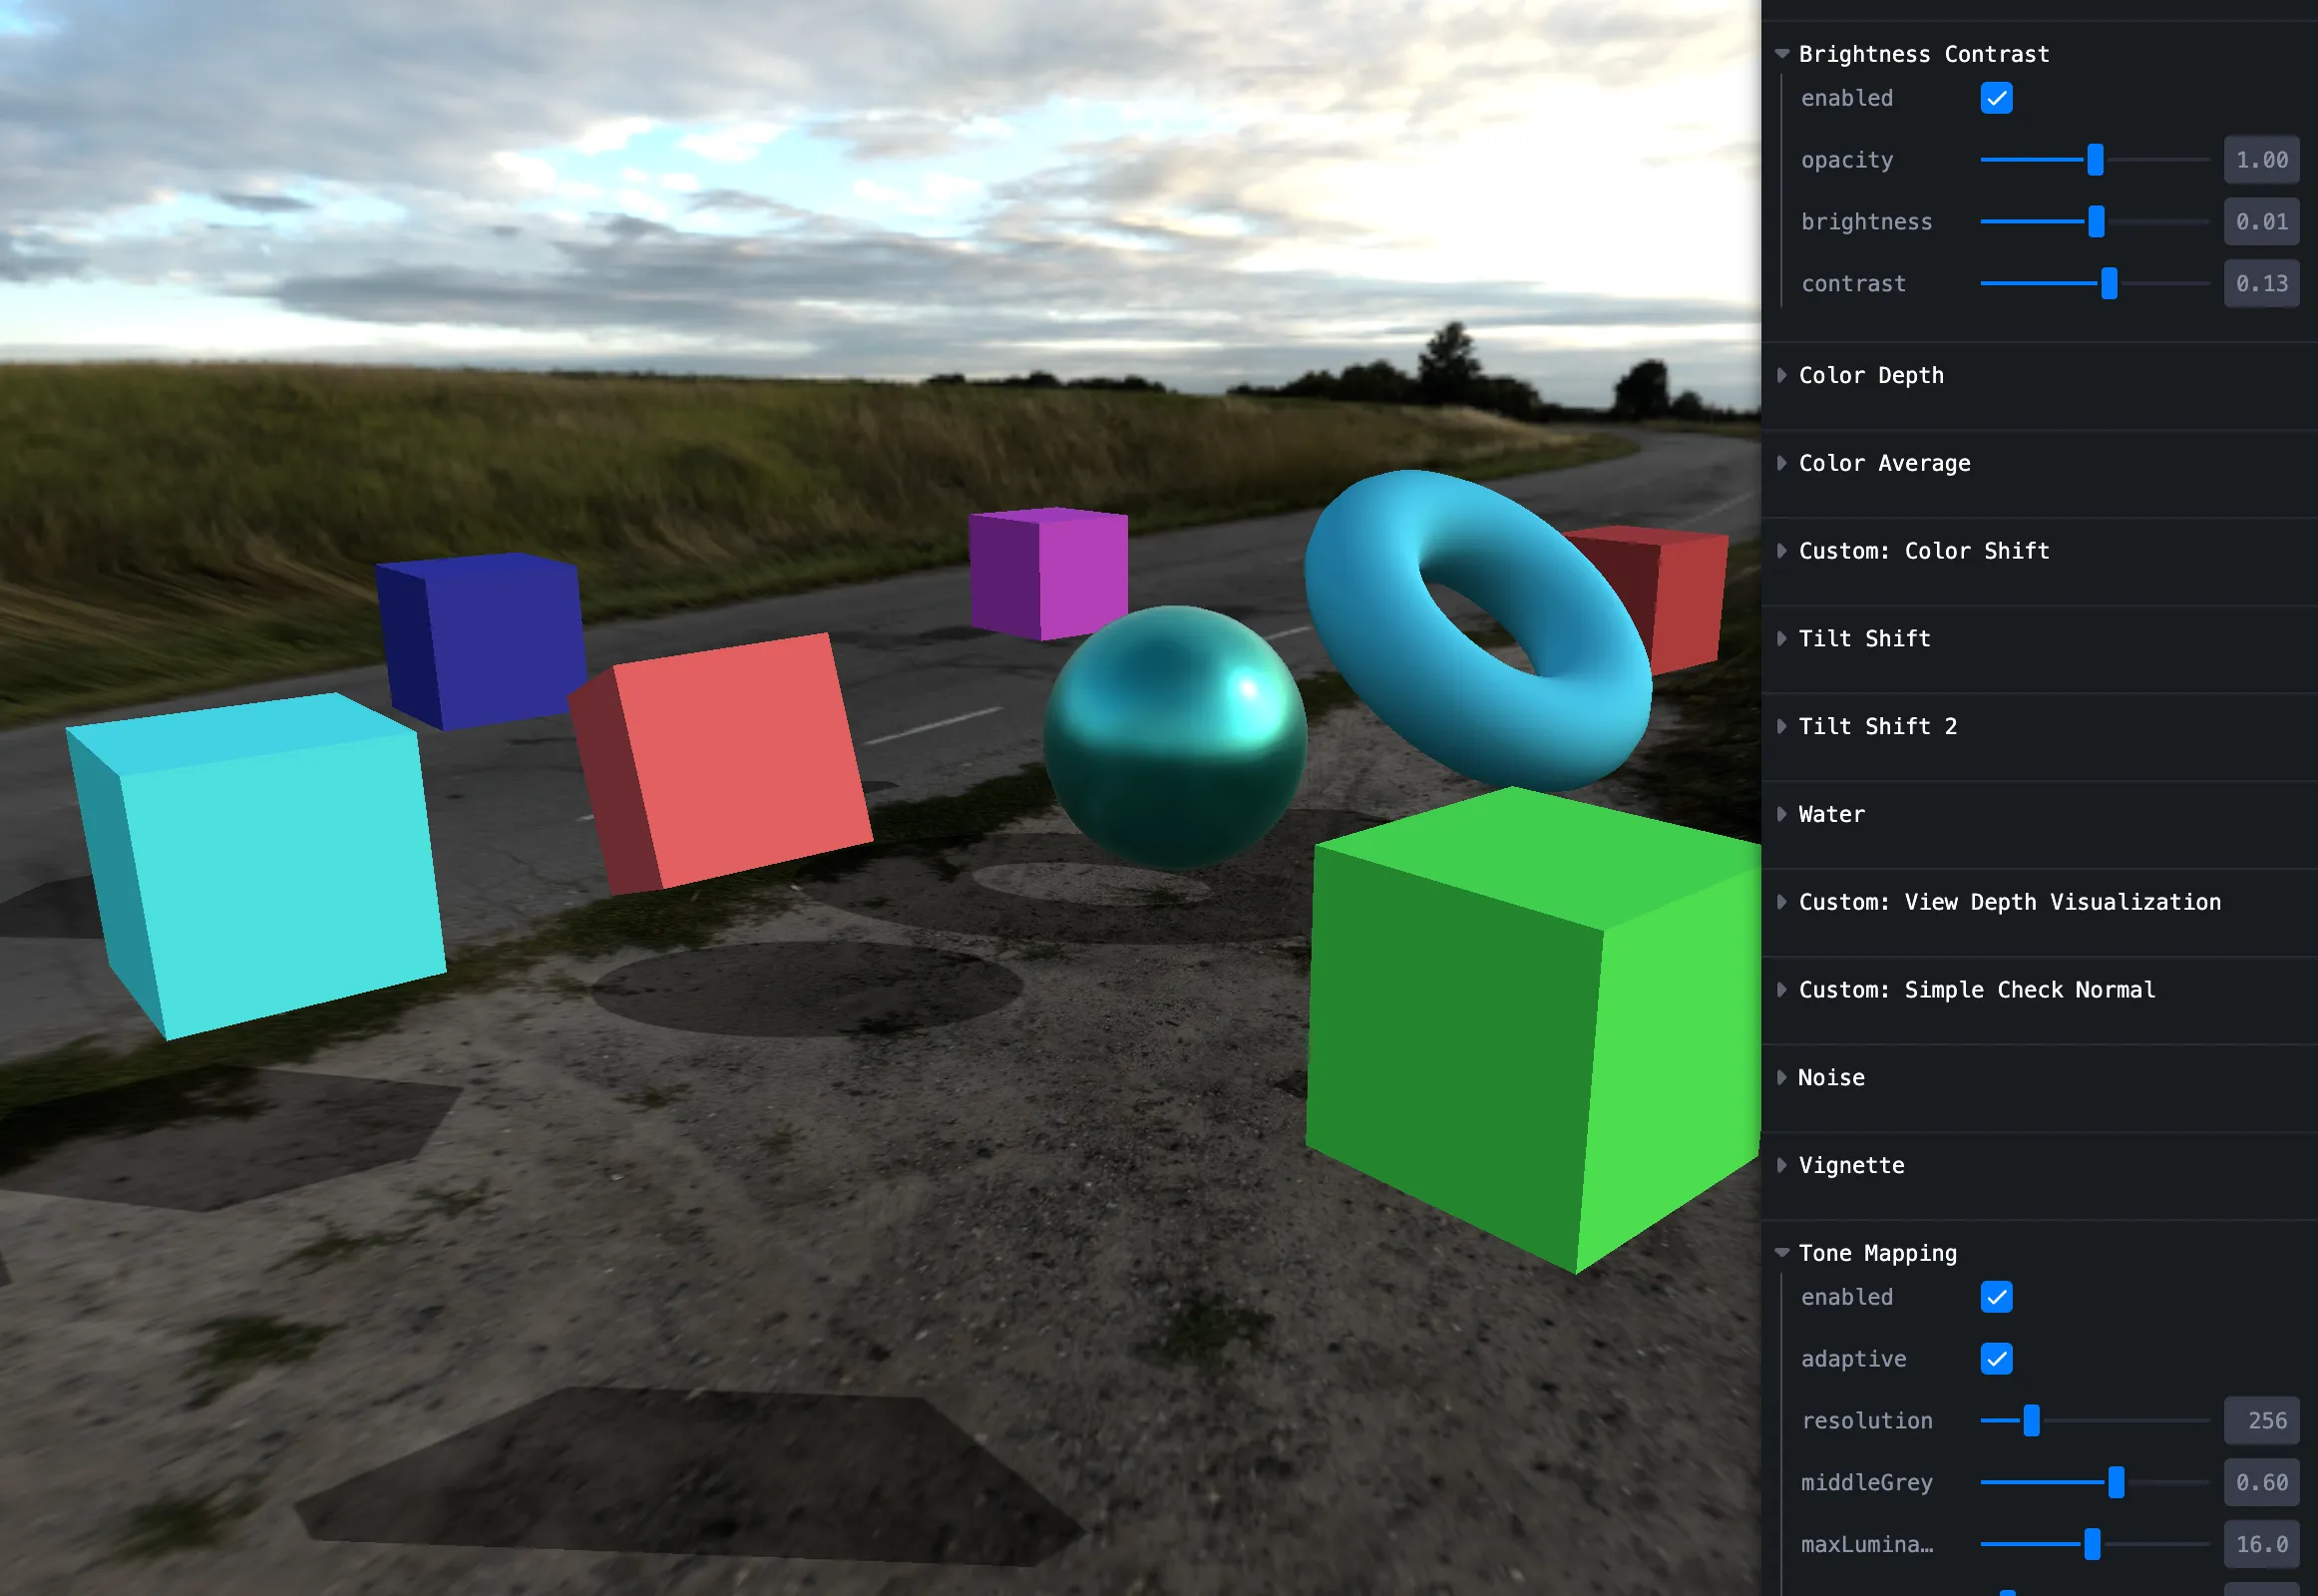
Brightness / contrast
Color dot
Average color

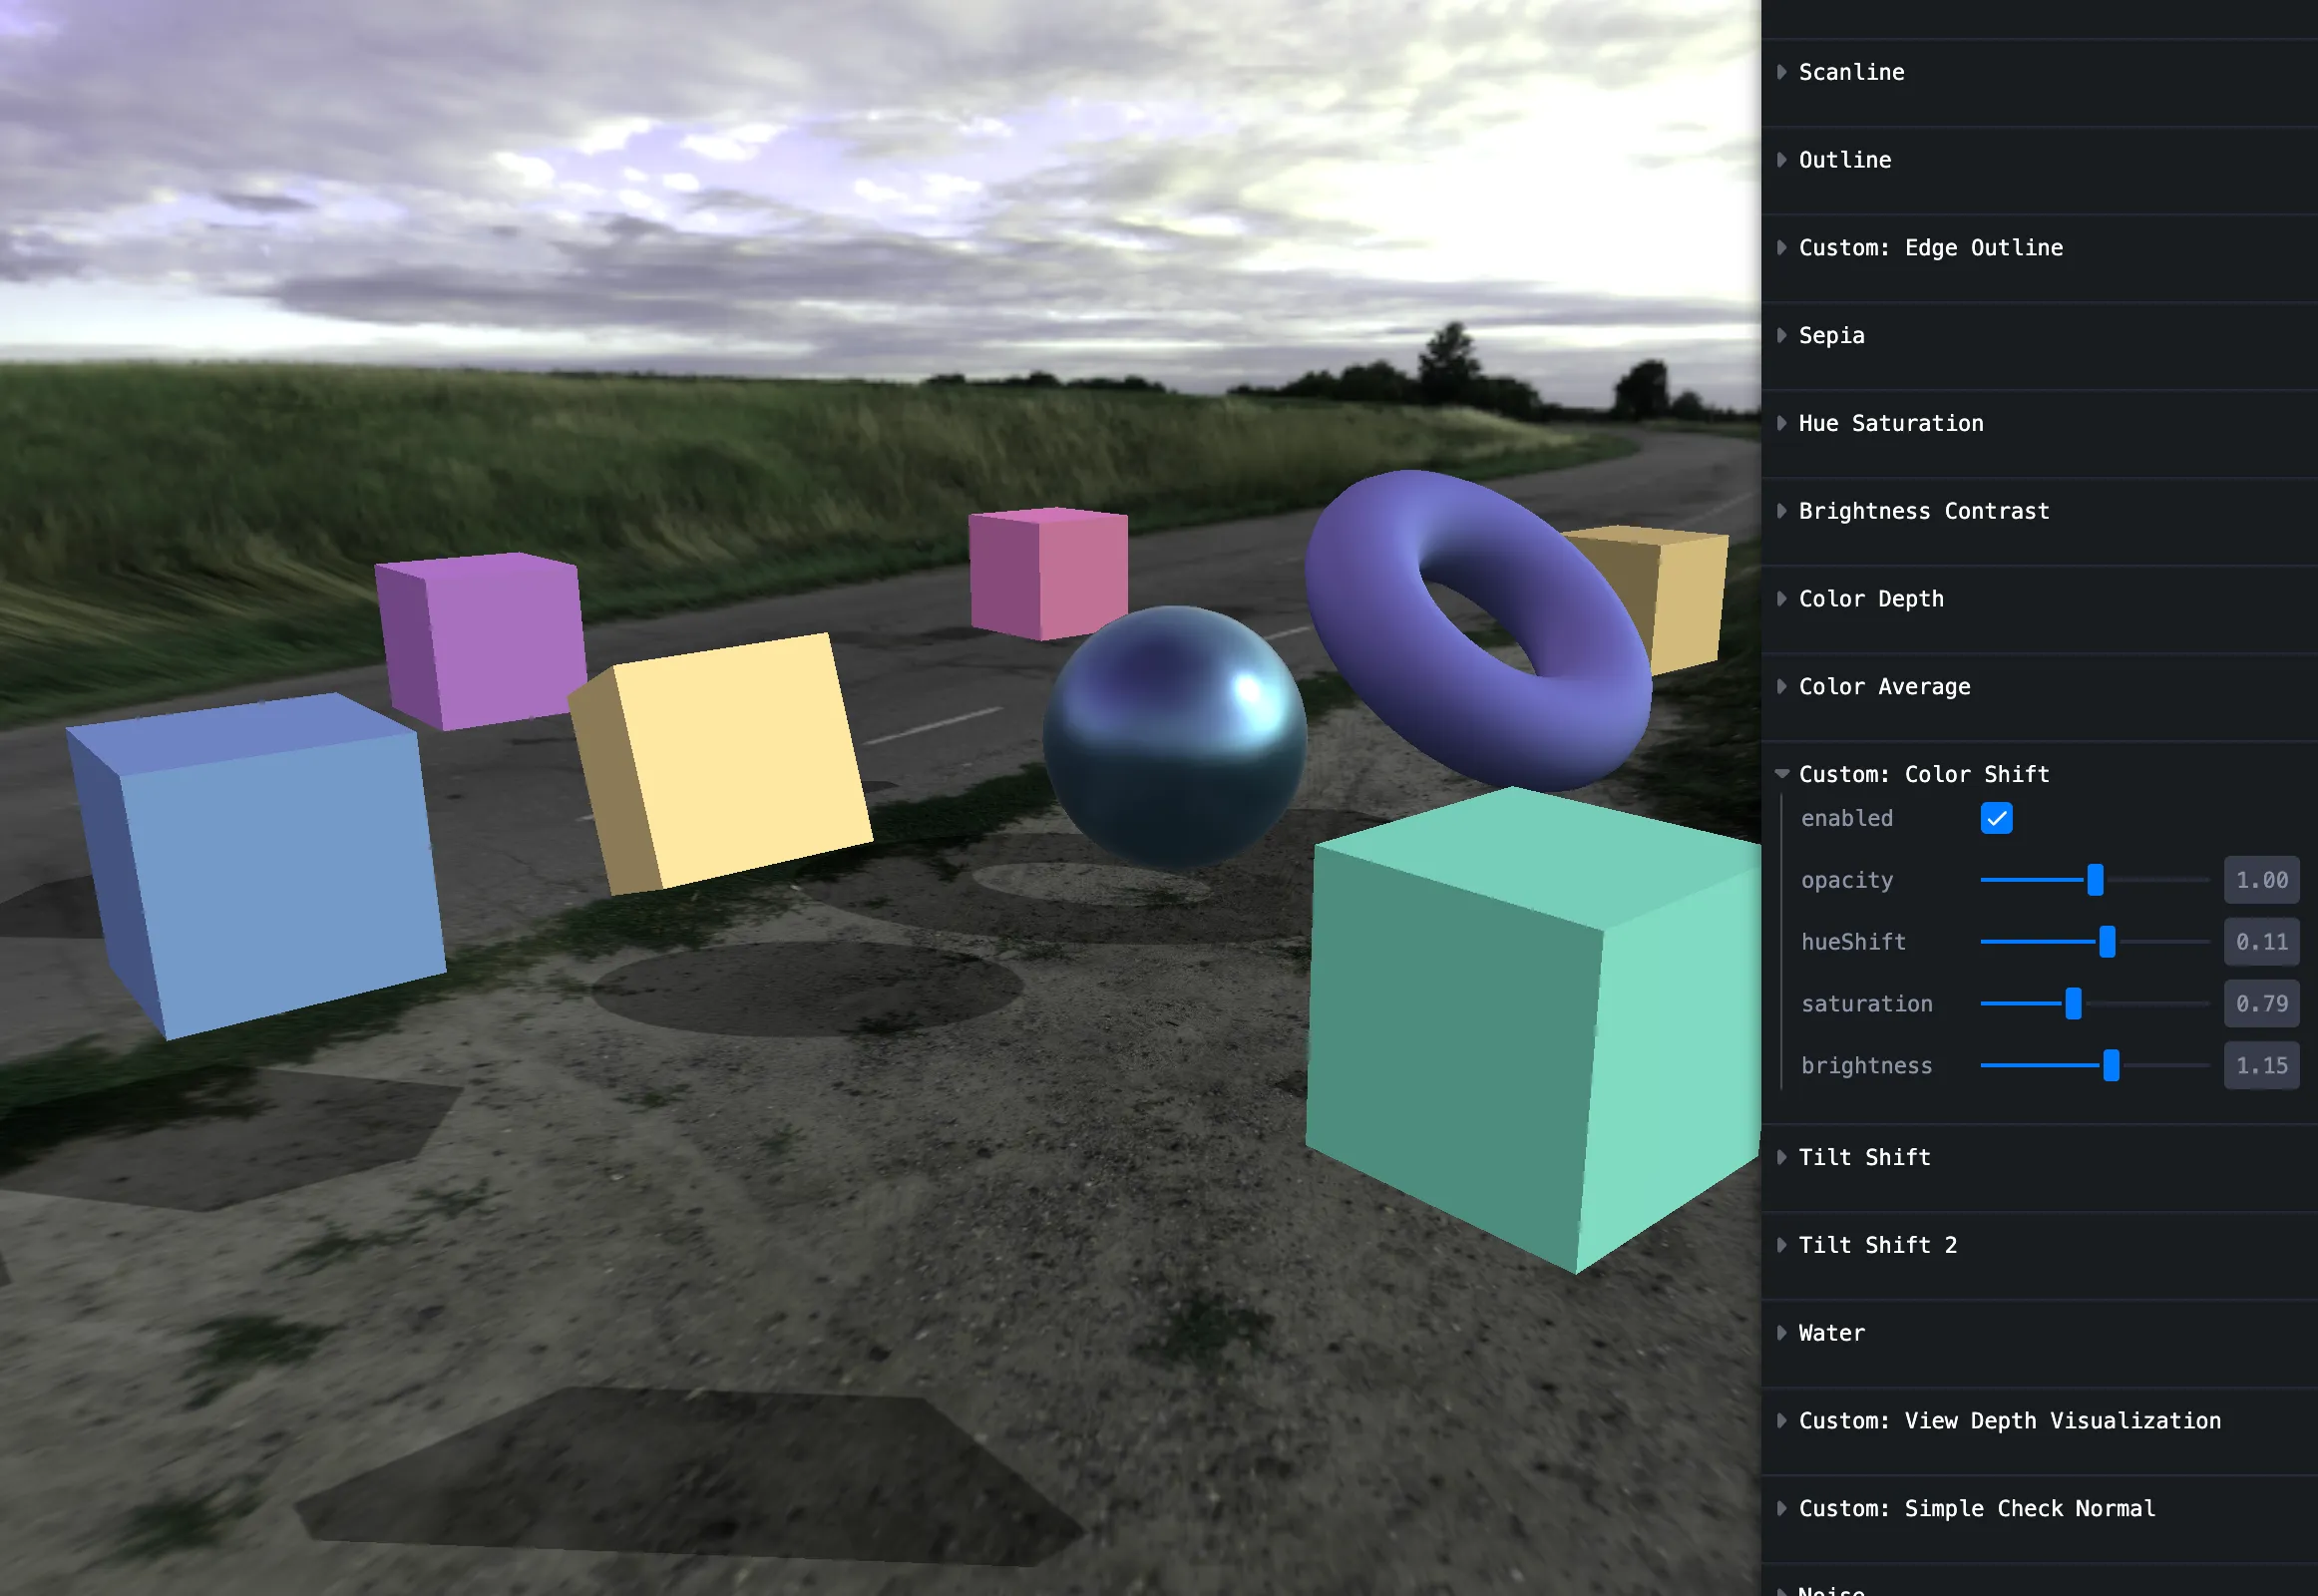
Color shift
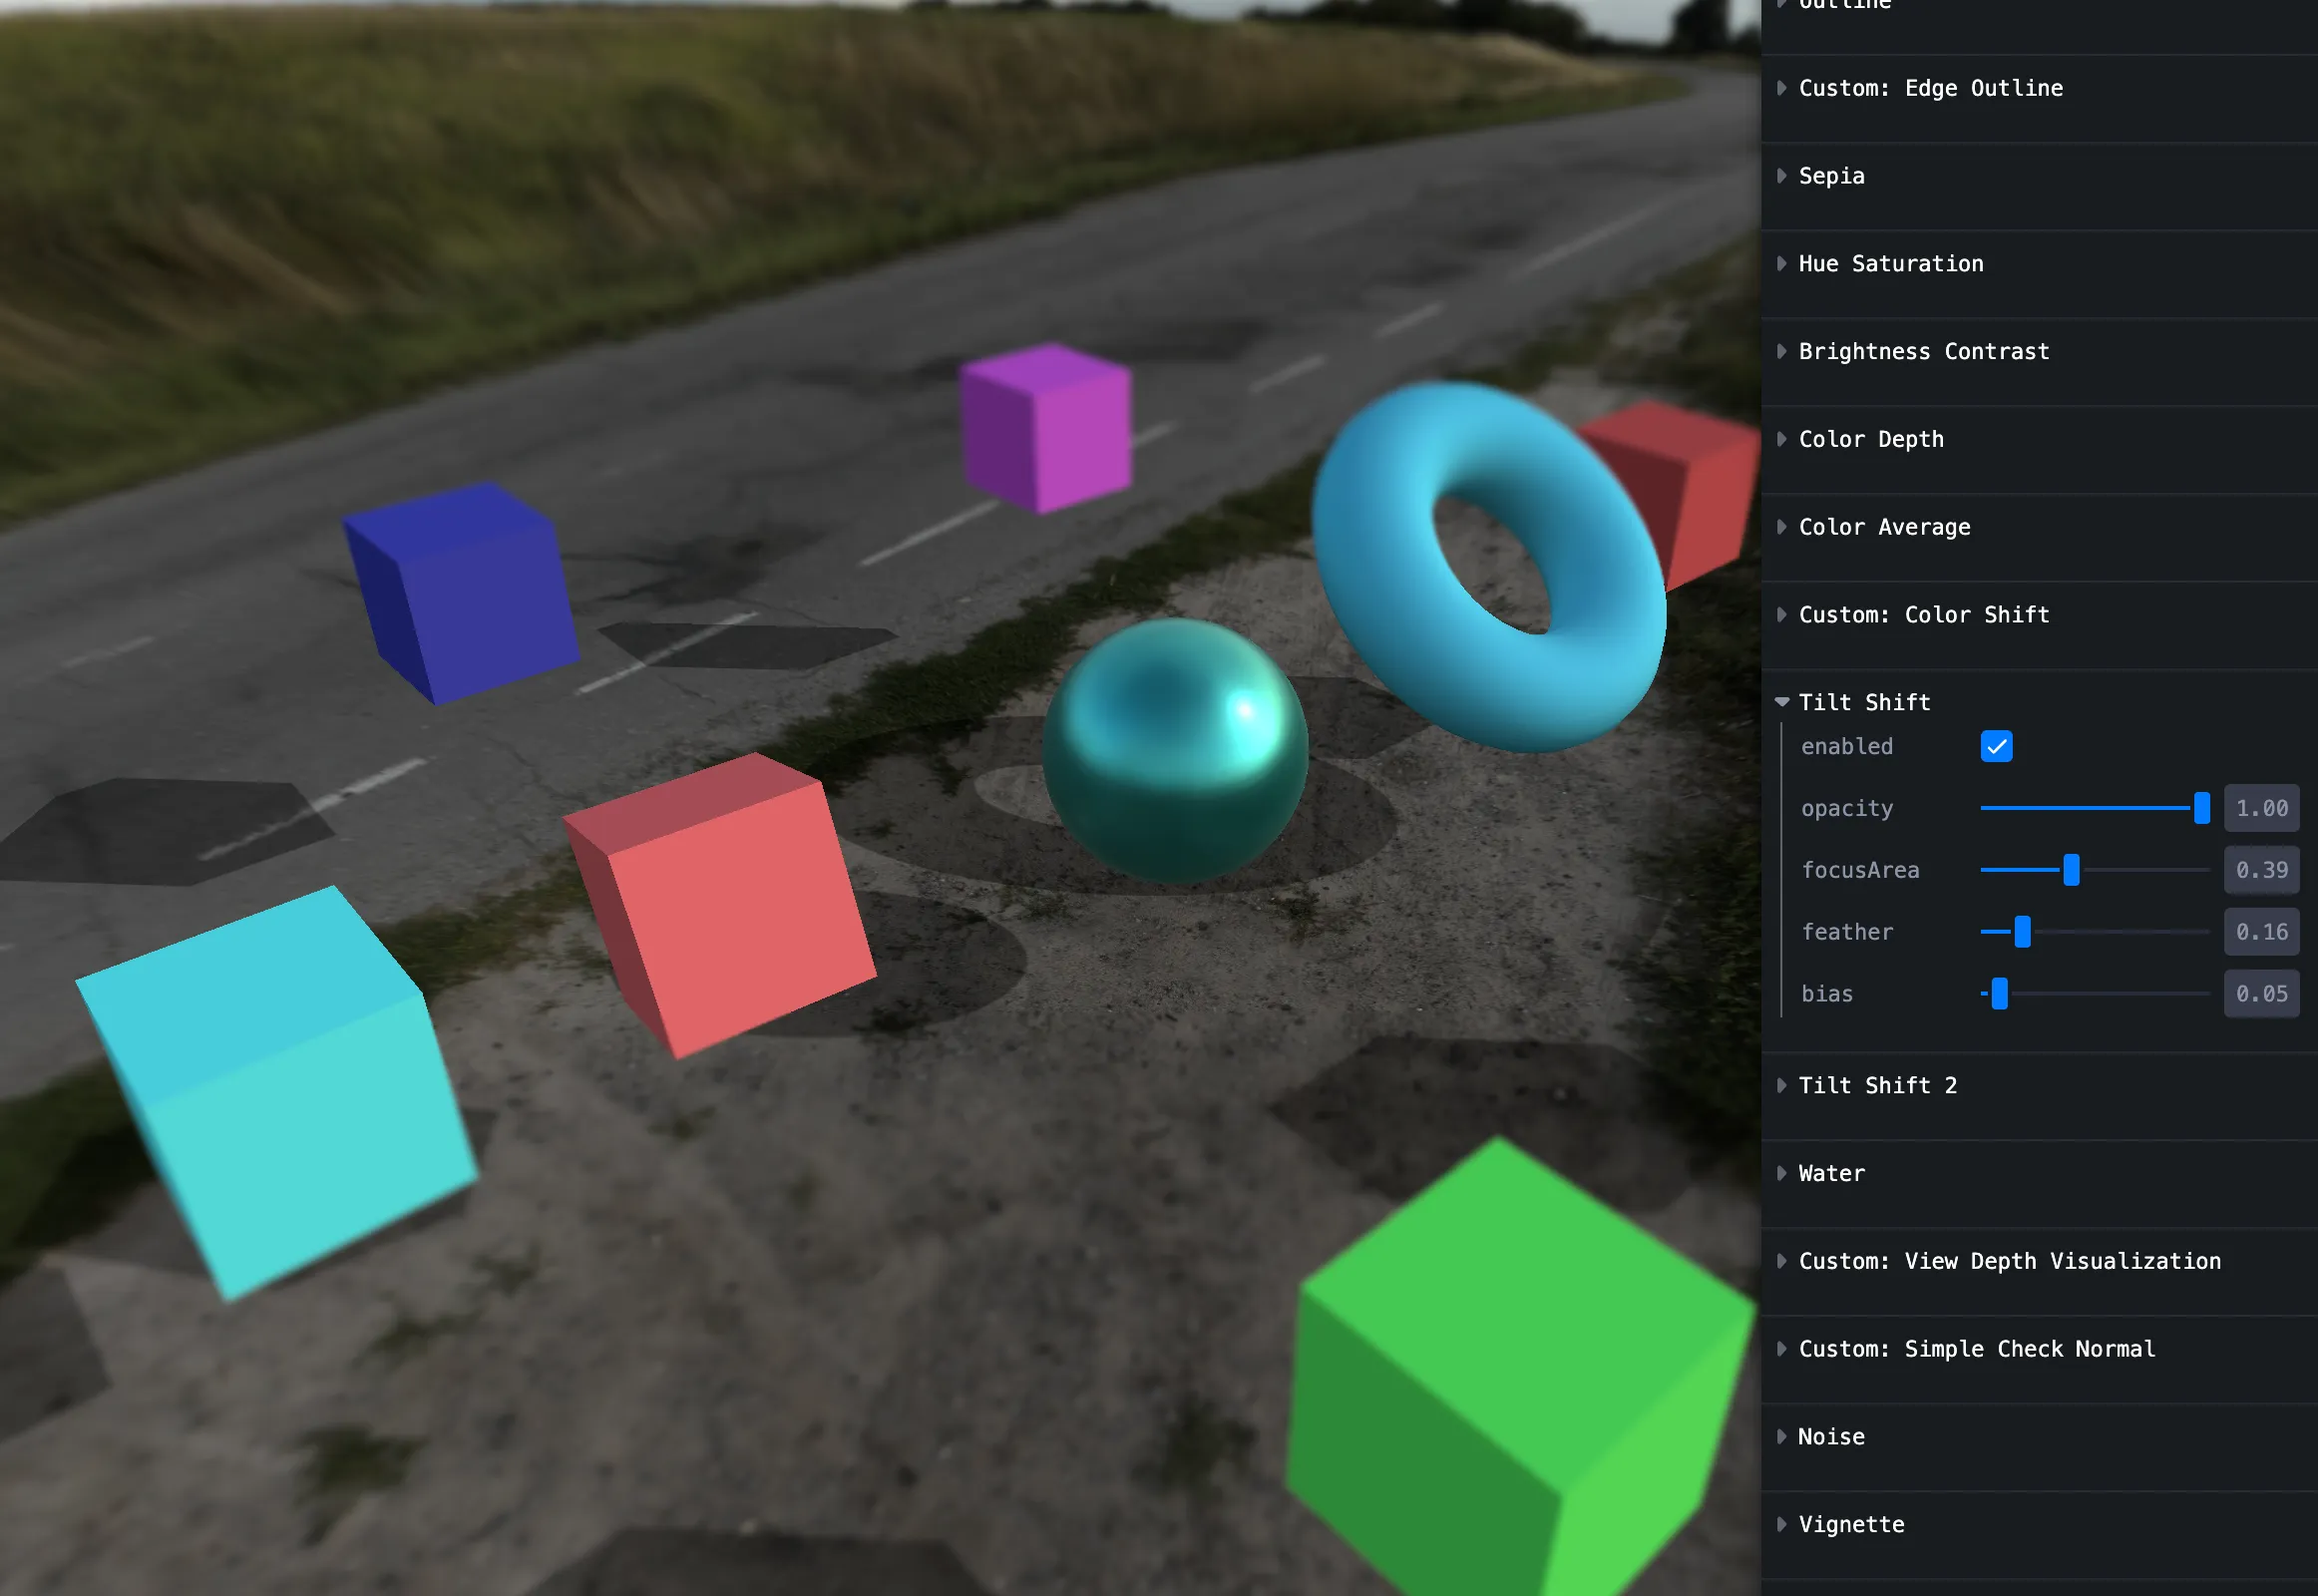
Tilt shift
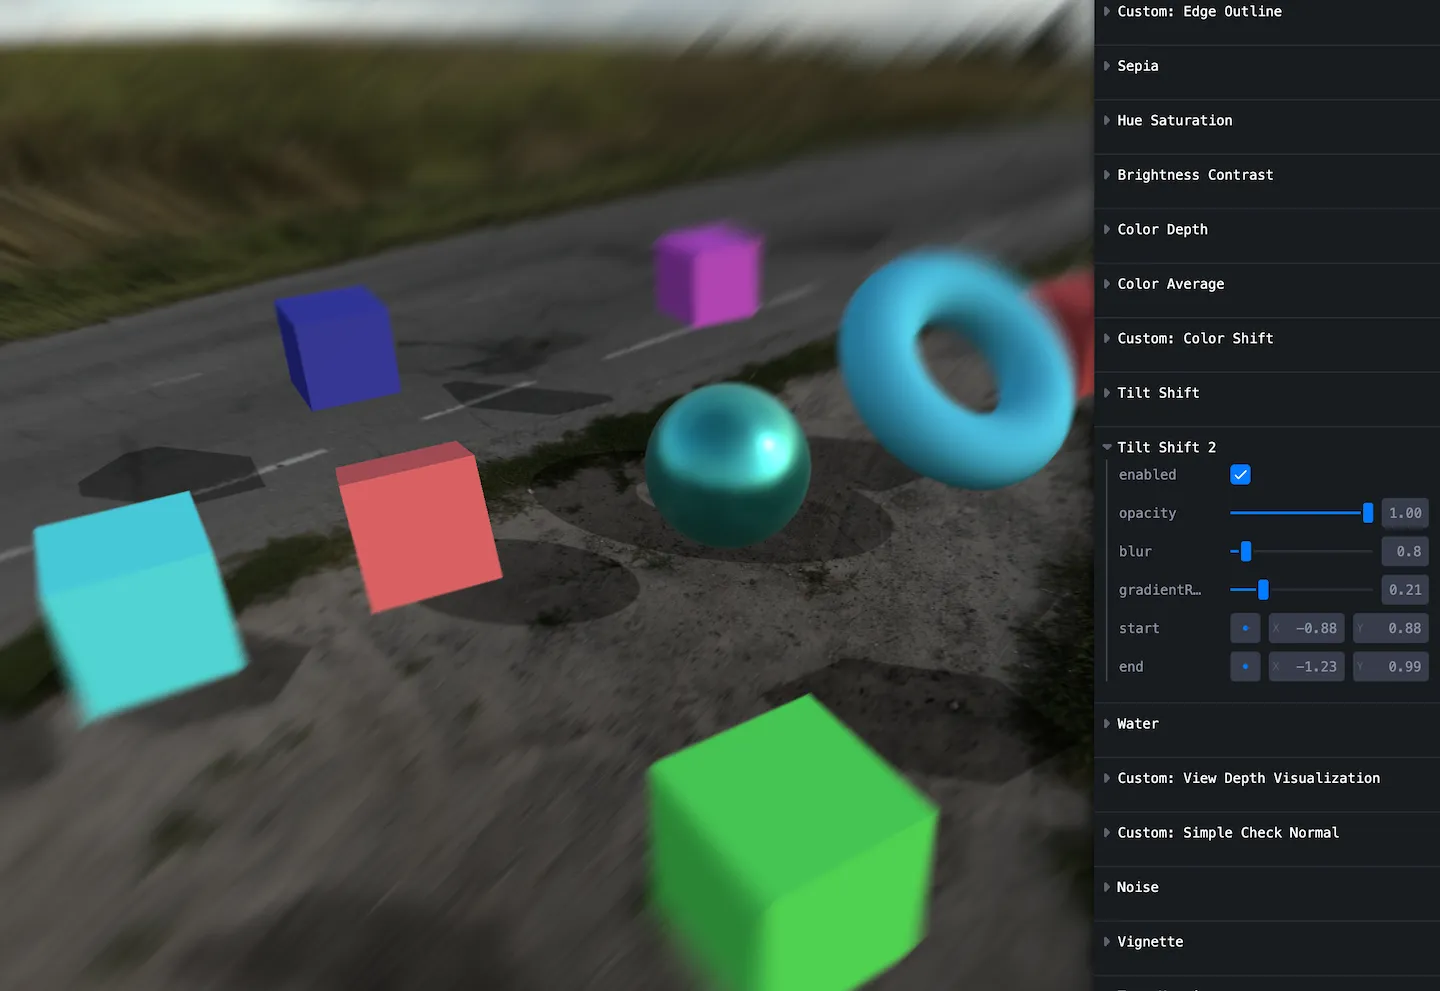
Tilt shift 2
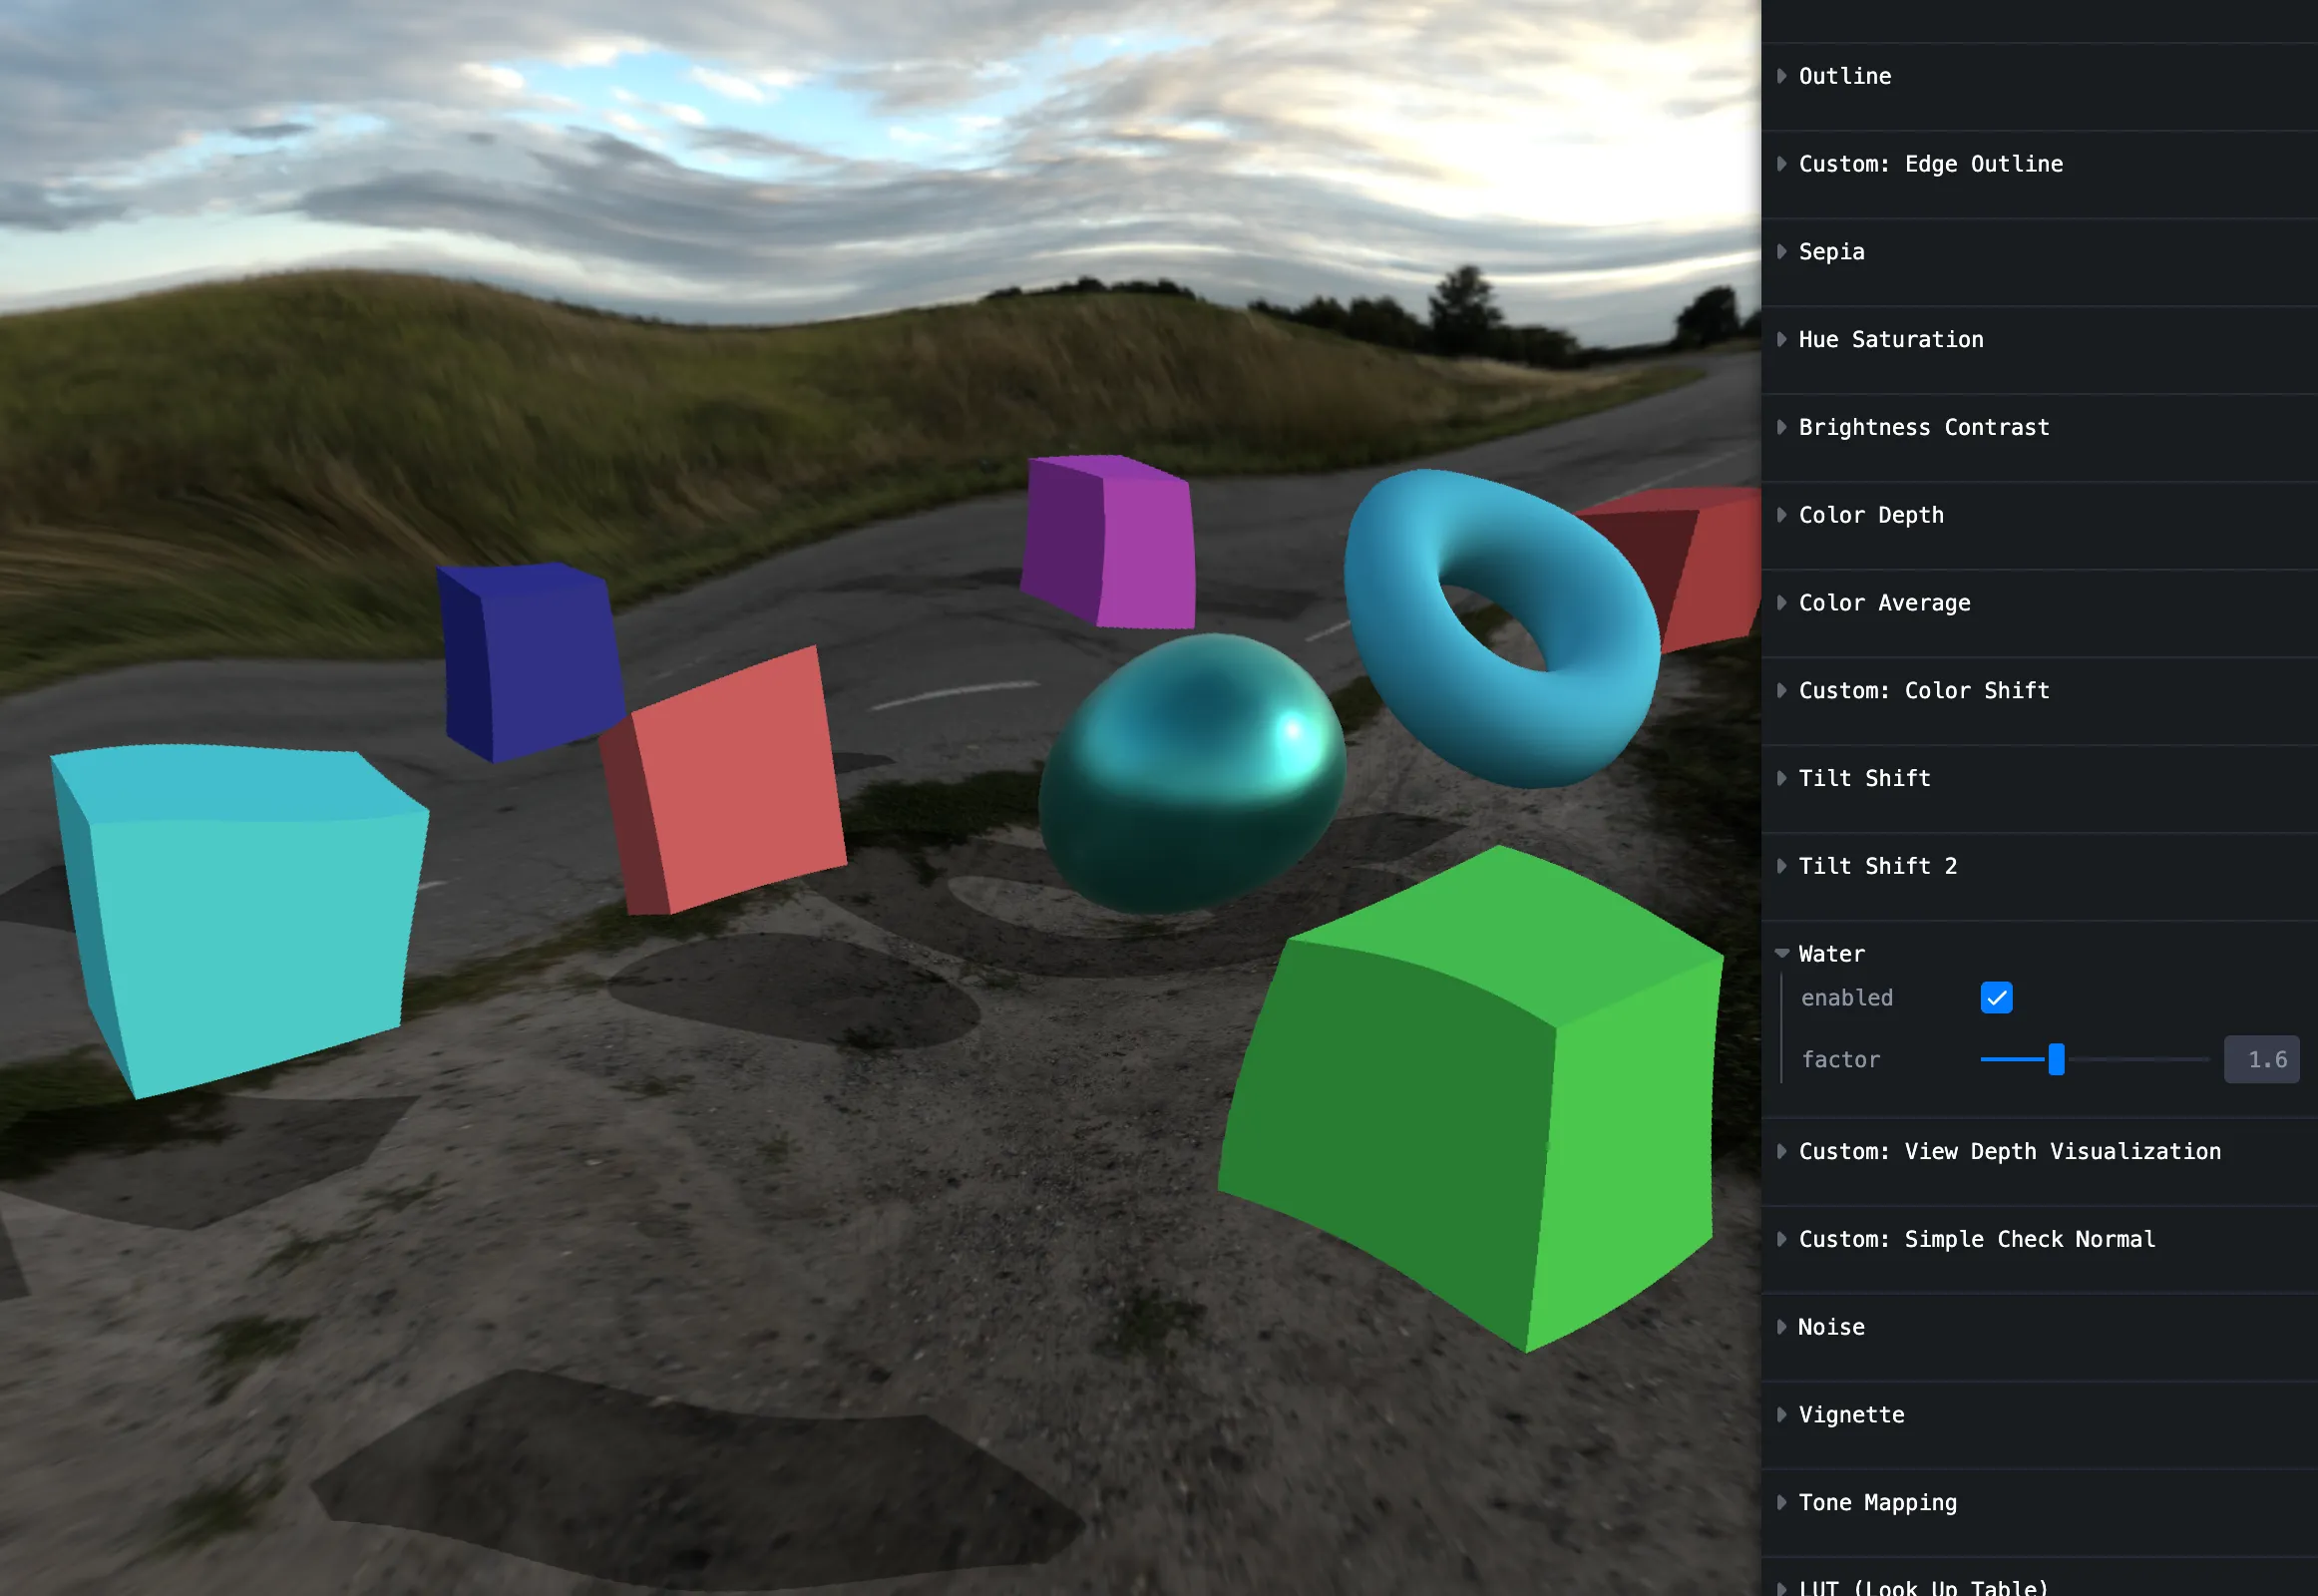
Water
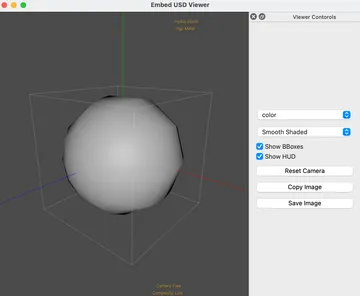
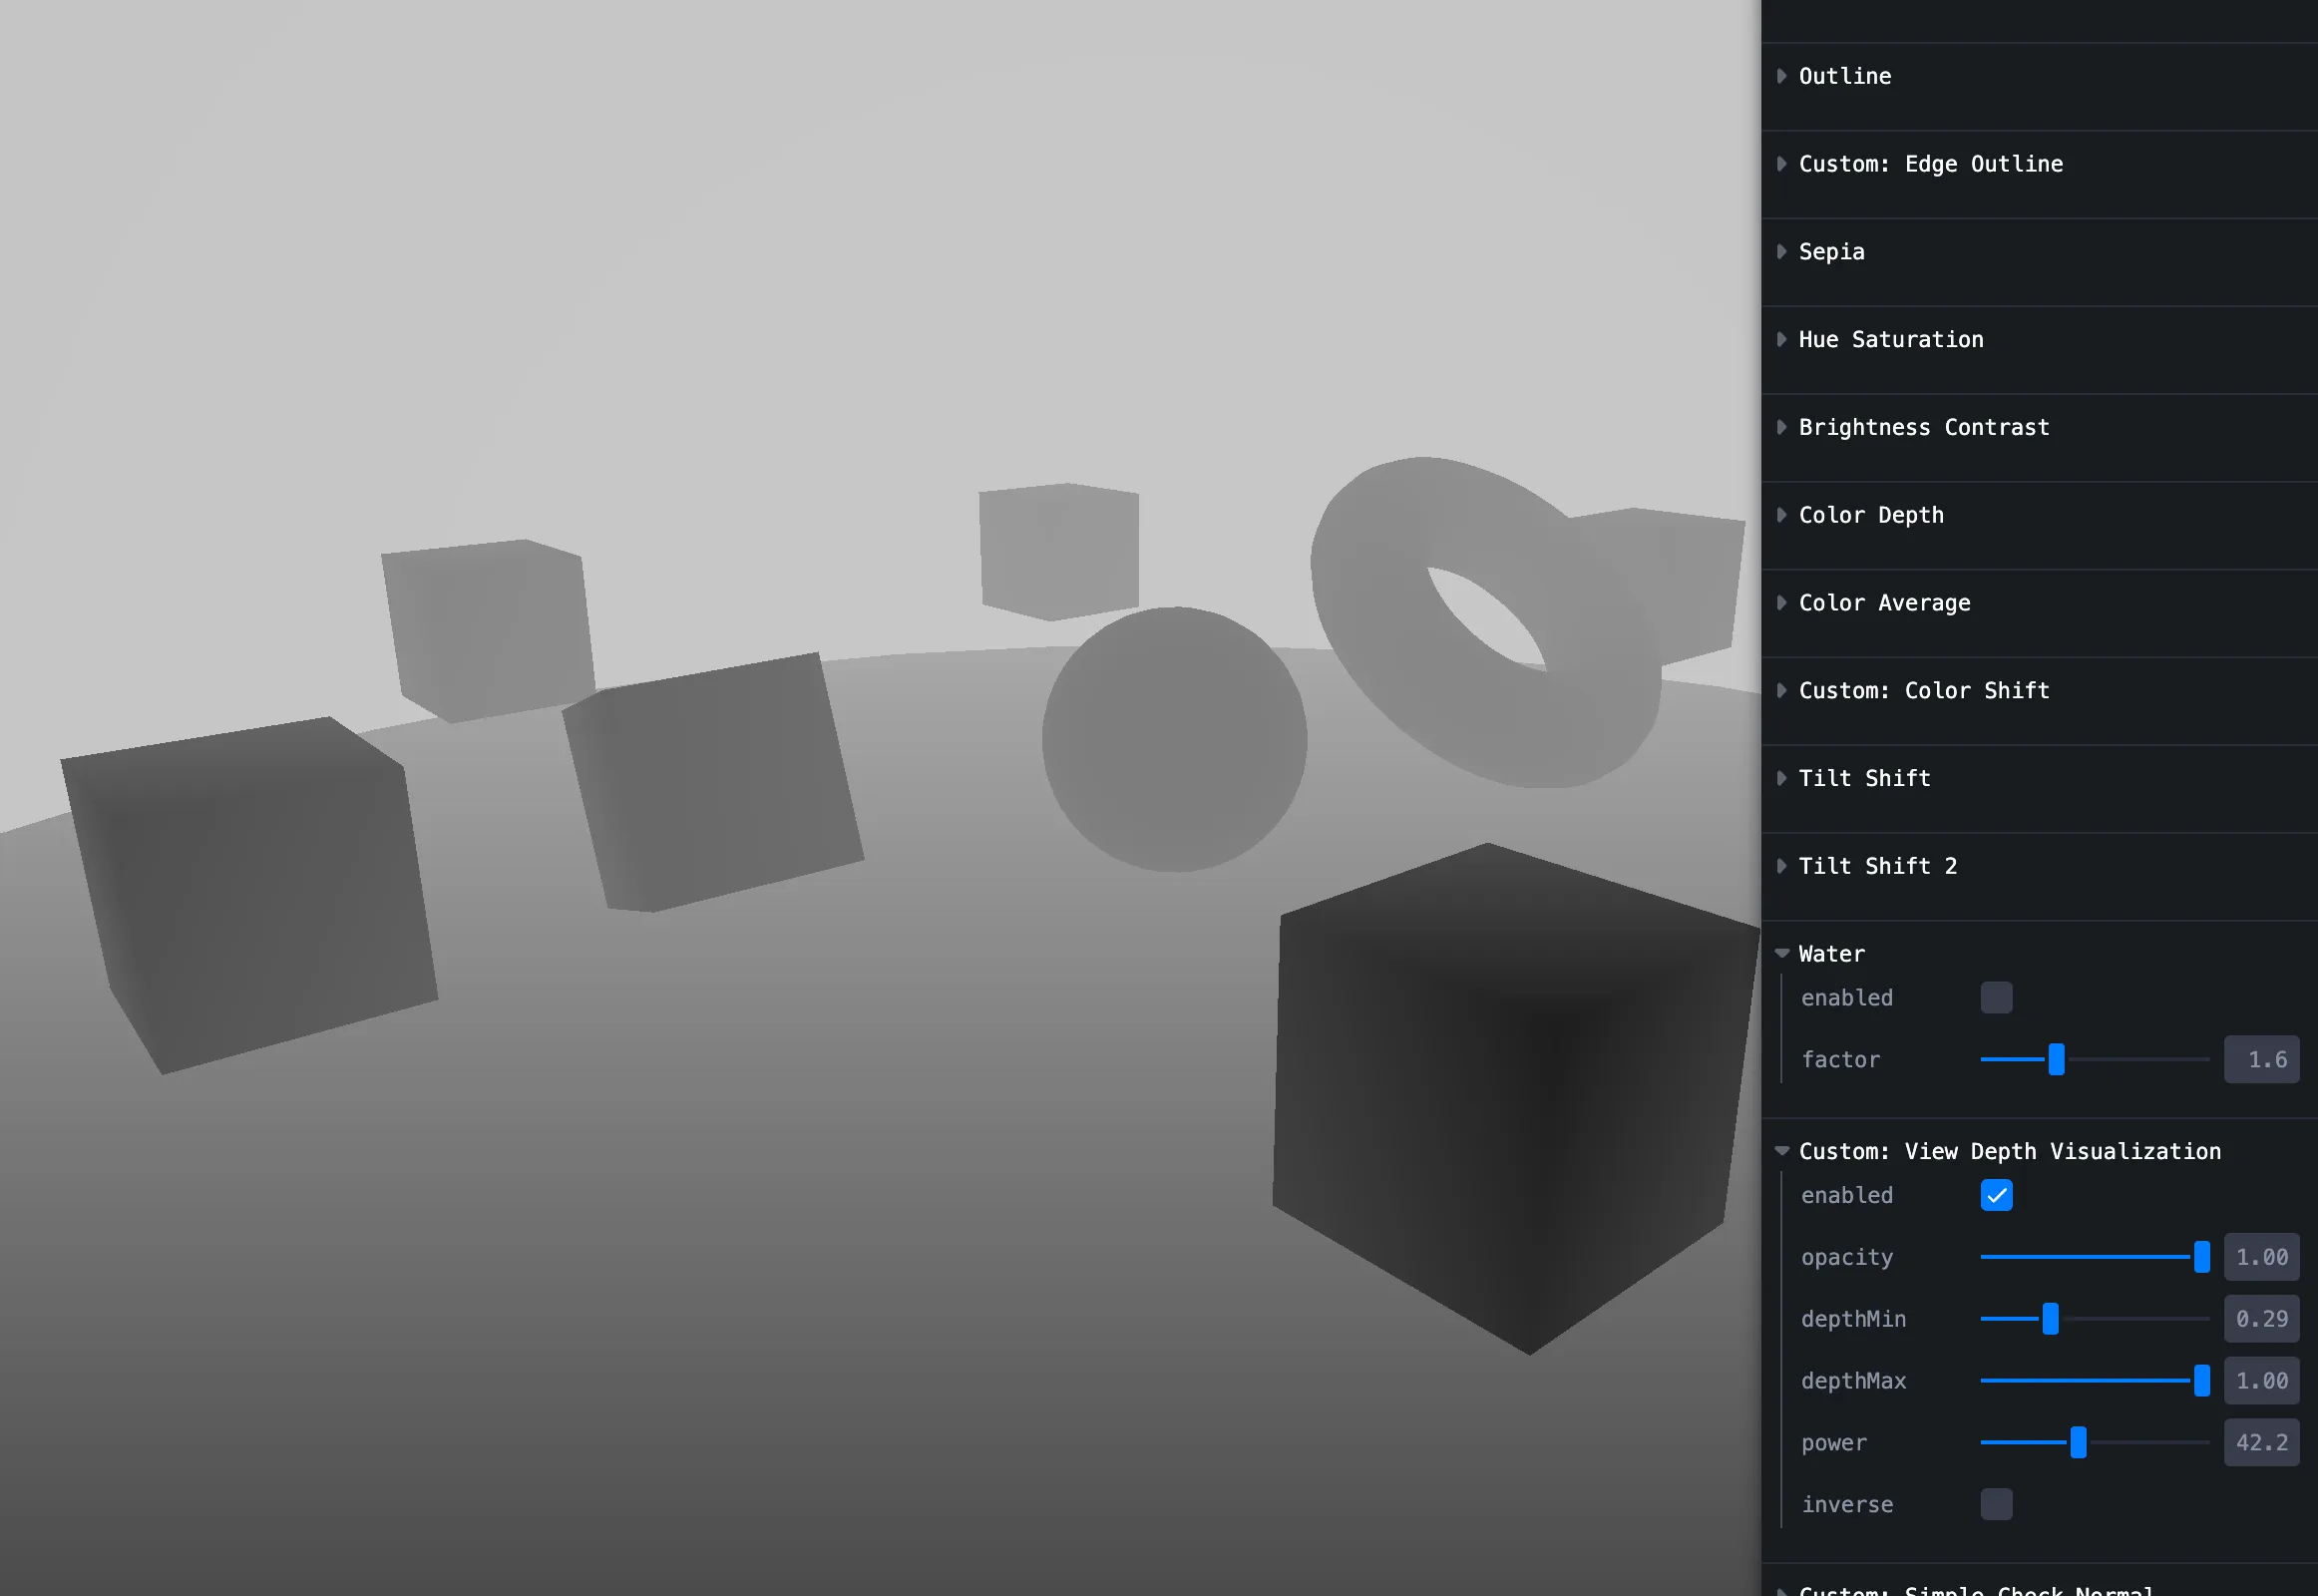
View depth visualization
Depth as grayscale — near dark, far bright.
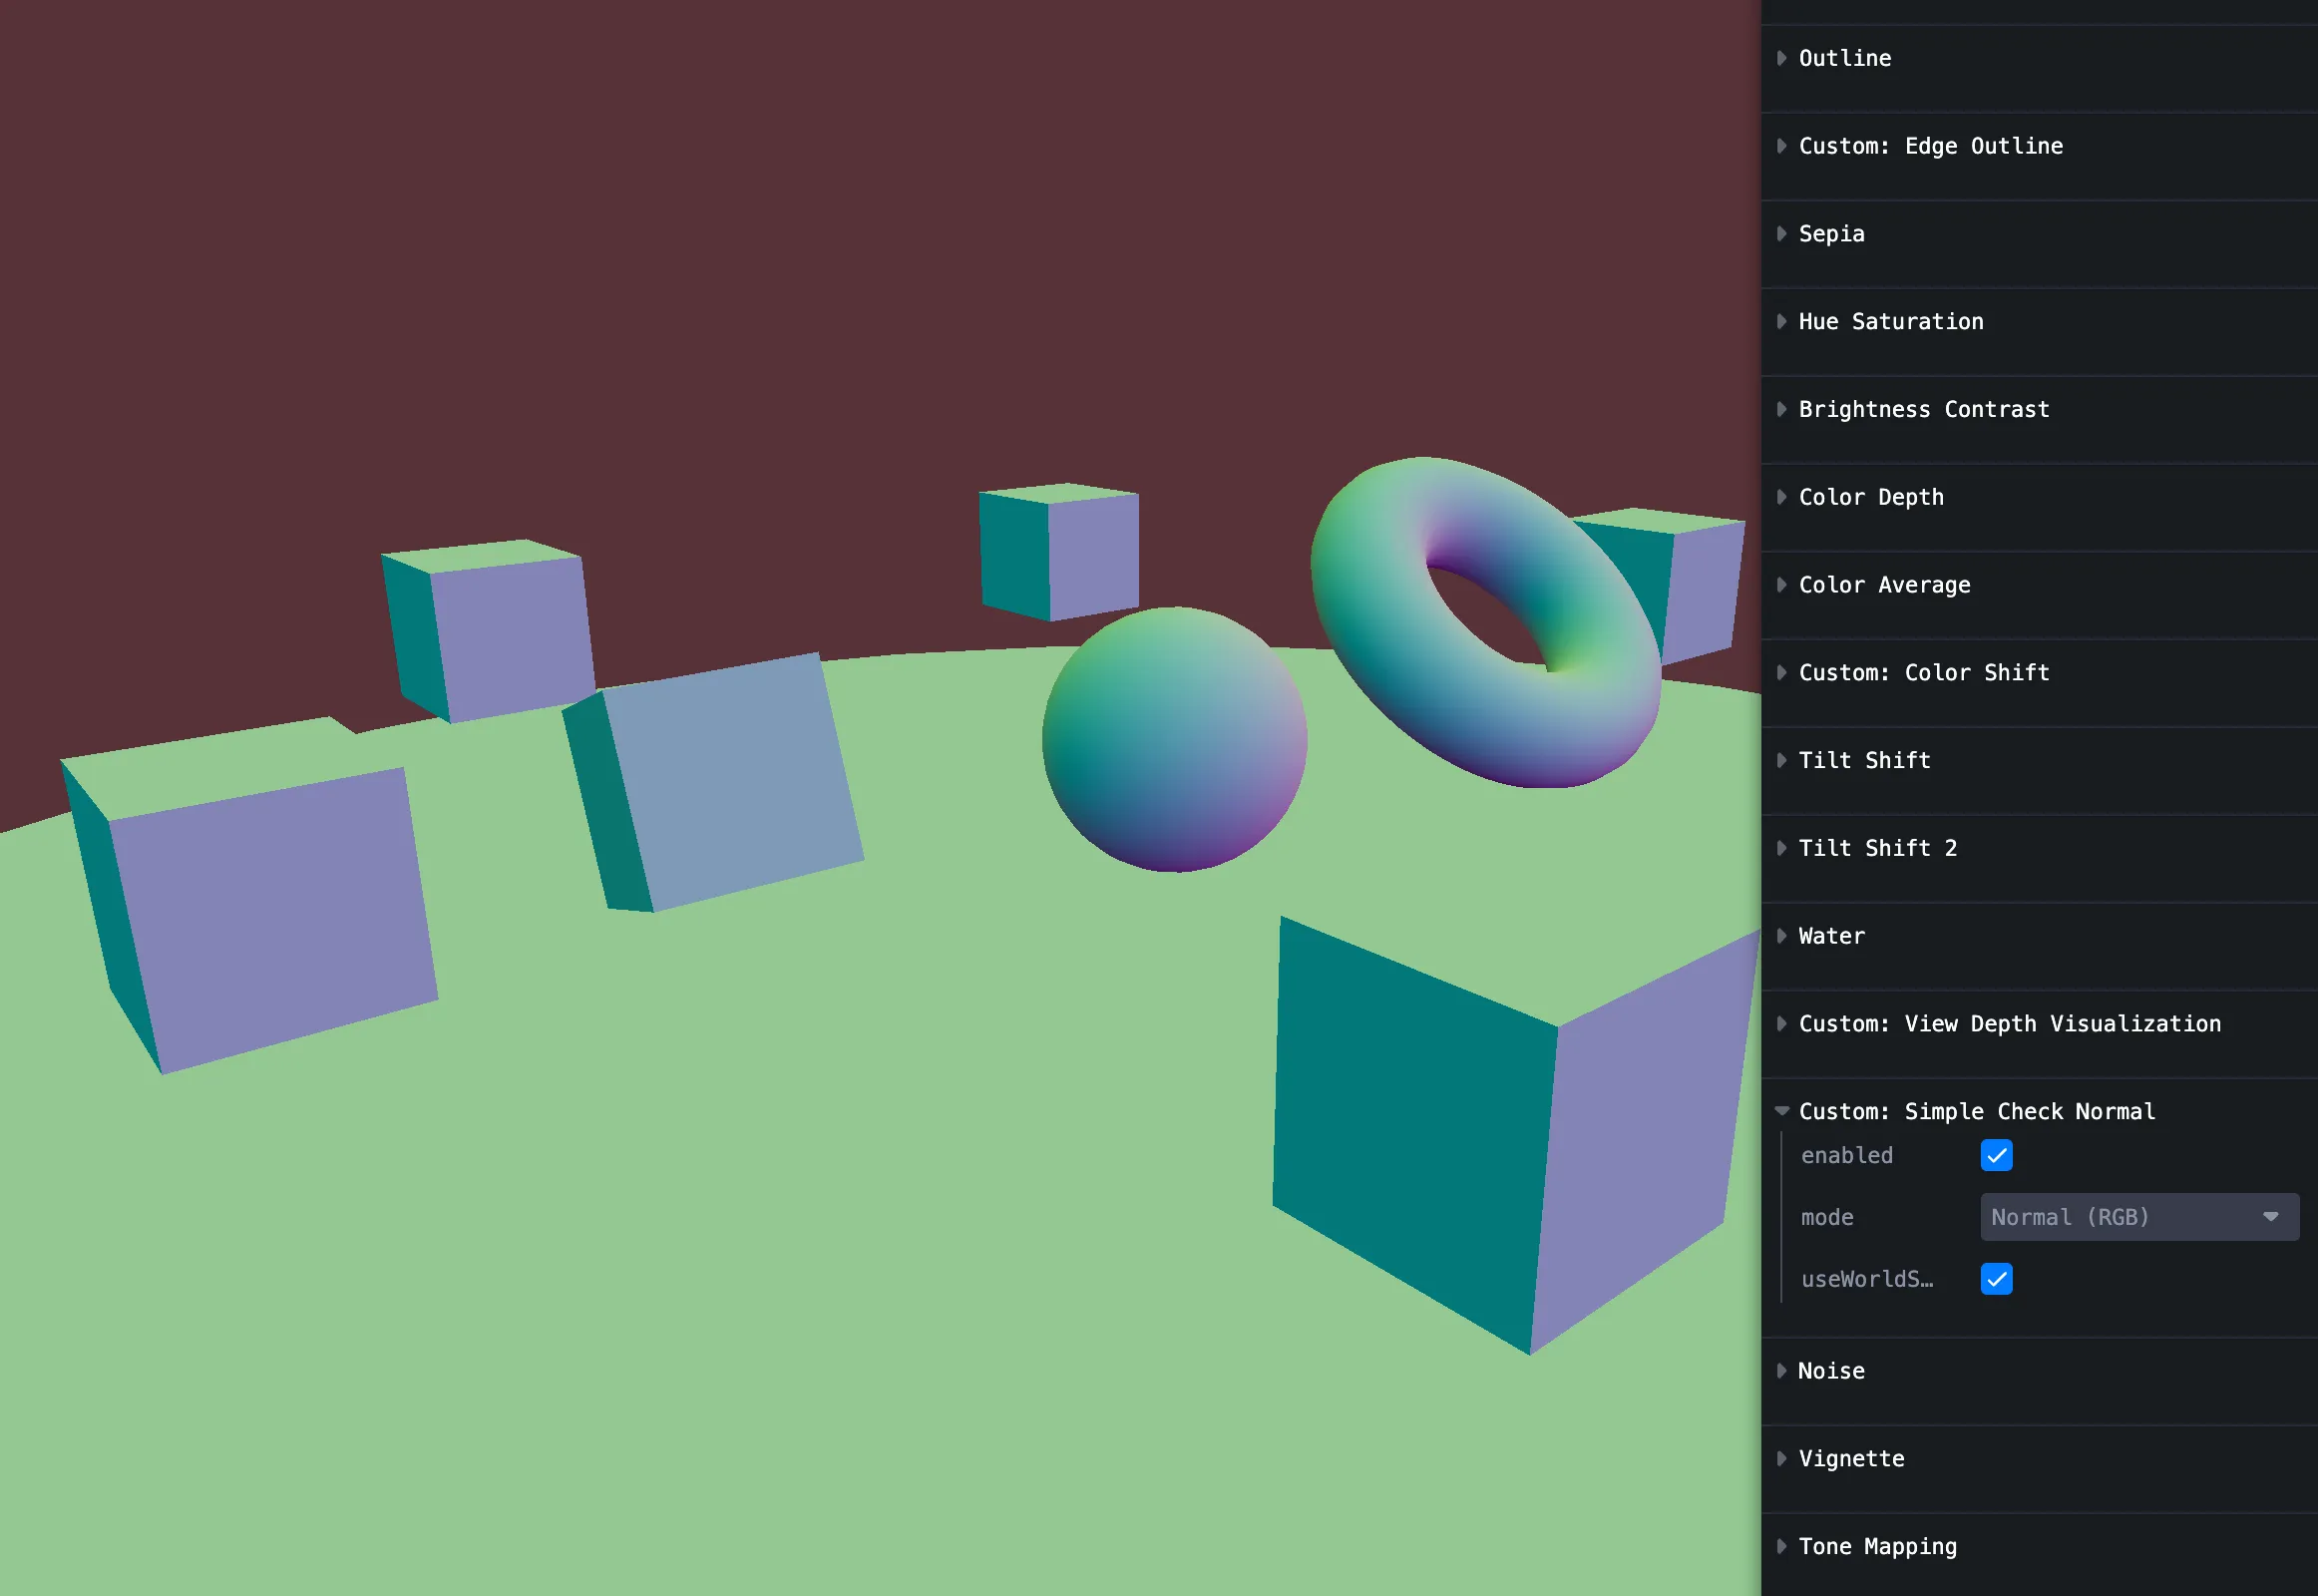
Simple check normal
Debug view / view vs world normals.
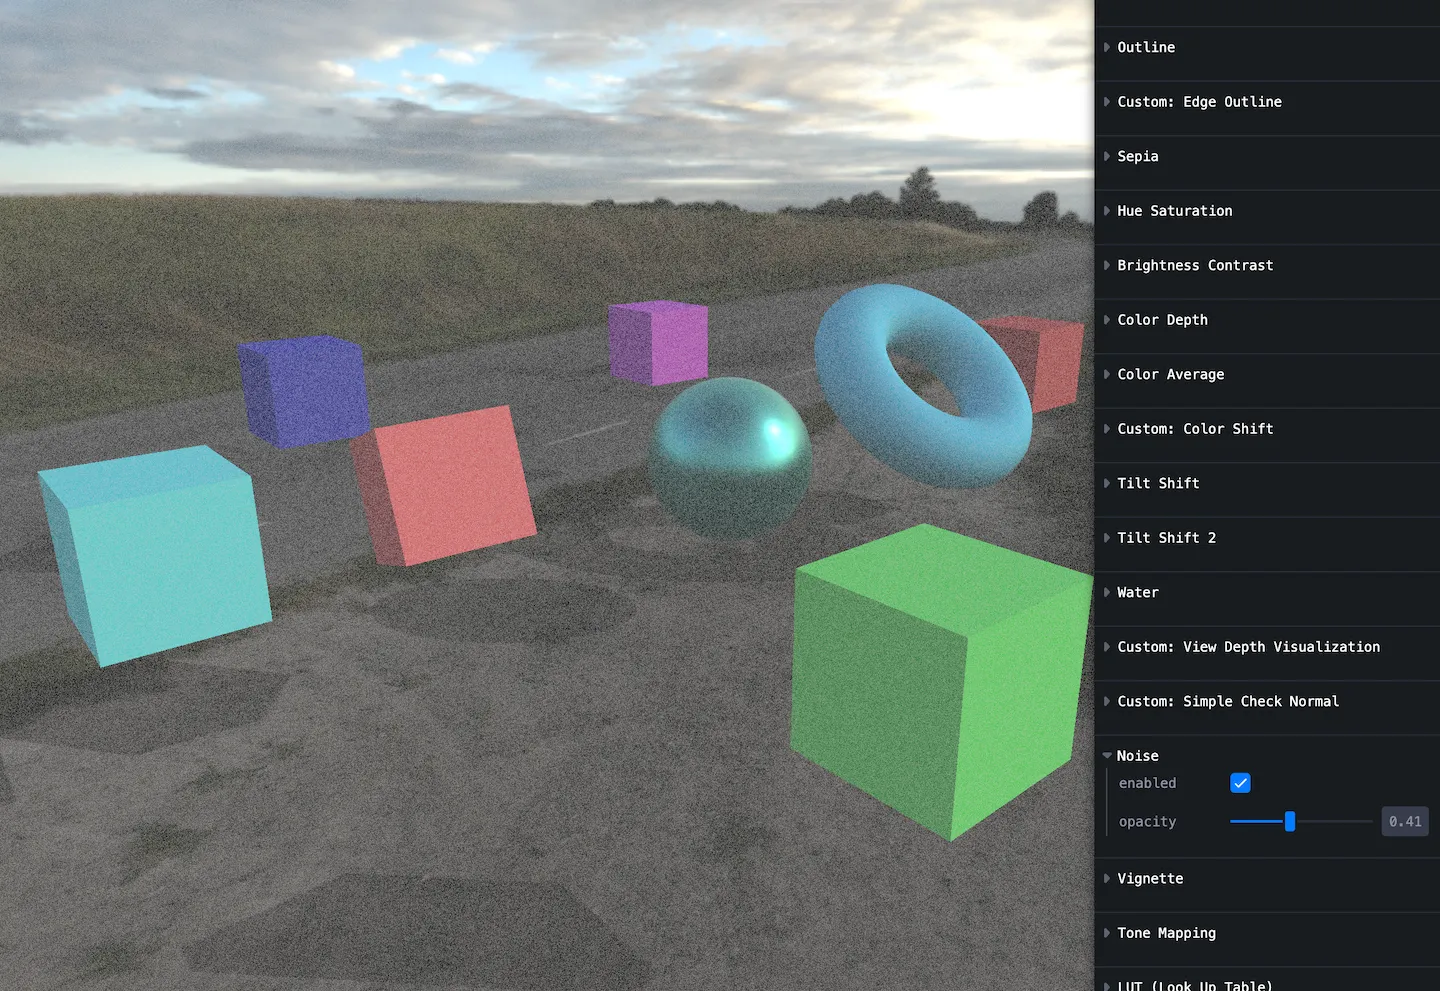
Noise
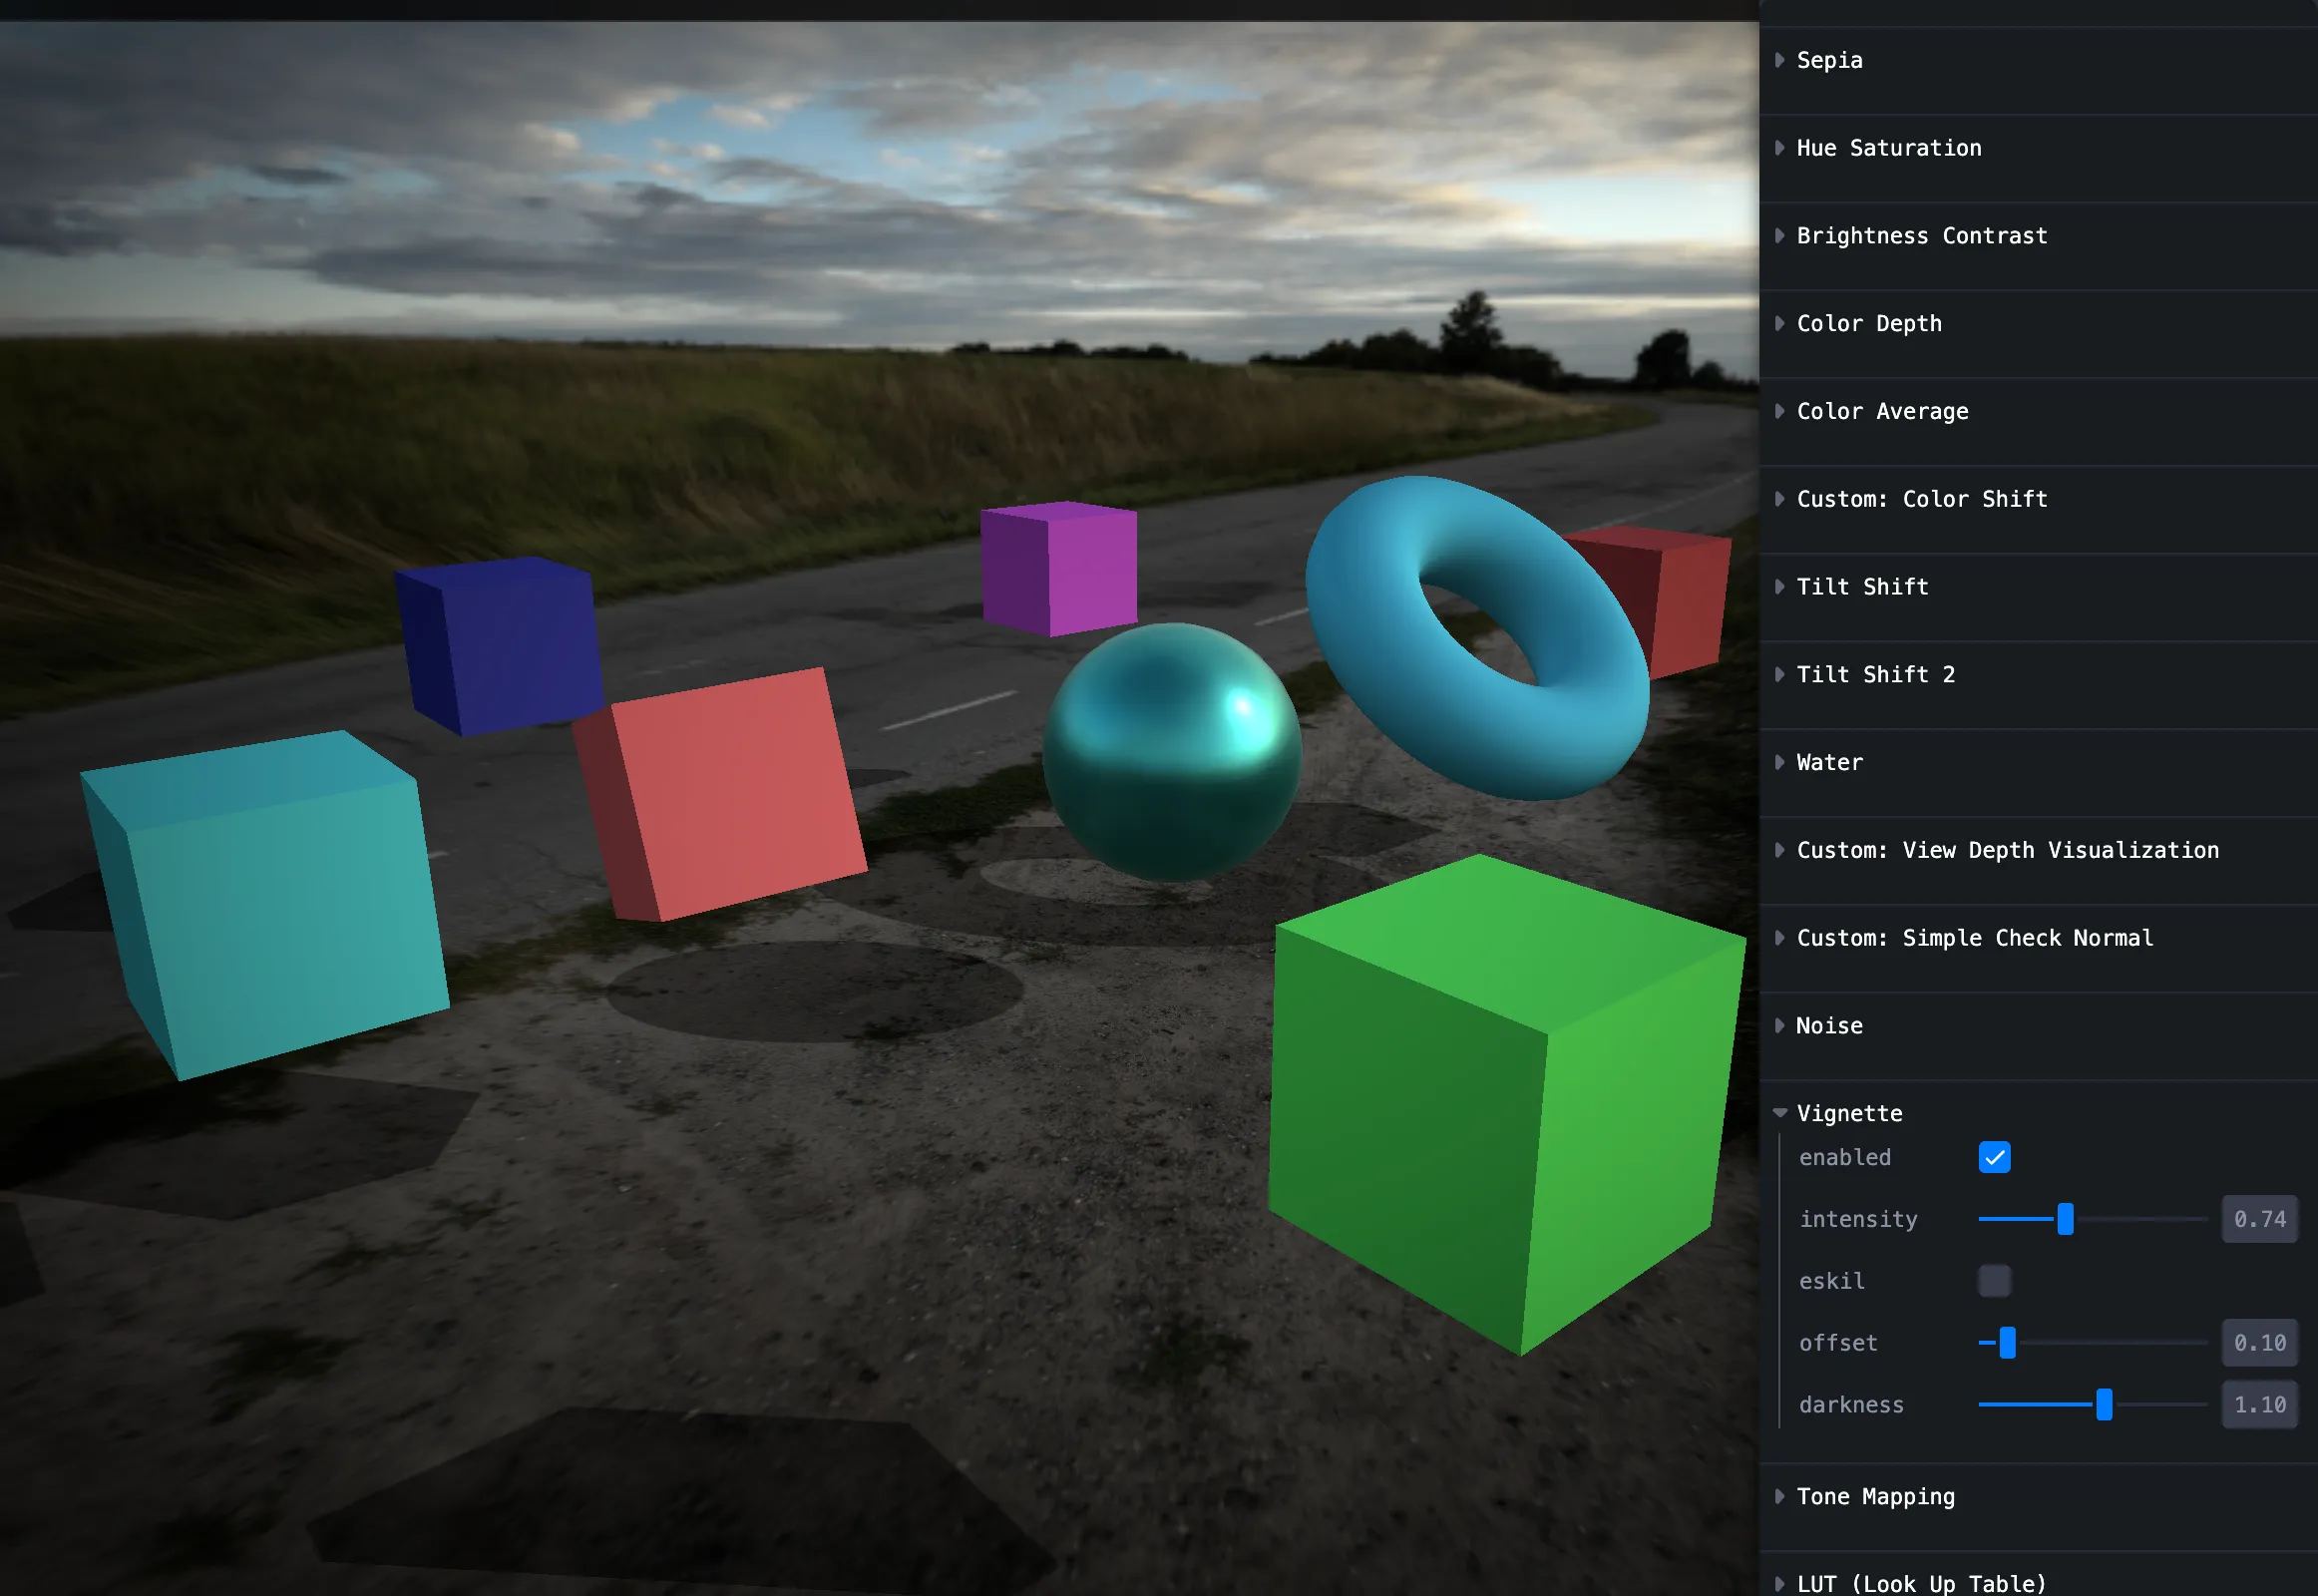
Vignette
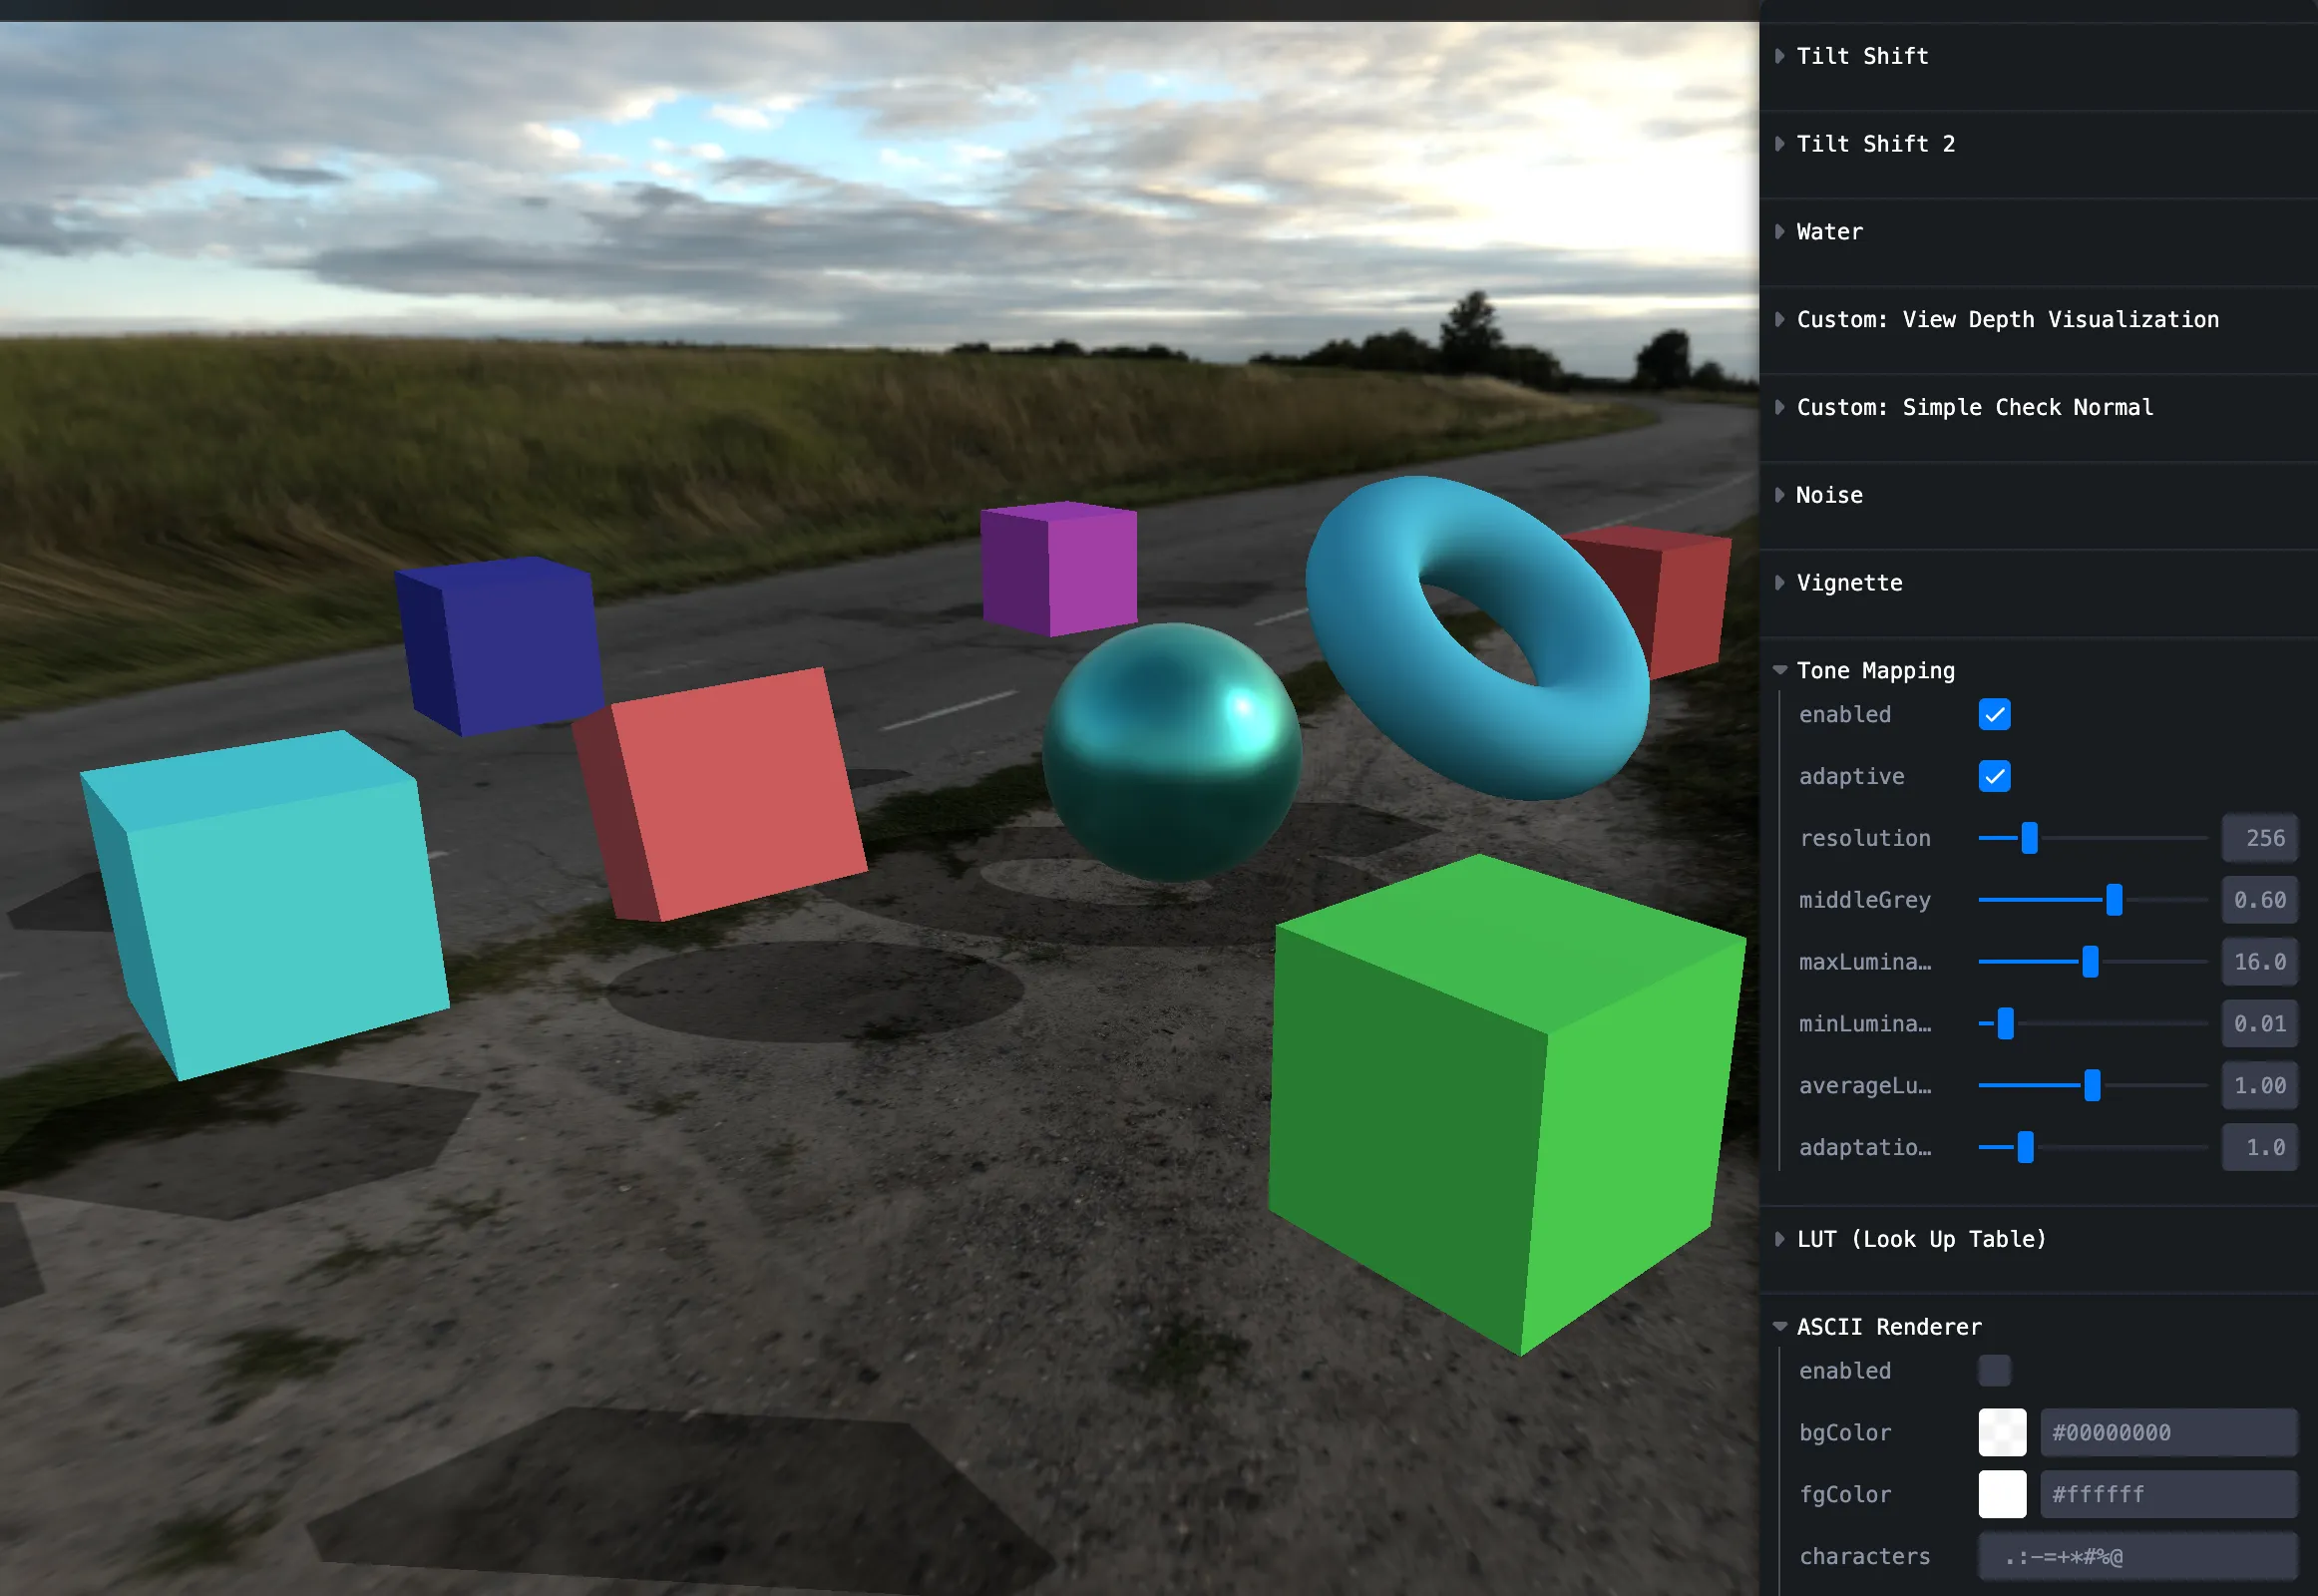
Tonemap
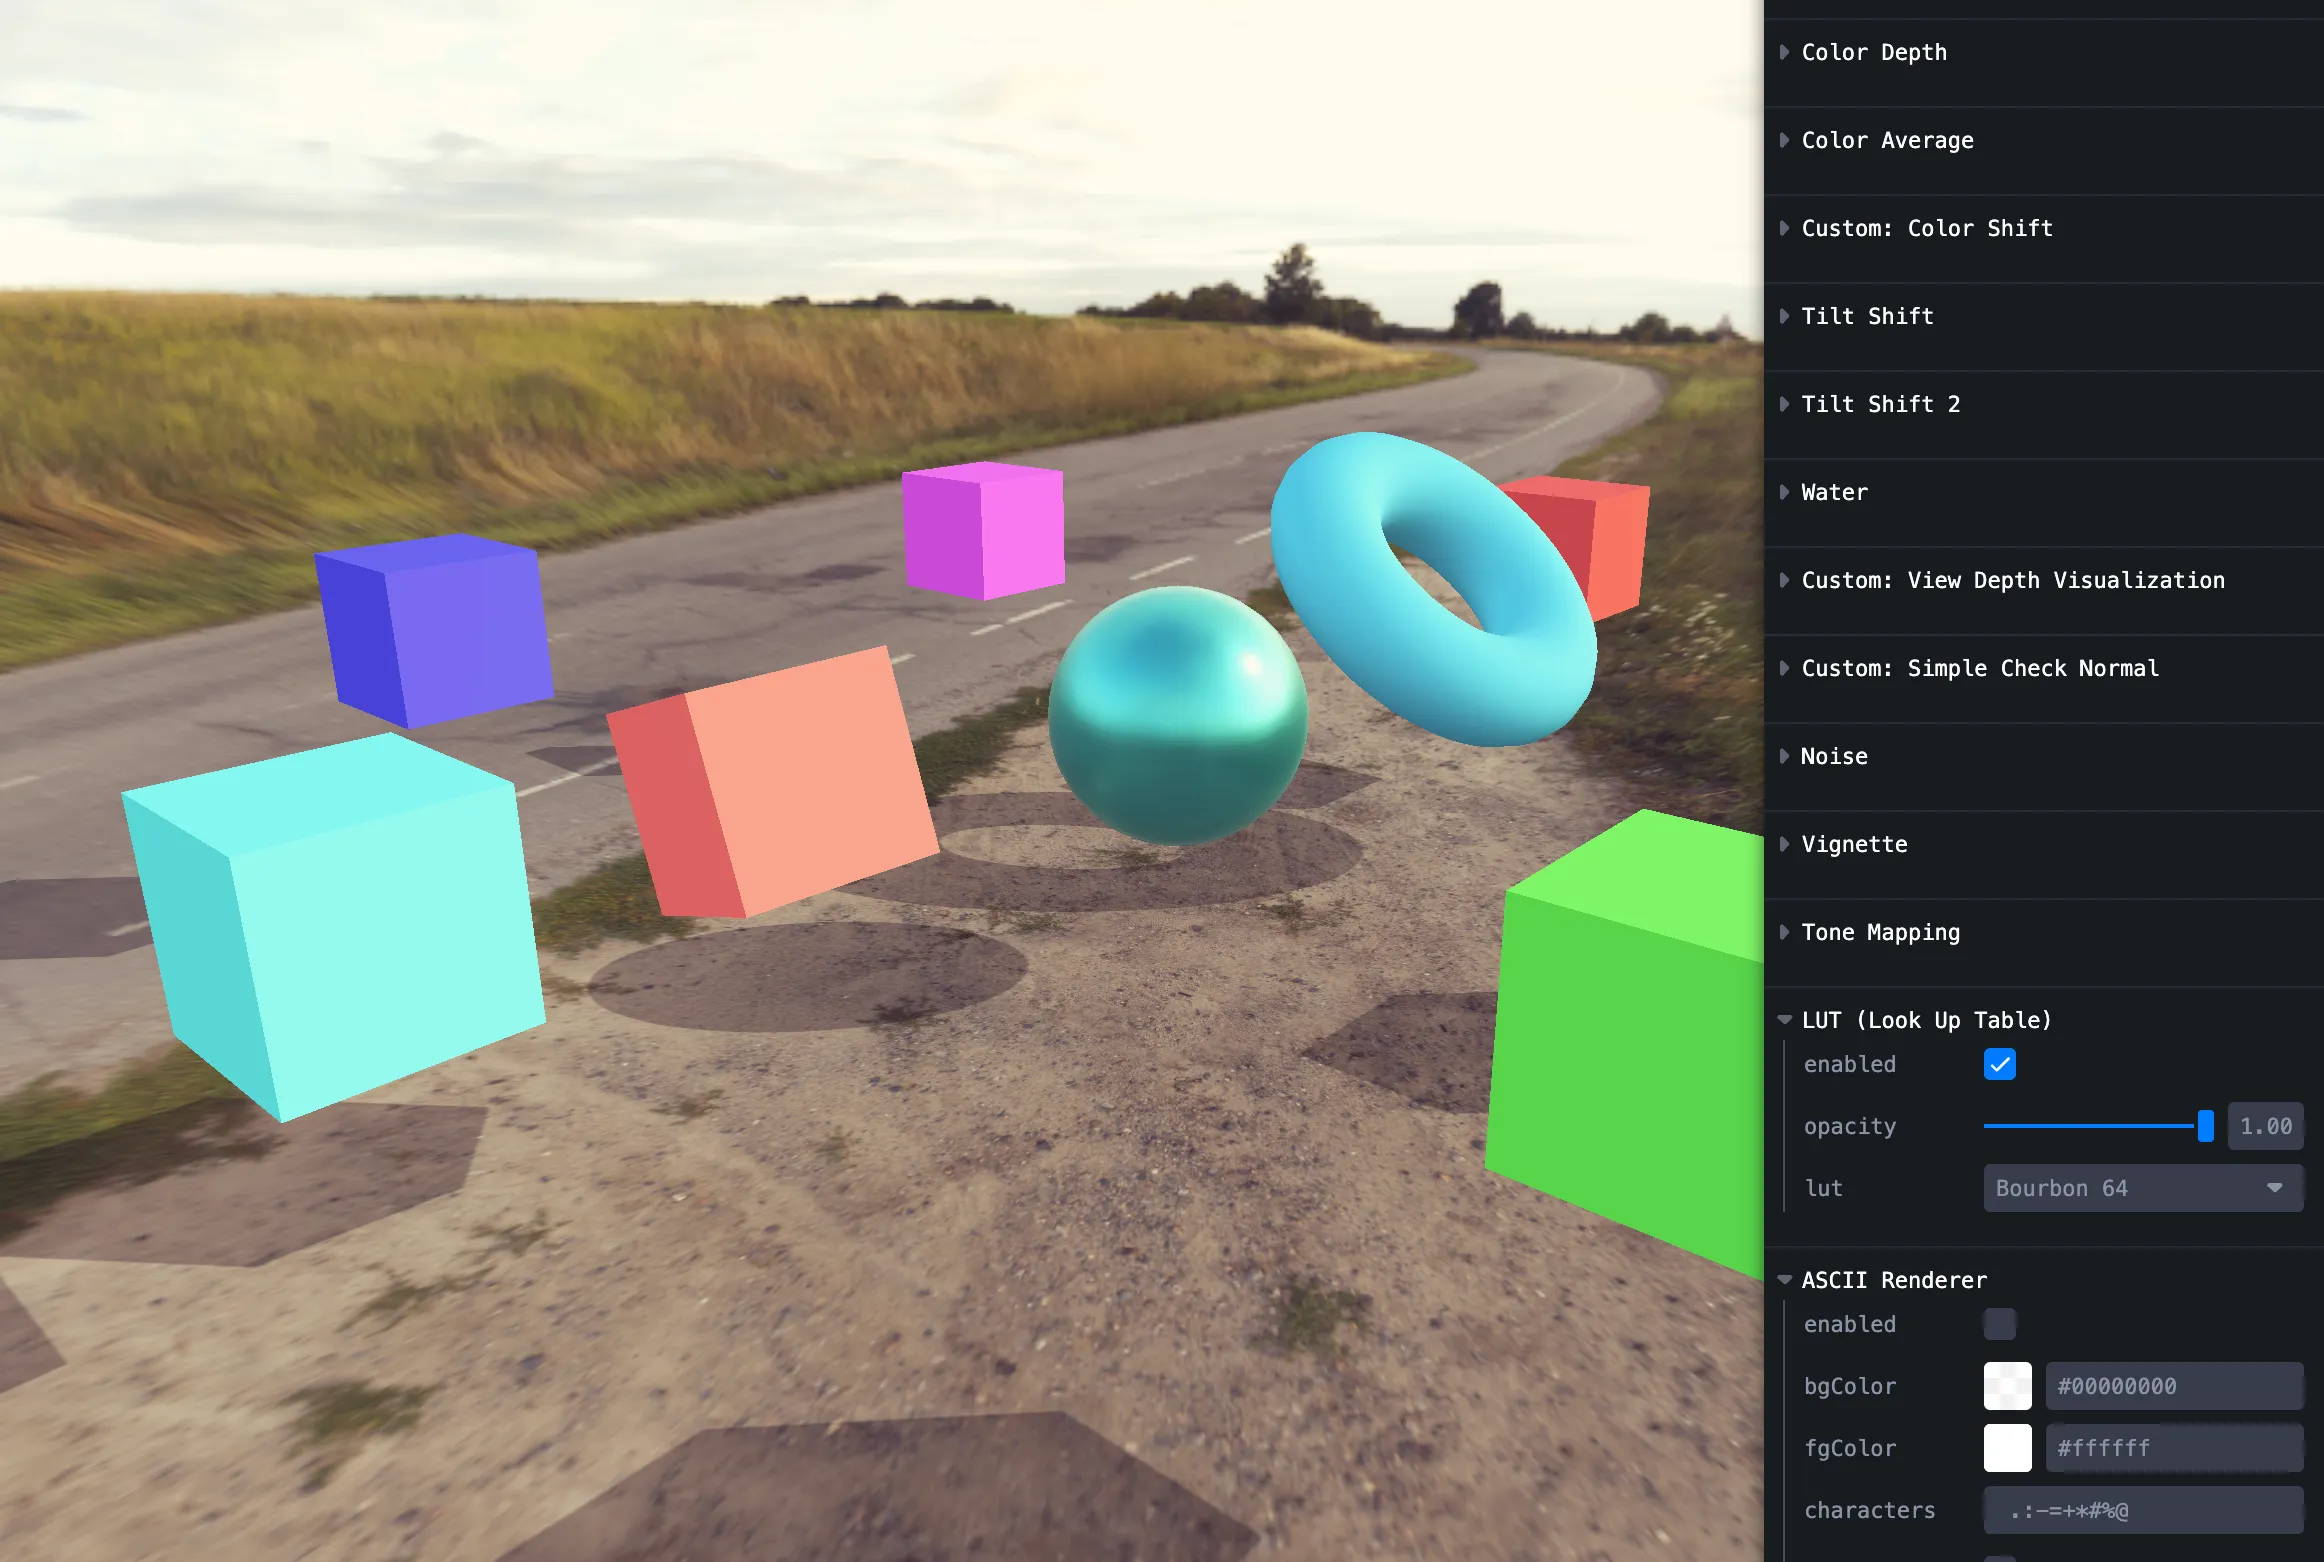
LUT
Assets from N8AO and similar; importing LUT textures was a bit fiddly.
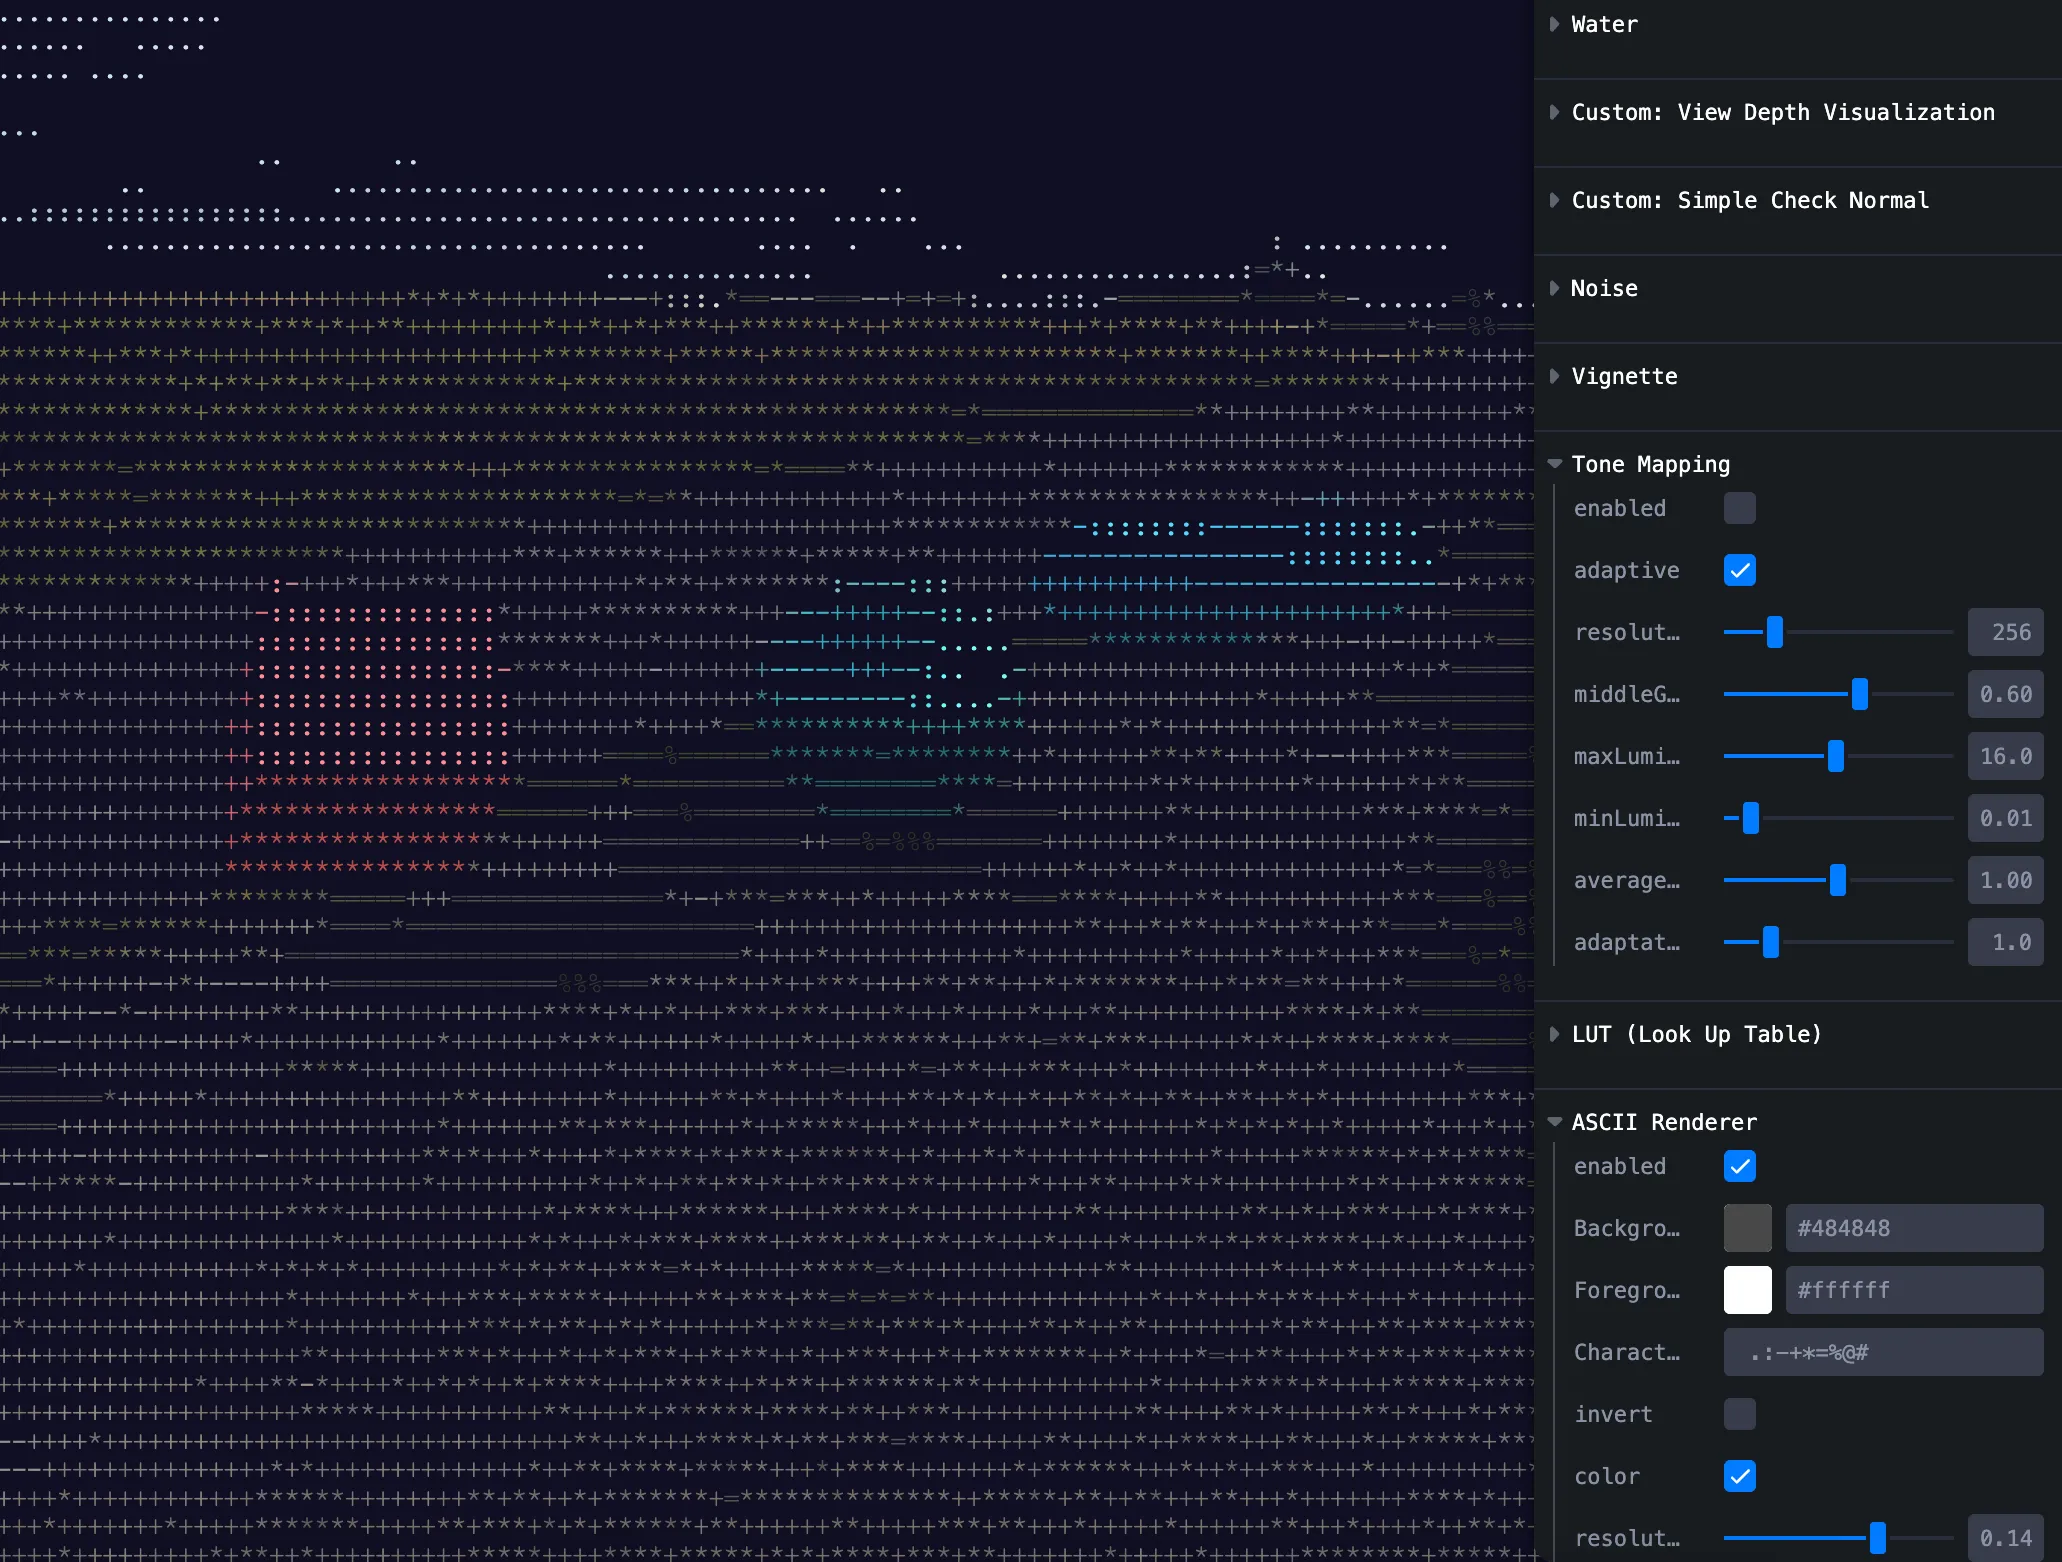
ASCII
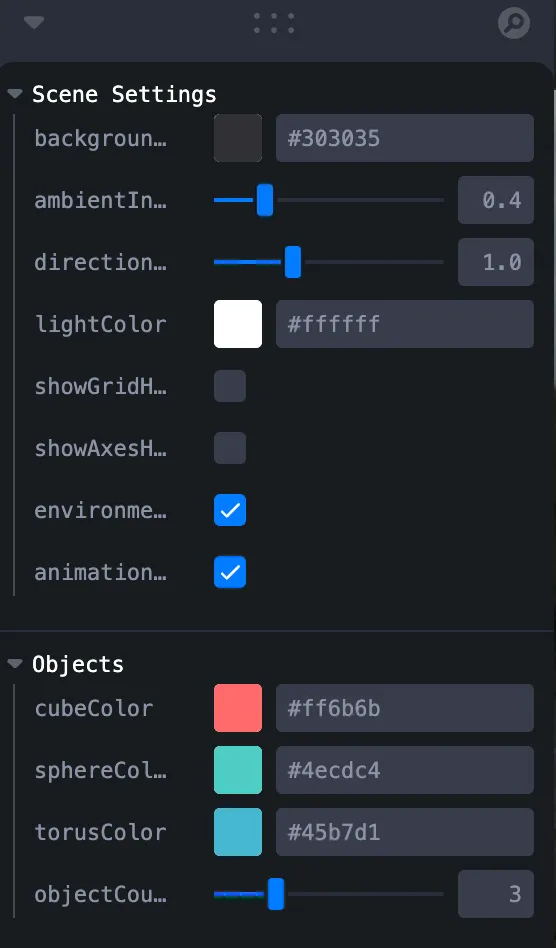
Scene settings
Hide background, tweak lights, etc.
Gotchas
1. View → world normals
Use the camera viewMatrix to transform normals.
vec4 worldNormal = vec4(viewNormal, 1.0) * viewMatrix;2. Some built-ins on React 19
Godrays, Lensflare, FXAA misbehaved on React 19 in my tests, so they’re omitted from the demo.
Summary
- @react-three/postprocessing + postprocessing give you many built-ins and let you subclass
Effectfor custom GLSL. - Custom shaders take more work; the repo and tester page should help.